This post was most recently updated on November 11th, 2020
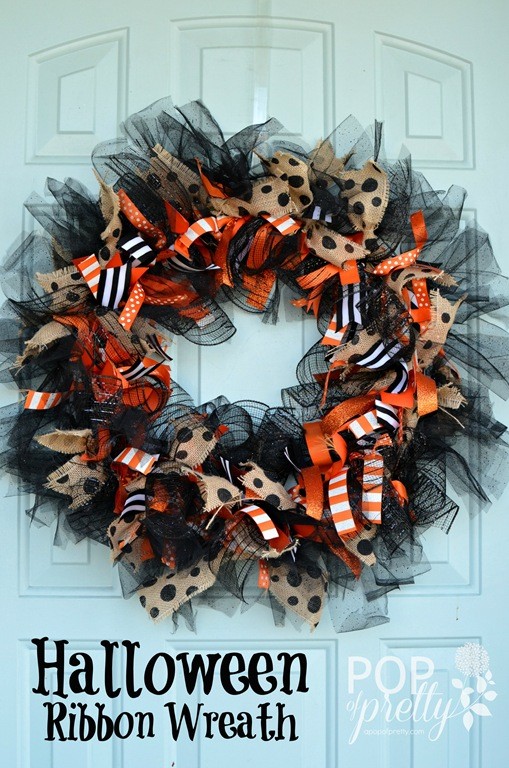
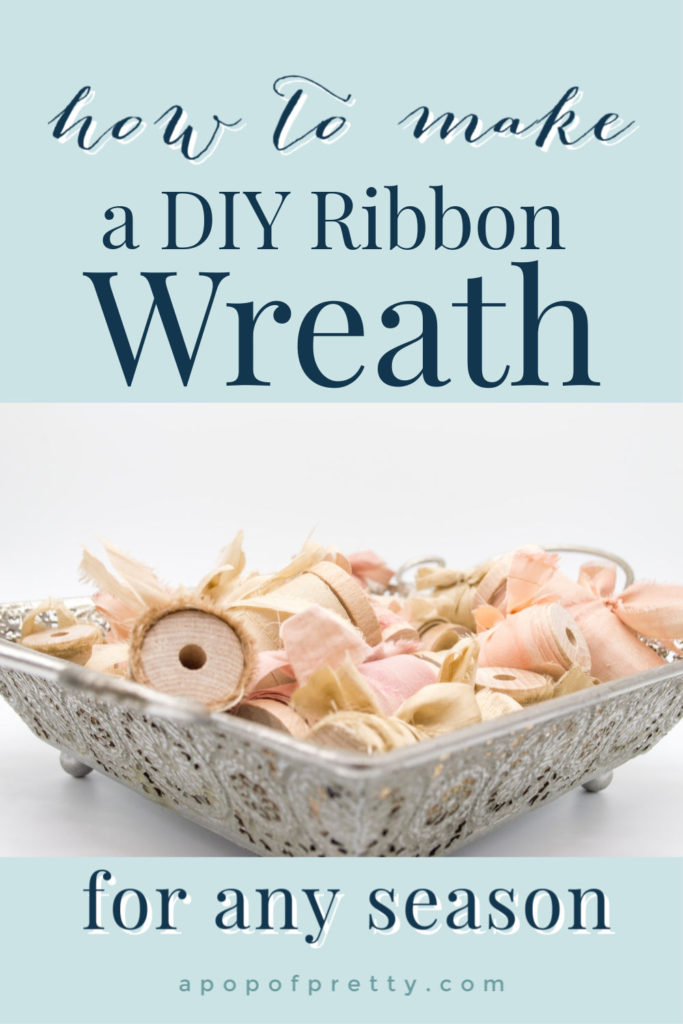
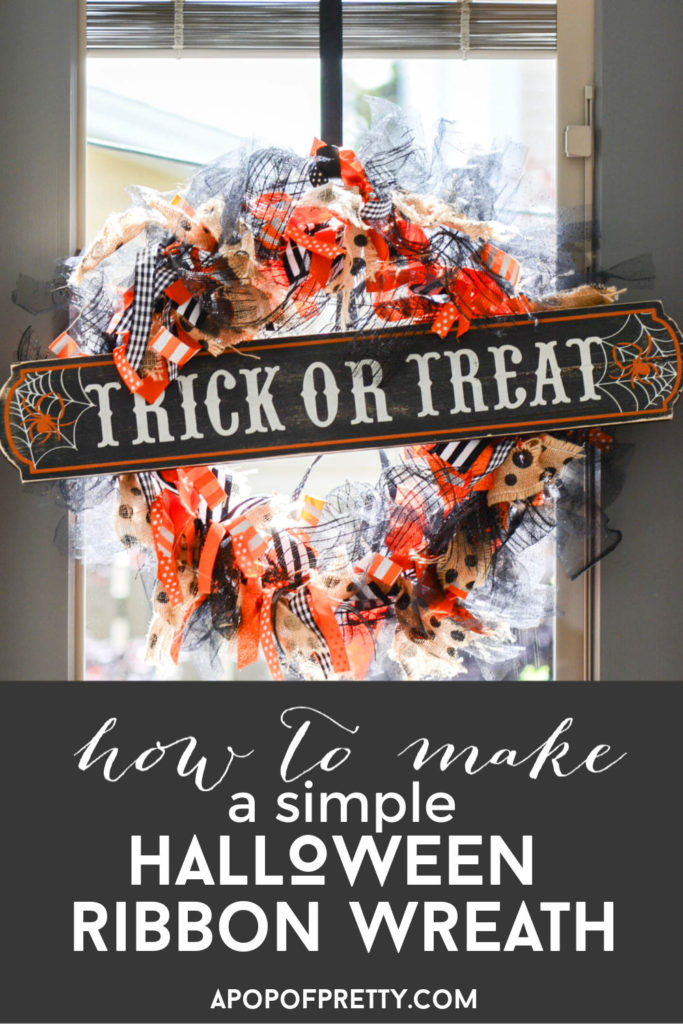
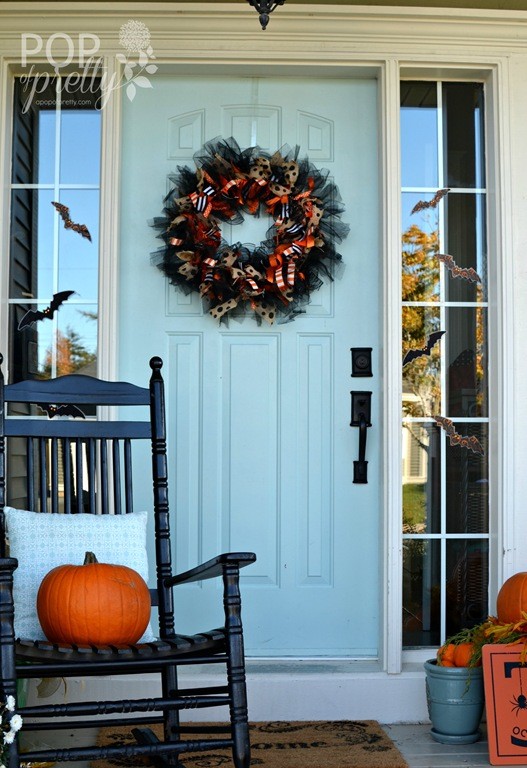
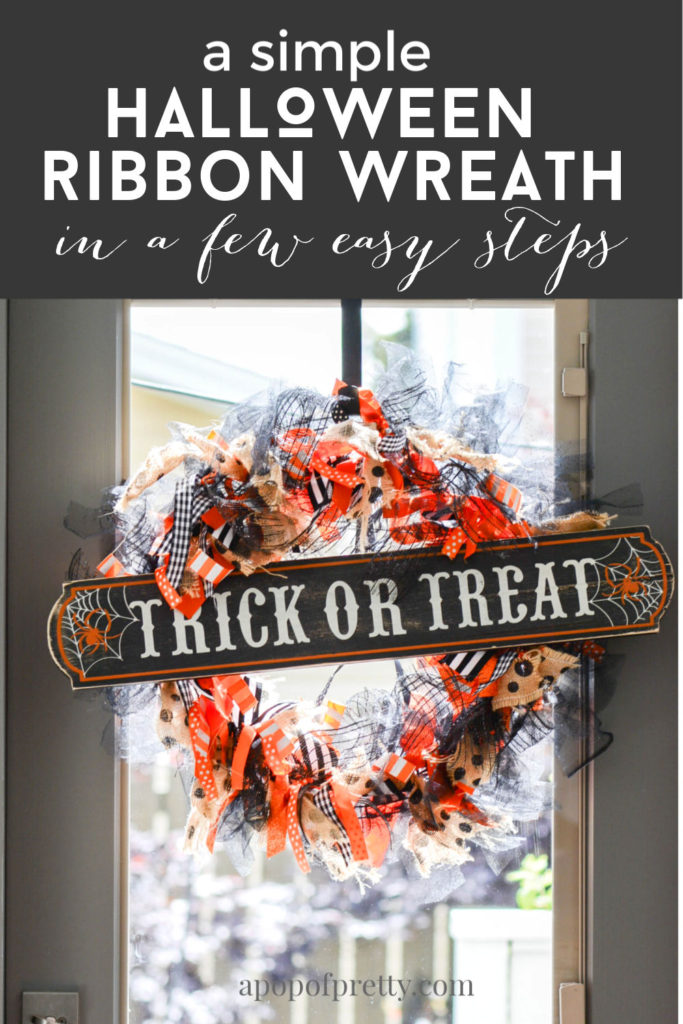
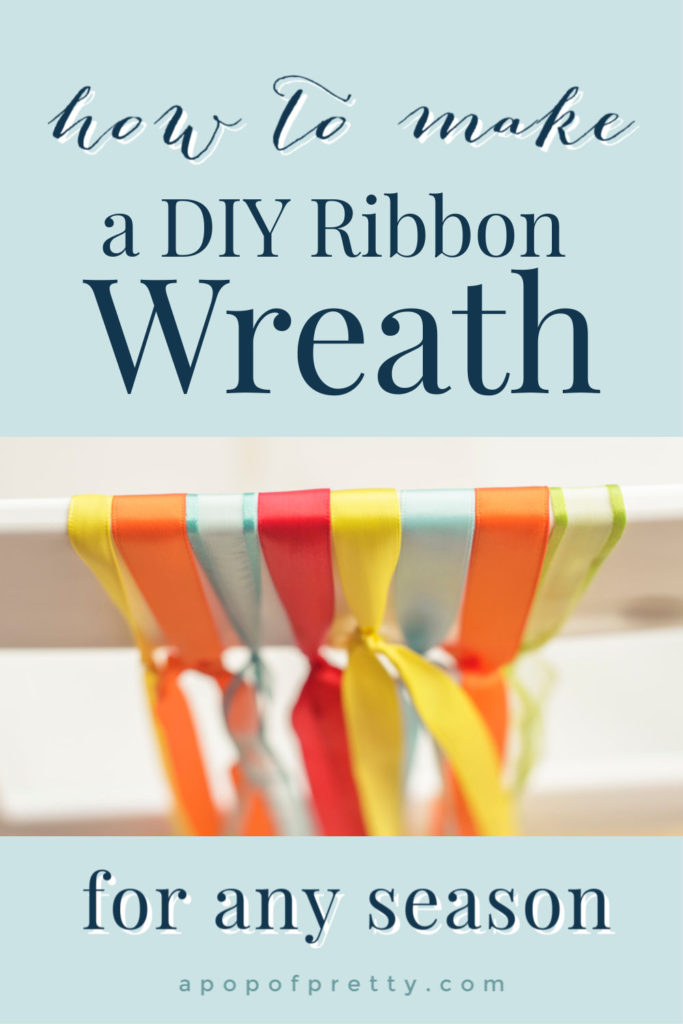
Wondering how to make a diy ribbon wreath? A tied ribbon wreath makes a statement on a front door in any season, especially during Halloween or Christmas. Today, I’m going to show you how to make a ribbon wreath specifically for Halloween. But, you can follow this tutorial to make a ribbon wreath for any season holiday at all! Just change up the colour and pattern of your ribbons. It’s that easy, my friends!
Note: This highly popular tutorial was first posted in 2013, but was updated with new photos and additional content in 2019! The diy ribbon wreath I made 6 years ago is still going strong. Read on!

Last year, I had some big orange sparkly “BOO” letters on the front door. But I wanted to change things up this year. I’d been curious how to make a ribbon wreath for awhile. And, I thought Halloween would be the perfect opportunity to try it. One of my kids is a little sensitive to super scary Halloween decorations. And, what could be more spook free than a diy ribbon wreath?
DIY Ribbon Wreath: Supply List
Here’s what you will need to make a tied ribbon wreath for any season.
Scissors
A good sharp pair of scissors that can cut ribbon easily. In other words, don’t use your kids blunt craft scissors, lol.
Ribbon
A selection of ribbon rolls in coordinated colours, and varying patterns, textures and widths.
A diy ribbon wreath looks best when you use a combination of narrow ribbon (1/2″-1.25″) and wide ribbon (2.5-5″) or tulle. The wider ribbon will help fill in the wreath form so it does not look sparse, while narrow ribbon in fun patterns will add the visual interest and detail.
The total amount of ribbon you need will depend on the size wreath form you buy. I always recommend buying more than you think you’ll need, and returning the extra when you are done. For reference, for the 18″ wreath form I used, I needed approximately:
Grosgrain Ribbon
Six rolls of grosgrain ribbon in different widths ranging in width 5/8″-1″
Printed Burlap
One 10-yard roll of 5″ wide burlap: cut into two 2.5″ wide strips.
Tulle
Two 10-yard rolls of tulle, 6″ wide.
Deco Mesh
One 5-yard roll, 5″ wide.
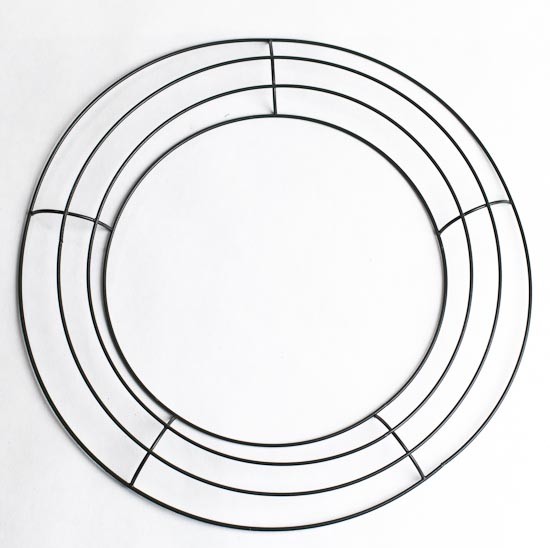
Wire Wreath Form
See photo below. You can buy these wreath forms in different sizes. Just choose the size that suits your door best. For reference though, the one I used was 18″.

How to Make a DIY Ribbon Wreath: Three Easy Steps
Step One: Cut your Ribbon
Start by cutting your ribbon into pieces, each about 8-10 inches in length. (However, if you’re not sure if you’ll need to use all the ribbon you’ve purchased for your diy ribbon wreath, don’t cut all the rolls just yet.)
Step Two: Tie the Ribbon

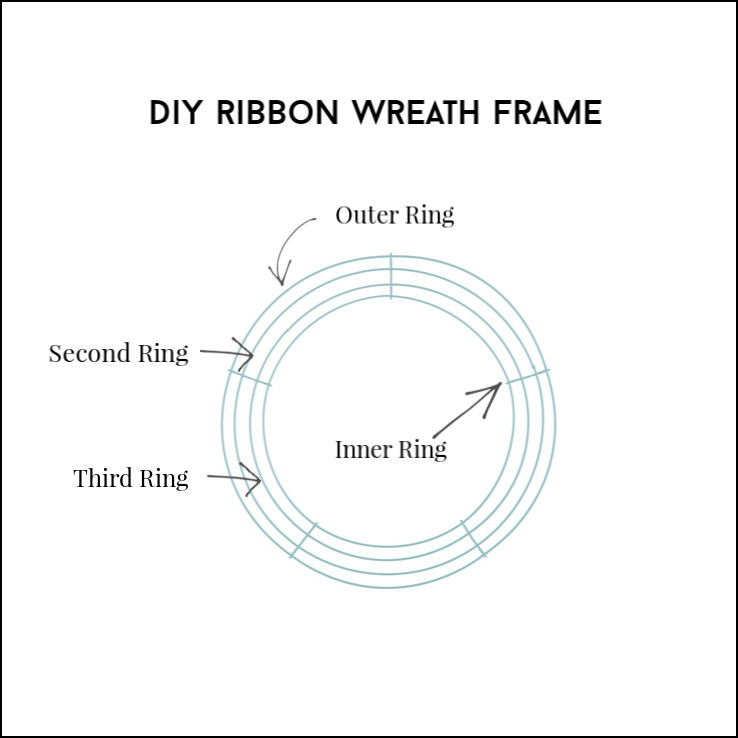
Begin with Outer Ring
Begin by tying ribbon on the outer ring of the wire wreath form. You don’t need fancy skills. Just a simple loose knot will do. Use one of your wider ribbons on the outer ring. If you use a solid coloured transparent ribbon (like tulle, simemay or deco mesh), you will get a nice, ethereal effect on the outer edge of the wreath. For reference, I cut about 75-100 pieces of black tulle (15-20 per section of the outer ring) to create a full effect.
Tie the Second Ring
Once you are finished the outer ring of your diy ribbon wreath, move on to the second ring. On the second ring, tie pieces of another wide ribbon, like burlap. It doesn’t need as much ribbon as the other ones because it ends up getting ‘filled in’ by the outer and inner rings. For example, I only had about 12-16 pieces of polka dot burlap to work with, so I just placed them evenly throughout the second ring.
Tie the Third Ring
On the third ring, tie pieces of your patterned, grosgrain ribbon randomly throughout the ring until you get a nice full effect. This is where you’ll create the fun personality for your wreath.
Finish with the Inner Ring
For the inner ring of your diy ribbon wreath, tie some of your remaining transparent ribbon (tulle or deco mesh). I tied pieces of black deco mesh to repeat the look of the black tulle on the outer edge.

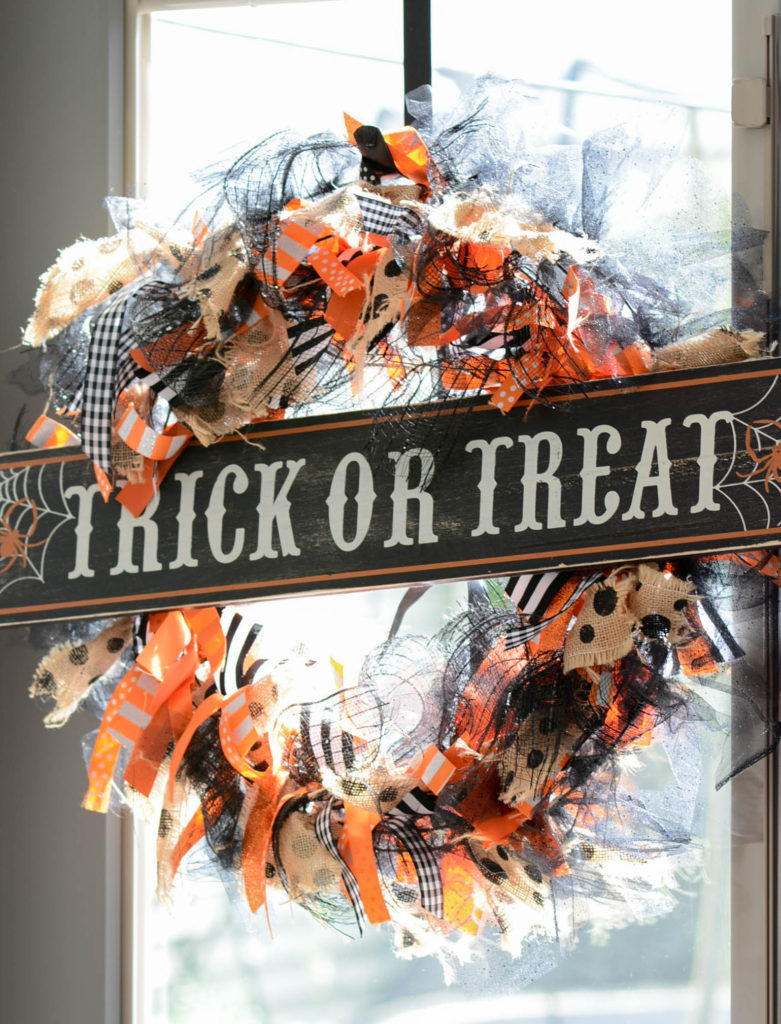
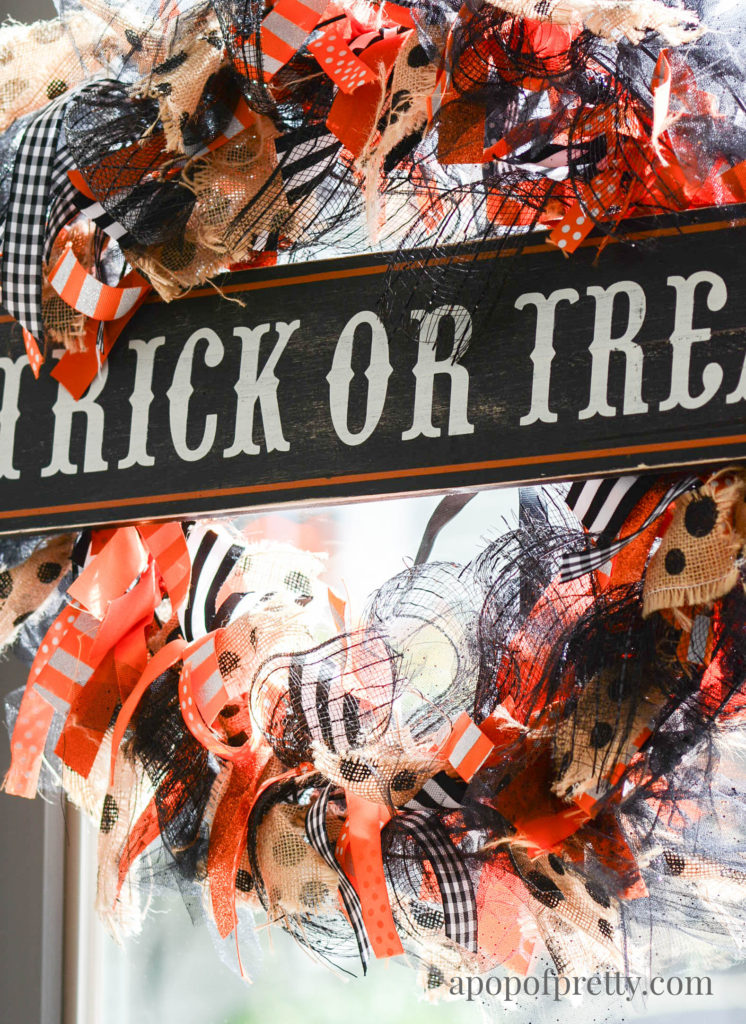
Step 3: Add a Cute Sign
You can keep your tied ribbon wreath as is, or spice it up with a cute seasonal sign. It is easy to make your own, but even easier to buy one, lol. There are lots of great signs for every season at home goods stores like Target, HomeSense, Pier 1 or Amazon. Just tie it to each side of the wire wreath frame with a little string.

Fluff it Up!
Now that all the ribbon is tied, you can decode whether you like how your diy ribbon wreath is looking. It is simple to change around some of the ribbon if you feel you need to. Just untie the loose knot and move it.
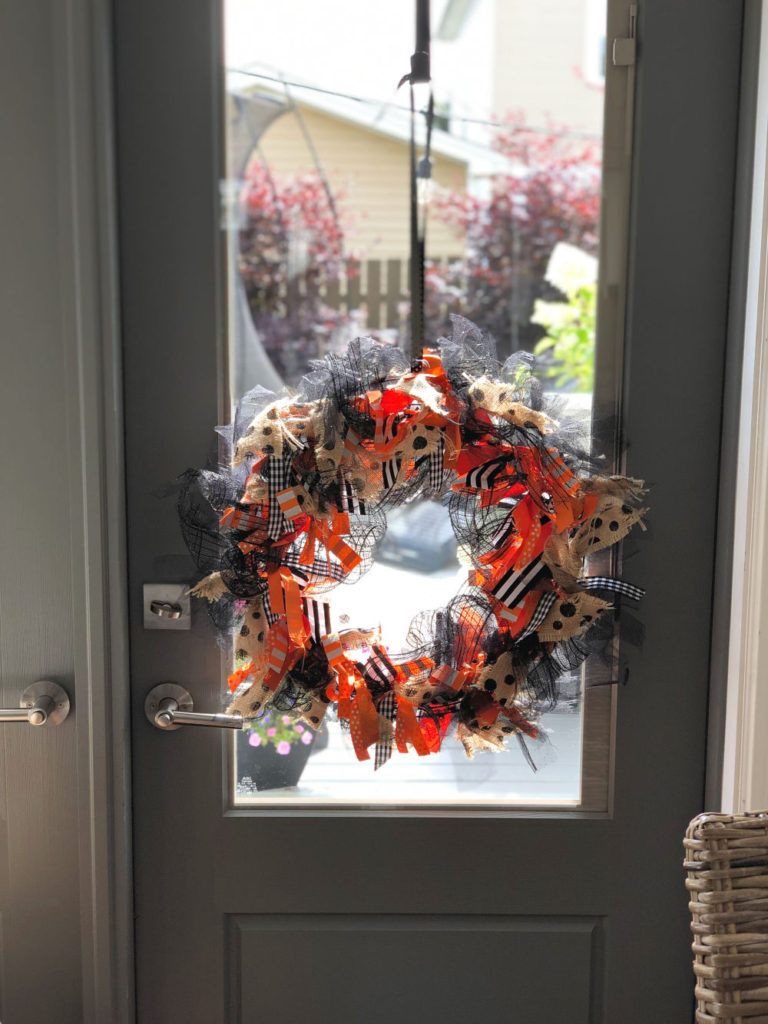
Once you love it, go around the wreath and fluff it up. Pull any narrow ribbons forward that are ‘hiding’ behind the wider ones. It’s easiest to do the fluffing work once it is hung on a door.
When you store your diy ribbon wreath, try not to place anything on top of it. But, no worries if you do. It is easy to fluff it up again next season!
This project really couldn’t be easier. I love all the texture! You could make a diy ribbon wreath like this for any occasion – just change up the colors. In fact, I made a similar Valentine’s Day ribbon wreath with lots of pink. And, if you have a lot of ribbon stashed away awaiting a project some day (not that I’d know anything about that), it would be a great way to use it up.
Where to Buy Supplies for a DIY Ribbon Wreath
Not sure where to buy supplies for this project? You can find supplies at most craft stores. Want to order online? I’ve got you covered. Visit my A Pop of Pretty Amazon Storefront and click the category How to Make a Ribbon Wreath. You’ll find the wire wreath form and some of my favourite ribbon linked up there. (Contains affiliate links.)


Until next time,
Kerri