

This post was most recently updated on September 22nd, 2019
One question I get asked a lot this time of year is how I decorated my Christmas mantel. When I tell them that it’s actually really easy, it seems they don’t always believe me! But, truly, it’s not really all that hard to create a traditional look with layers of full greenery and ribbon, if you follow a few tricks. So today, I’m going to share my easy and fail-proof formula for creating a pretty Christmas mantel that you’ll be proud of.


Step One:
Basic Foundational Greenery
Let’s face it, for most of us, decorating an entire mantel with real greenery is not affordable or feasible. As much as I drool over those staged magazine shots of the quintessential Christmas mantel draped with fresh cedar garland, I know it’s not gonna happen in my house – and maybe not yours? (If yes, then I am soooo envious!) If not, take comfort in the fact that you can achieve an authentic look with store-bought garland.
As a starting point, use some basic- and-not-particularly-attractive green garland that you probably already have on hand. This layer is just the foundation for you to build on. It won’t be seen once you’ve completed your mantel, I promise ;-). You might note that my foundational garland in the pic below DOES have some sparkle and adornments, but that’s only because I’ve collected so much of this stuff over the years. Yours can be truly basic.


Step 2:
The Lights!
Next, layer on your lights. If you’re using them, that is. And why wouldn’t you?!? A lighted mantel at Christmas is just sooo pretty. Make sure to wrap the string of lights in and out through the garland, not in a straight line. But don’t worry about wrapping each individual light around the garland in order to hide the ugly green wire. I know lots of people who do this, but, truthfully, I’ve never been that picky. If you follow the other steps I recommend here, you won’t see the electrical wire.


Step 3:
Premium Greenery
This is the step where the magic happens. Unfortunately, I think it might also be the step that a lot of people miss. In my opinion, the secret to creating a mantel with an authentic, rather than a ‘manufactured’ look is in the greenery you use. When it comes to greenery, a lot of people stop at Step One, using just the cheap, standard Christmas garland you can buy at any department or hardware store. But if you invest in a few strands of premium garland from a craft store, it will take your mantel from drab to fab.


To illustrate, for my mantel, I used two strings of realistic frosted cedar garland with pine cones, and two strings of boxwood garland with red berries. Each 6ft strand retails at about $25 a piece (so $100 in total), but I got mine at one of Michael’s 50% off events – so, a $50 investment. I have a long mantel, so if yours is smaller, you might get away with one strand of each (so a total $25 investment). 

I just layered it right on top of the basic greenery (with the lights), and then ‘finessed’ it. There are no rules for this. Basically, you are looking to create volume, and to cover any stray wire. If you want a more authentic looking mantel, just let random pieces hang over the mantel edge in places. Don’t be too ‘careful’ about it. The more stray pieces there are, the more natural it will look.


Step 4: Add your large accessories.
Before adding my ribbon or sinamay, I always make sure to first place any of the large accessories. It’s more difficult to maneuver these pieces into place once the ribbon is already positioned on the mantel.
When it comes to accessories, there really are no boundaries. Be as creative as you want! I tend to choose colors that compliment rather than distract from the room. That’s why you’ll see the pops of turquoise in this particular mantel.
If you are going for a rustic, cottage look, you should consider using a greater balance of natural elements like twigs, pine cones and berries. But that doesn’t mean you can’t still play with some shiny texture too, like glass or sparkly ornaments. A glammed up mantel, like mine last year, needs a greater balance of reflective accessories that add sparkle and bling.
I’m not going to spend a lot of time here talking about where to place accessories; mainly because it’s a matter of taste. However, there are a couple of generally accepted design formulas, either use symmetry or create a ‘visual triangle’. One of my favorite bloggers, Beth at Home Stories A2Z, recently did a wonderful illustrative post about that.
I tend to be more of a symmetrical girl, and this particular mantel was no different. I chose a nice high piece for the center (a jug of berries) which I placed in front of a re-claimed wood mirror. and then used the same glass urns filled with giant pine cones on each side.


Step 5: Add ribbon.
This step also seems to be one that a lot of people are afraid of. But trust me peeps, when applied properly, ribbon is your friend. The trick to laying ribbon properly is to not worry too much about it! I find that the ribbon on a lot of Christmas mantels is just laid too tightly and too perfectly. Don’t be too precious about laying your ribbon; instead, just let it fall in large loose loops ‘randomly’ throughout the mantel. If this still sounds like greek, then you’ve lucked out. I’m going to show you my top secret fail-proof method for achieving that oh-so-effortless look.


First, wind your ribbon around your hand tightly, and then drape it across you mantel, letting it droop in the center.


It should look like this.
Next, snip your ribbon in half somewhere around the center. It should ‘spring’ back, and fall into looser loops. Lay one half to the side, so that you can work on one side of the mantel at a time.


Snip ribbon in center. It should ‘spring back’, creating larger loops.
Your loops should have loosened considerably when you snipped the ribbon. Now, using your fingers, pull some of the loops to make them larger, while leaving others smaller. Weave the ribbon randomly across that side of the mantel, placing it behind some of your accessories in places, and in front of them in other spots. Do the same on the other side of the mantel.


It should start to resemble this (in progress). Keep finessing.
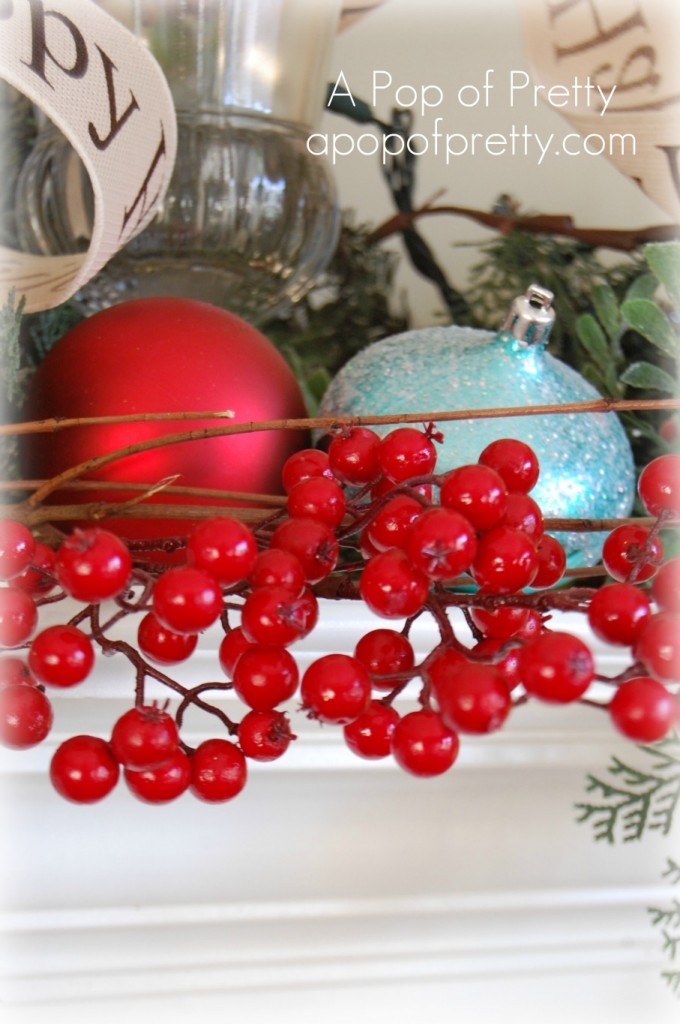
Step 6: Add any smaller accessories.
Once you have you ribbon laid, you can now add any of the smaller accessories you plan on using, like ornaments.
My biggest tip here is not to use too many small items because they tend to distract from your ‘big impact’ accessories. And, of course, if you are going to use smaller accessories, make sure the colors coordinate with your key color scheme.
I tucked mine in ‘random’ spots both behind and in front of the ribbon. I used the term ‘random’ loosely, because there was a bit of organization to it. I tried to use some symmetry. When I stood back and looked at my mantel, I wanted to see those little pops of red and turquoise in relatively symmetrical spots.


And there you have it! All done? Well, what are you waiting for? Grab an eggnog and put your feet up!
I hope you found this tutorial on how to decorate a Christmas mantel to be helpful in some small way. I know that there are lots of other tutorials out there – this method is just the one that works for me.
Remember, the most authentic- and effortless-looking mantels aren’t about perfection. And, that, in itself, is freeing!
Have a great day,
Kerri
P.S. I’m sharing this post with…

