
This post was most recently updated on January 1st, 2020
So I think I’ve read just about every great tutorial out there on how to paint wall stripes.
But, I’m gonna be honest here: my first attempt at figuring out how to paint wall stripes a couple of years ago was a FAIL. I thought I followed everything to the tee – the right painter’s tape, the right measurements, and even the right amount of caffeine ;-). But when the tape came off, there was paint bleed, there were slanted lines, and there might have been some choice words. OK, yes, there were choice words.
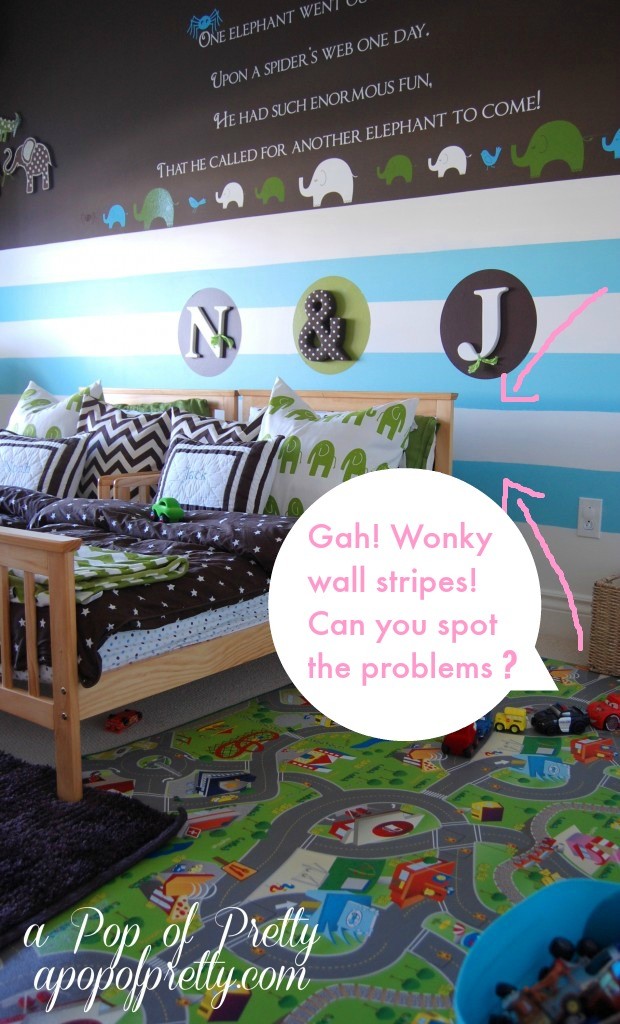

Instead of re-doing them (or crying), I put the beds in front of the wonky wall stripes and pretended everything was great. Truthfully, nobody really noticed. But I did. And, since I’m a sucker for punishment and I just can’t stand failing at a challenge, when it came time to paint the boys’ room again recently I decided that I would finally conquer the ‘perfect’ wall stripe. But this time I was going to do the entire wall.
The first thing I did was remove the vinyl wall quote that you see in the above photo (You can check that out here: How to Remove Vinyl Wall Decals (Bye Bye Elephants), prime the wall, and paint over the chocolate brown with white. I knew I wanted the same colour stripes as before (white and aqua), so white was the colour I started with. Then I researched how to paint wall stripes again.
And, you know what I did differently? Nothing. Well, that’s not entirely true. I did two things a little differently.
- I took my time. I don’t know about you, but when I’m working on a project, I like instant gratification. Patience is not a virtue of mine. Trust me though, wall stripes aren’t something you want to rush. There’s math involved. And there’s no gray area when it comes to a straight line. It’s either straight, or it’s not. Straight lines aren’t something you can fudge. Phewy.
- I lowered my standards. I accepted that there is no ‘perfect’ wall stripe. Drywall and plaster has bumps and slants and imperfections, and you just have to work with what you have. Also? Who really cares if 0.005% of your wall stripe went a little wonky. You, that’s who. Nobody else will even notice.
This time around my wall stripes still aren’t flawless, but they turned out MUCH better than last time.


So, for what it’s worth, here’s my version of how to paint wall stripes (the second time around).
How to Paint Wall Stripes
1. Measure twice, cut paint once. The best explanation I’ve found on how to measure out and then tape up your stripes can be found in blog post by another blogger – see The Lazy Girl’s Time-Saving Tips for Painting Wall Stripes. There’s no point in repeating this information here because if you follow Beth’s advice there (see Steps 2 through 4), you’ll be off to a rocking start! The biggest tip I have here is to take your time measuring out your stripes, and putting up the painter’s tape. I think that’s the part I rushed last time around. This time, it took me about 2-3 hours to put the tape up on the full wall. I started out using a laser level to get straight lines, but I gave up on it when I realized my lines were off by a quarter inch. I’m sure I could have figured out how to use the thing properly, but it was just faster for me to keep going with a regular level and a measuring tape.
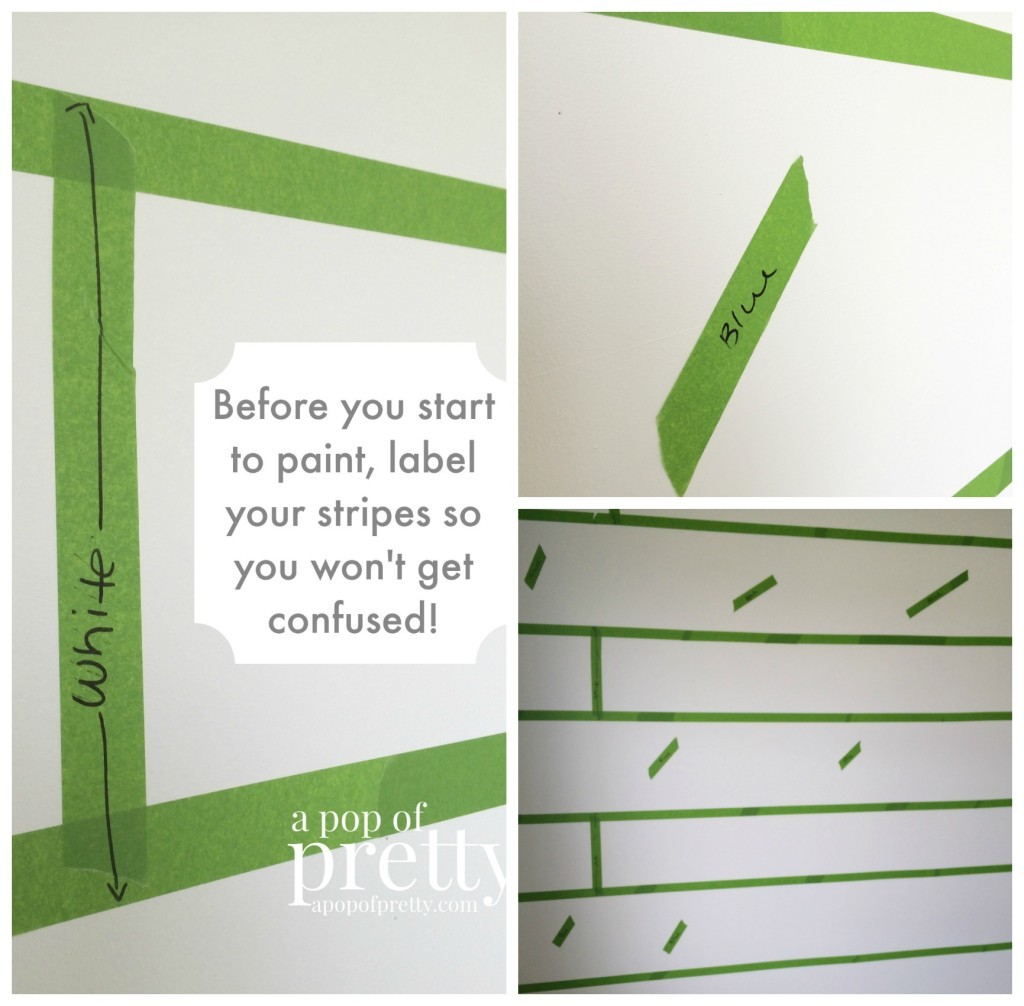
2. Label your stripes. Once you have your tape up nice and straight, use some pieces of painters’ tape to remind you of the colors you intended for each of the stripes. This might seem unnecessary, but, trust me it’s critical. After spending hours putting up painter’s tape, you’ll be so paint-happy once you dip that roller that you’ll forget what’s what! And, when you’re standing a foot from the wall, everything looks the same! I made the mistake of painting in the wrong area last time around. This step is 100% worth it!

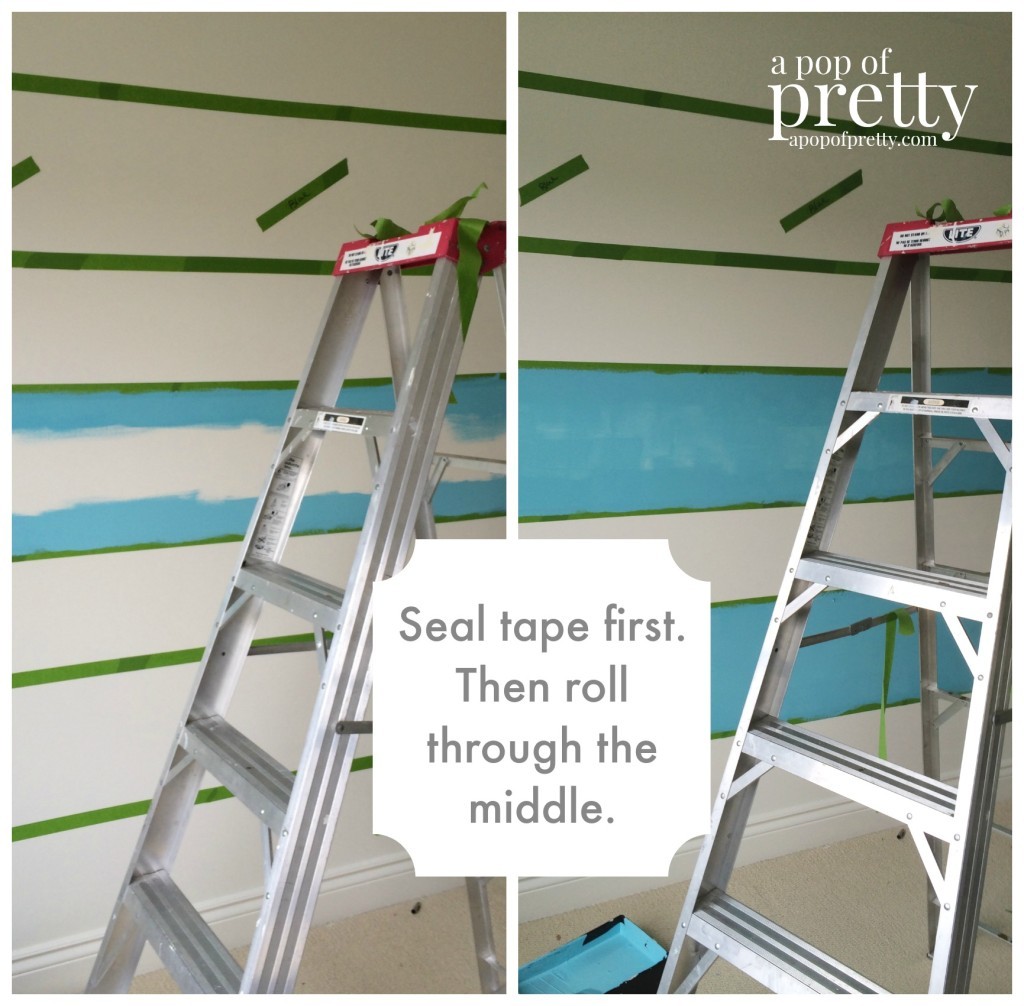
3. Seal the tape (with a brush), then use a roller. Some tutorials on how to paint wall stripes will tell you this step is important, while others don’t. Personally, I liked the idea of painting or ‘sealing’ the edges of the tape first with a paint brush (similar to ‘cutting in’) because it increased the chance of getting a nice straight line when the tape came off. Rollers are great, but they don’t get every little nook and cranny. Also, sealing the edges of the blue stripes gave me an even better reminder of where the blue was meant to go before I started in with a roller.

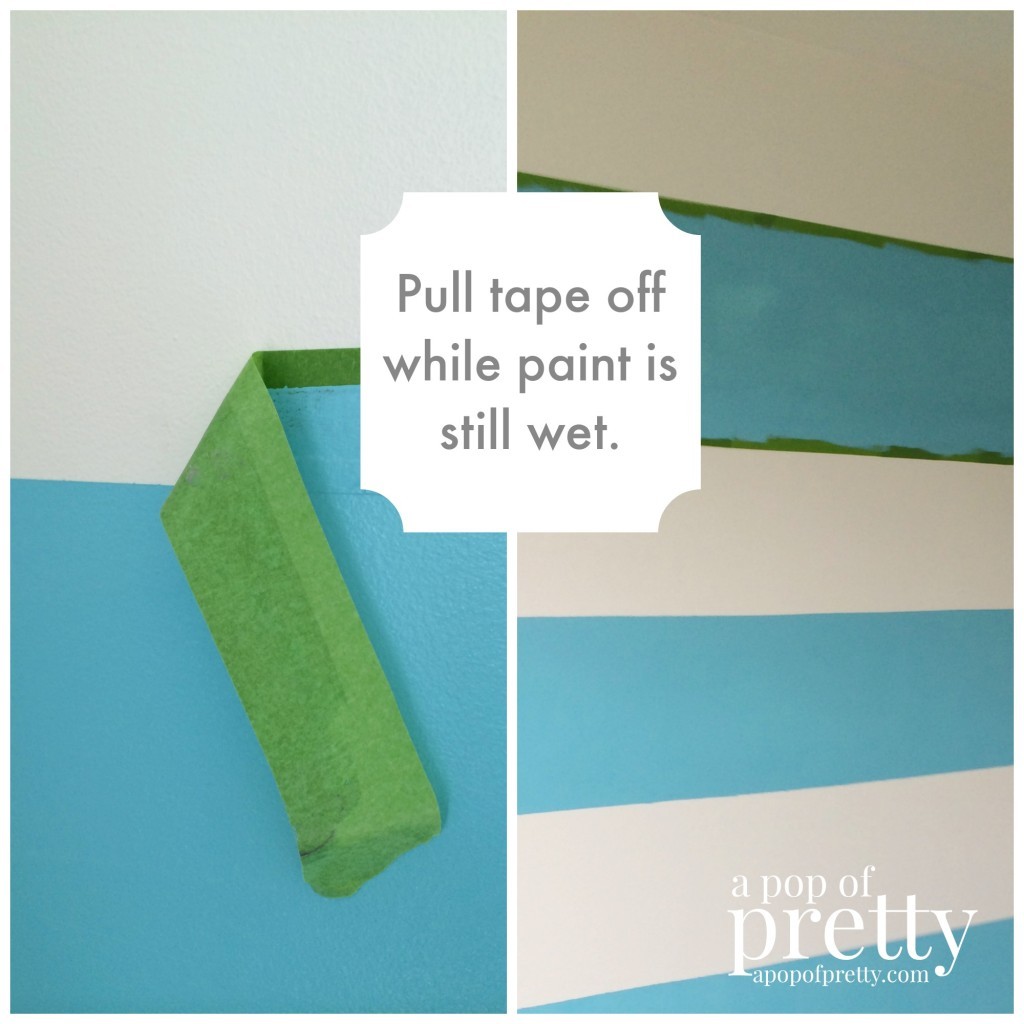
4. Pull tape off when wet. I worked quickly to get a couple of coats of blue paint on those suckers because I’d read that taking the tape off while the paint was still (relatively) wet was the key to getting nice, straight lines. Another tip: don’t pull it off to quickly. Hold the tape close to the wall and work quickly but deliberately.

5. Don’t be afraid to cheat. And by ‘cheat’, I mean touch up the messy parts you aren’t happy with (because there will be spots you aren’t happy with) with a small craft brush and a little leftover paint.
Now, step back and pat yourself on the back – and/or pour yourself a glass a nice big glass of vino.
Next up, I’ll show you how the boys’ ‘big boy room’ came together.
Until then,
K.