
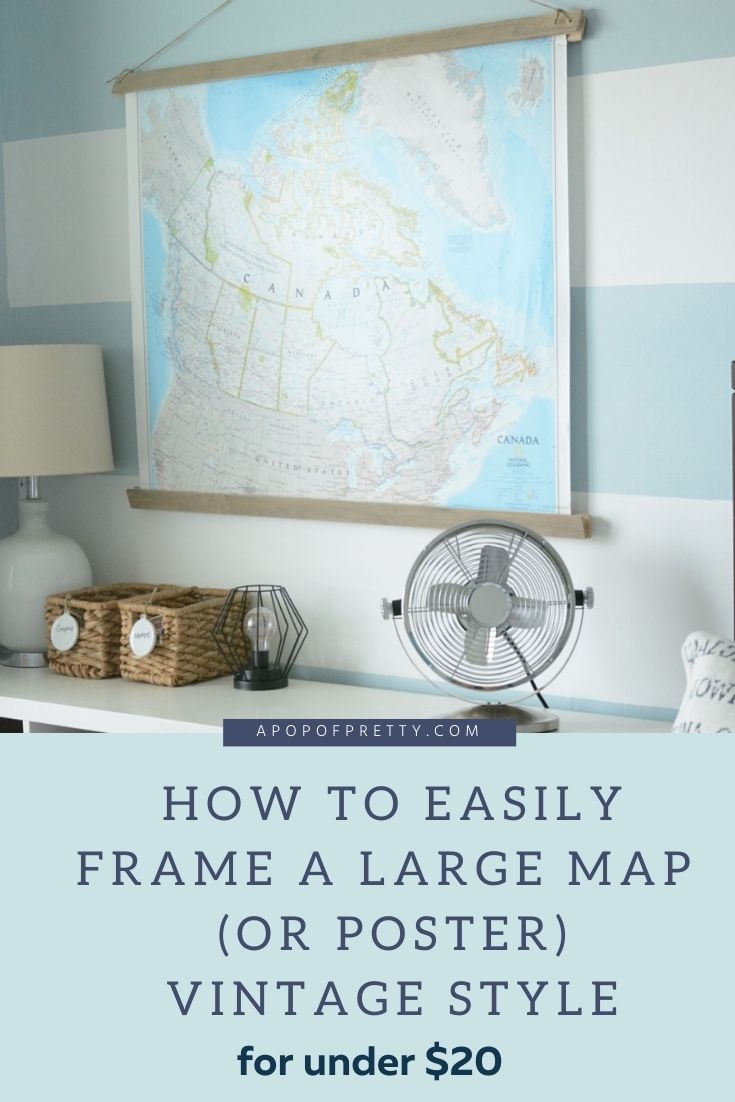
IN THIS ARTICLE: Map wall decor is a fun and inexpensive way to decorate a large wall. Sure, maps are educational. But, they can also be oh so pretty! But, the dilemma: how do you frame a large map (or poster) in a stylish and inexpensive way? Well, in this diy tutorial, I’ll show you how to do it for under $20! You’ll learn how to make your own map wall decor in a wooden schoolhouse-style frame. You can also use this method to frame any large poster to add some vintage flair to a space.
My little guy is the biggest geography buff. He absolutely LOVES maps and atlases. By age 4, he could identify most world flags! And, I bet he has enough books about the world to rival our local library. Recently, he and his twin brother got their own bedrooms after sharing for 10 years. (Oh happy day!) Of course, when I asked what he wanted on his walls, he said MAPS! Thank God. If he’d said Roblox posters, I probably would have crushed his dream LOL. Luckily, map wall decor is one of my favourite things!

Why Map Wall Decor is Awesome
Here’s a few reasons why map wall decor is just plain awesome.
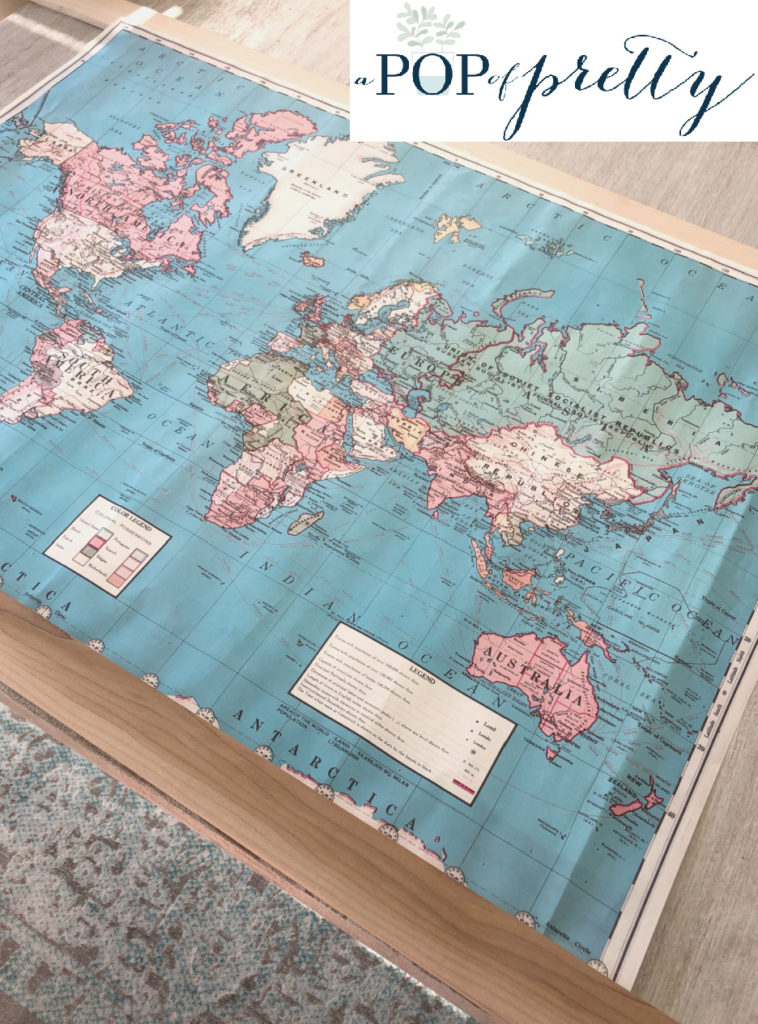
First, maps are pretty!
I especially love the ones with gorgeous blues and pastel colours. Maps in those hues look so fresh in any space.
Second, maps are affordable.
Map wall decor is a beautiful way to fill a large empty wall without breaking the bank. You can find large maps on Amazon and poster stores that are super affordable.
Third, maps serve a purpose.
How often have you curiously thought, “I’ve never heard of that place” or “I wonder where that is?”. Maps are a simple way to learn about the world. I love sending my kids to “Check the map!” when they ask about a country I know nothing about, lol.
Finally, map wall decor can be meaningful art.
You can frame maps of places you’ve travelled, or places you want to go. You can even frame a map of the world and use pins or stickers to the places you’ve travelled.

Easy Tutorial: Frame a Large Map for Under $20
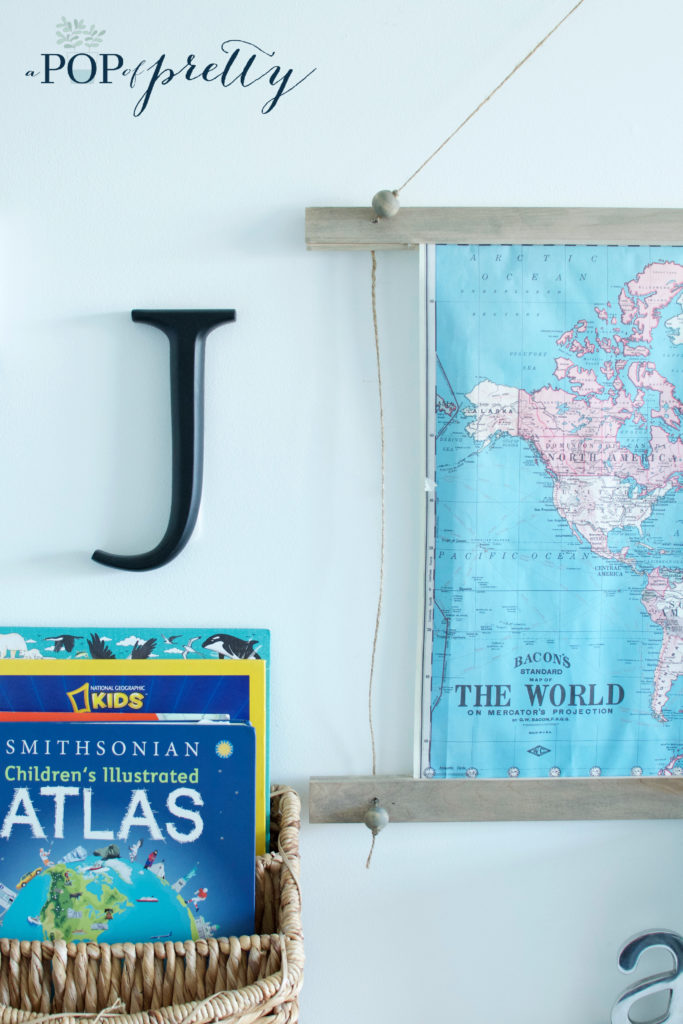
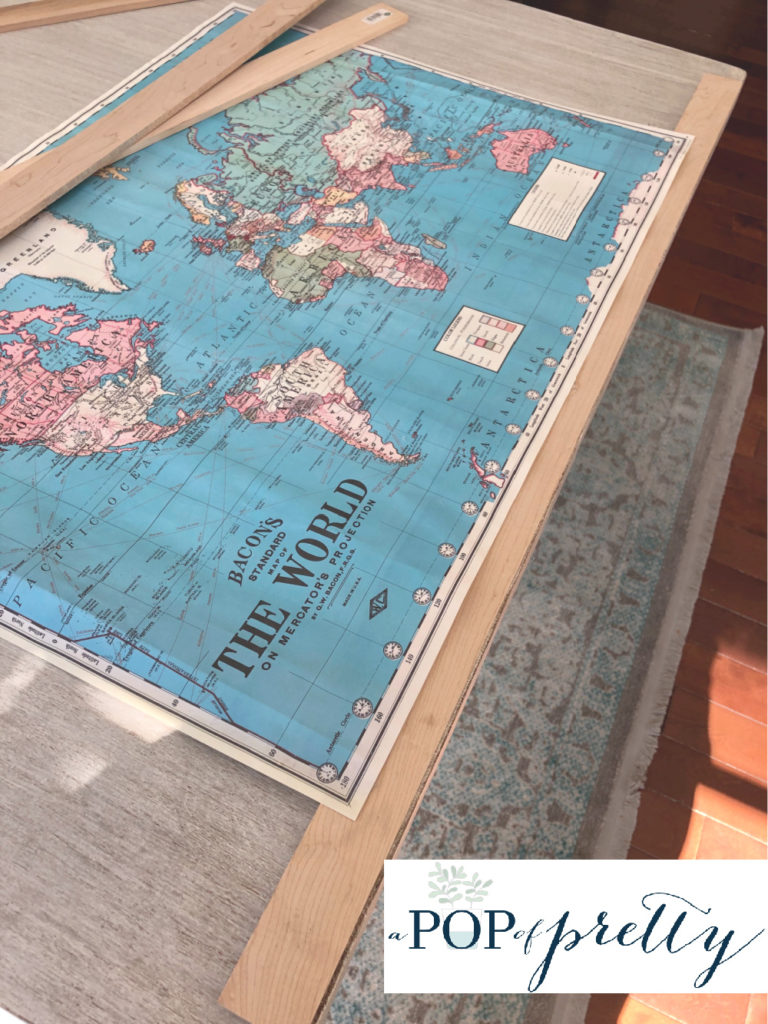
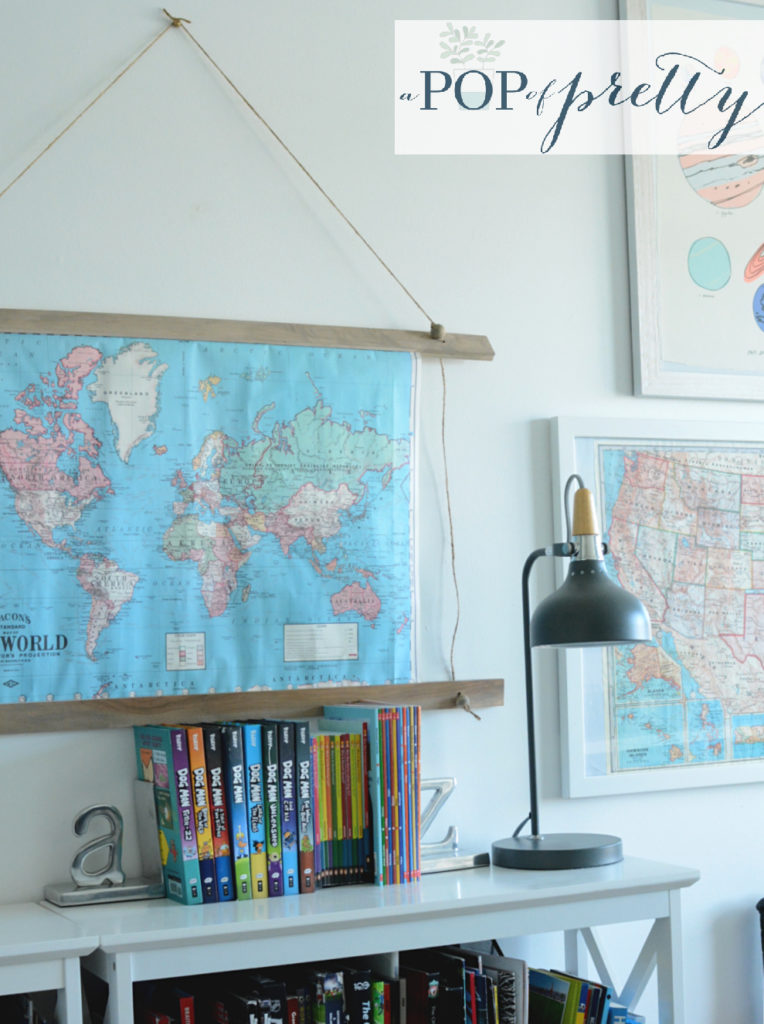
This tutorial shares two ways you can frame a large map (or poster) in a vintage, schoolhouse style frame. We used both ways in my son’s new room. One is just a little more simple than the other. Below you can see that the right map has twine through the edges and is adorned with wood beads. The only difference in making them is in Step 4 and Step 5 below.


Here’s What You’ll Need
So, what are we waiting for? Let’s frame a large map and get it up on your wall! But, before we begin, you’ll need to gather up a few supplies for your map wall decor:

TOOLS
Scissors, sanding block, glue gun and glue sticks, drill.
SUPPLIES: BASIC MAP FRAME
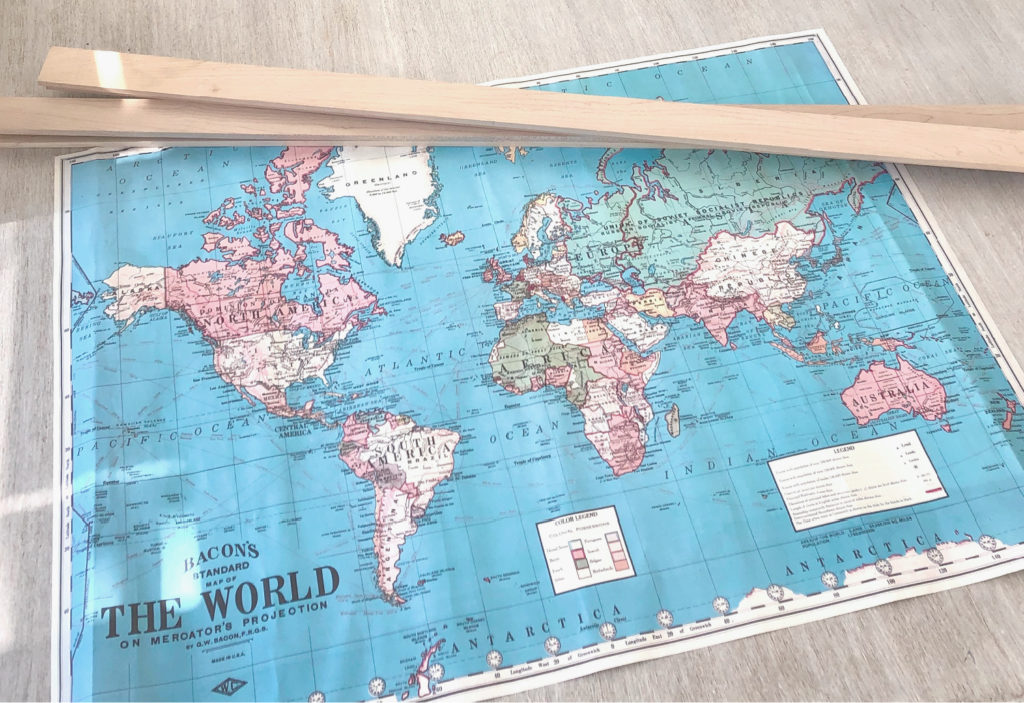
A large map (any size).
Roll of jute twine/string. ($2 at a dollar store)
Wood stain and brush (optional). (Use any stain you have on hand.)
Four (4) thin wood (cedar or pine) strips/shims. ($10 at a hardware store):
NOTE: You can find these at your local hardware store. Most hardware stores will cut your wood for you. The length of wood you’ll need depends on the width of your map. Measure the map’s width and then add 4-6 inches for an overhang of 2-3 inches on each side.
SUPPLIES: FANCIER MAP FRAME
All of the above.
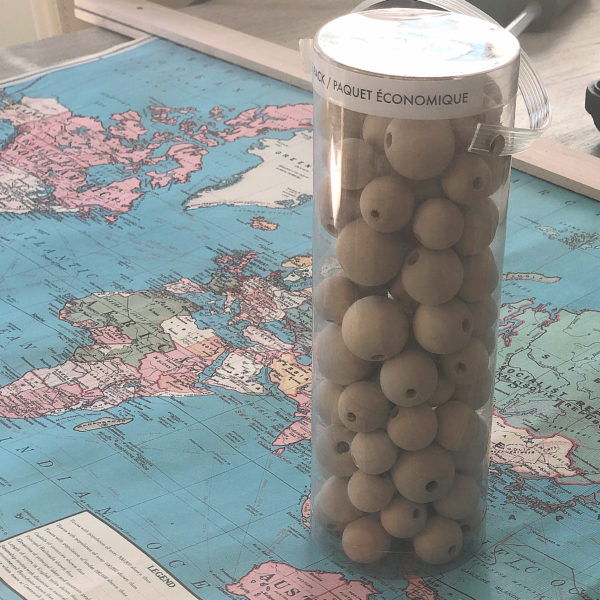
Round wooden beads (optional) ($5 at a craft store.)

Here’s What You Do:
OK, you’ve got everything you need to make a vintage, schoolhouse style frame for your large map. There’s juts a few easy steps before you’ll be enjoying your diy map wall decor.
Step 1
Prep your wood pieces. If your wood is rough, use a sanding block with a fine grit or some sand paper to smooth out the surface. Next, if you plan to stain your wood frame (and beads), it might be easiest to do it now, rather than when it’s assembled. (I stained mine at the end, but I’d wished I’d done it earlier. It was a little tricky to keep the wood stain off the map.)
Step 2
Adhere the back wood pieces to your map wall decor. Lay two wood pieces lengthwise on a flat service. Move them so that the vertical space between the pieces is the height of your map. Place a few dots of hot glue along each piece. Carefully position your map on top of the glue, and press it down firmly.

Step 3
Adhere the front wood pieces to your map wall decor. Again using your glue gun, place some glue along the top and bottom edges of your map. Firmly adhere the remaining two wood pieces to your map at the top and bottom edges.

Step 4
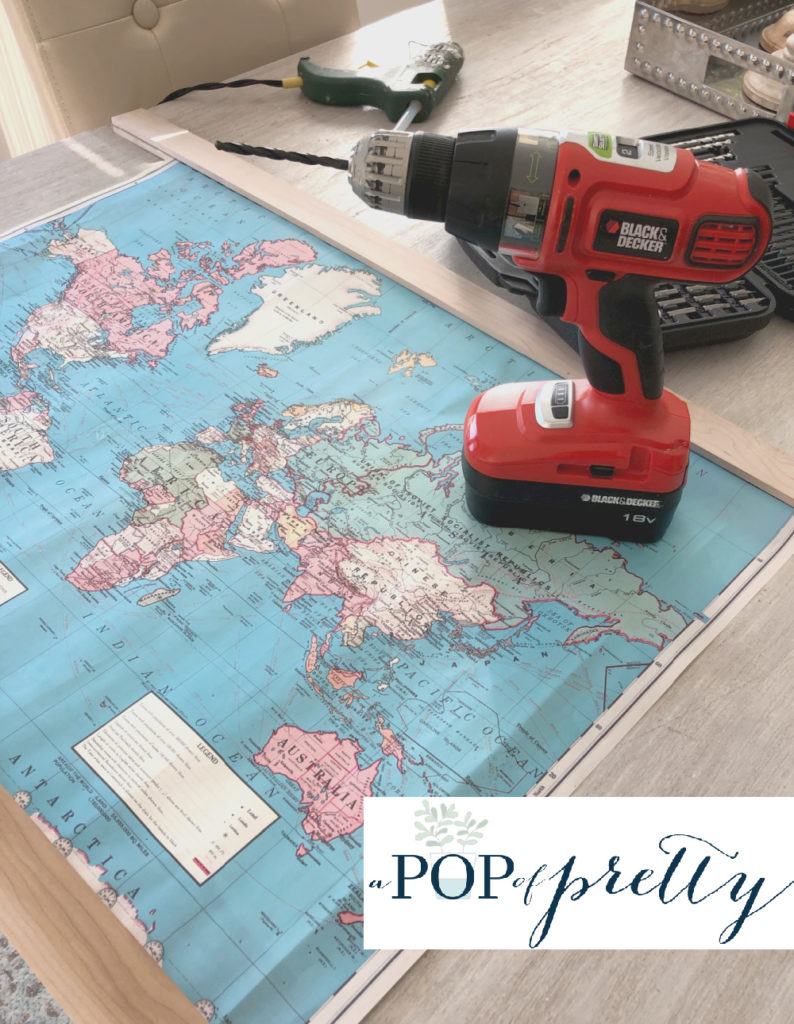
Drill the holes in the wood frame for your string. Place the edge of the wood over the end of a countertop or table, and drill straight down through the front and back wood pieces. The hole should be a little wider than the string to make it easy to thread it through the holes.

BASIC MAP FRAME
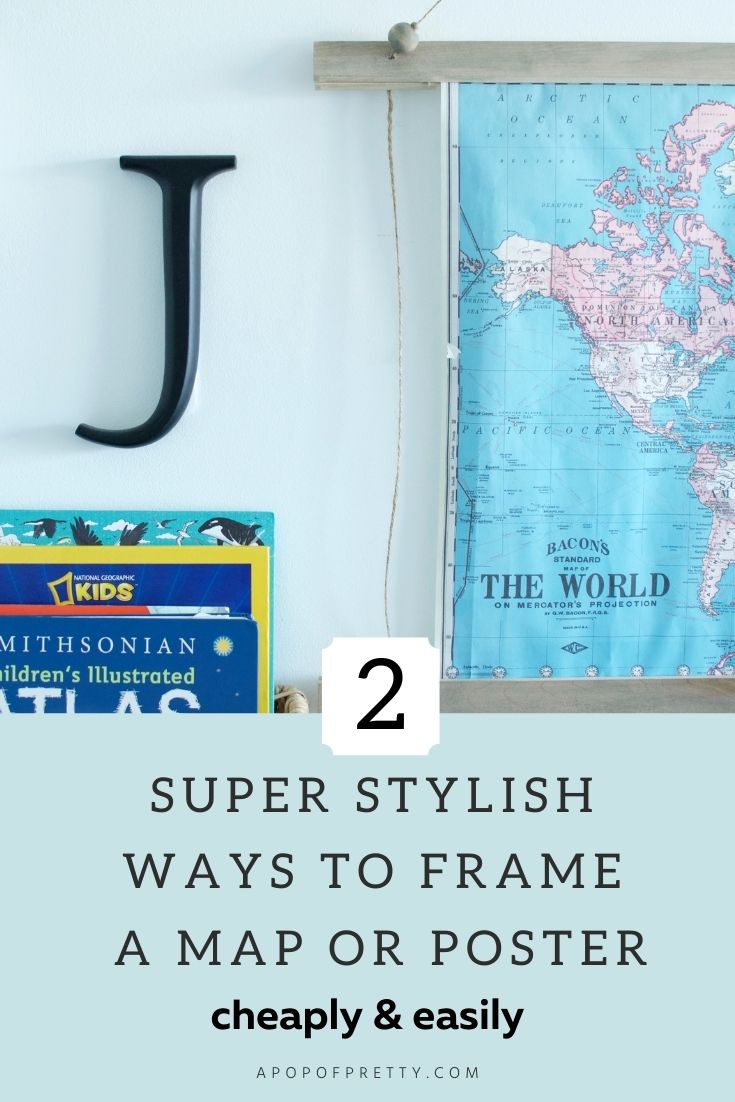
If you want your map wall decor to look the left photo above, a more basic version, just drill the top 2 corners.
FANCIER MAP FRAME
If you want it to look like the right version (with the beads) drill holes in all 4 corners of the frame.


Step 5
Add the string to your wood frame. We’re almost done! Now, it’s time to add the string to your map frame. The instructions for adding string to your map wall decor are slightly different depending on which version you are making,
BASIC MAP FRAME
Cut the string so that it will be long enough to hang the map at the height you want. I simply ‘eyeballed’ this by holding the string in a triangular shape up to the wall, also accounting for how tall the map was. Then I added some extra length, just in case ;-). Now, take one end of the string, and start at the back of your map frame. Thread the string up through the two holes you drilled on one side. Tie a double or triple knot in your jute and trim. Now, simply repeat with the other end of the string, on the other side.
FANCIER MAP FRAME
For this version, you do exactly the same thing as the basic version. But you will also need to add double the height of your map and a little extra to work with.

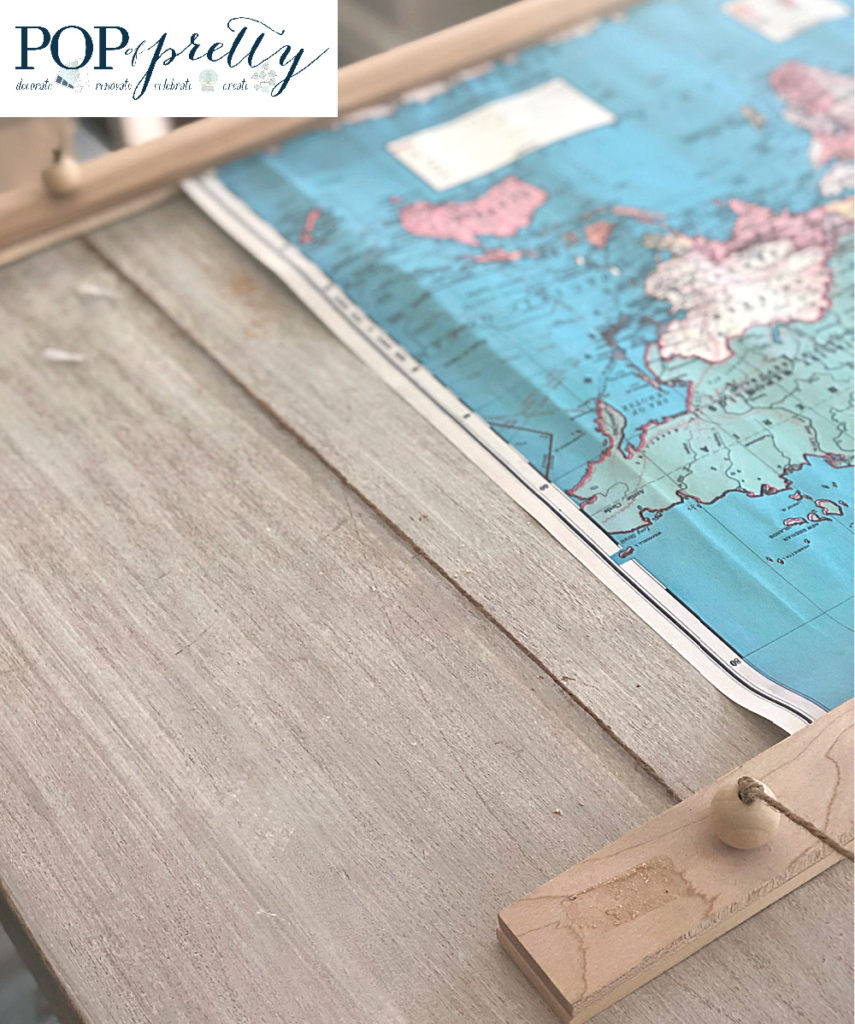
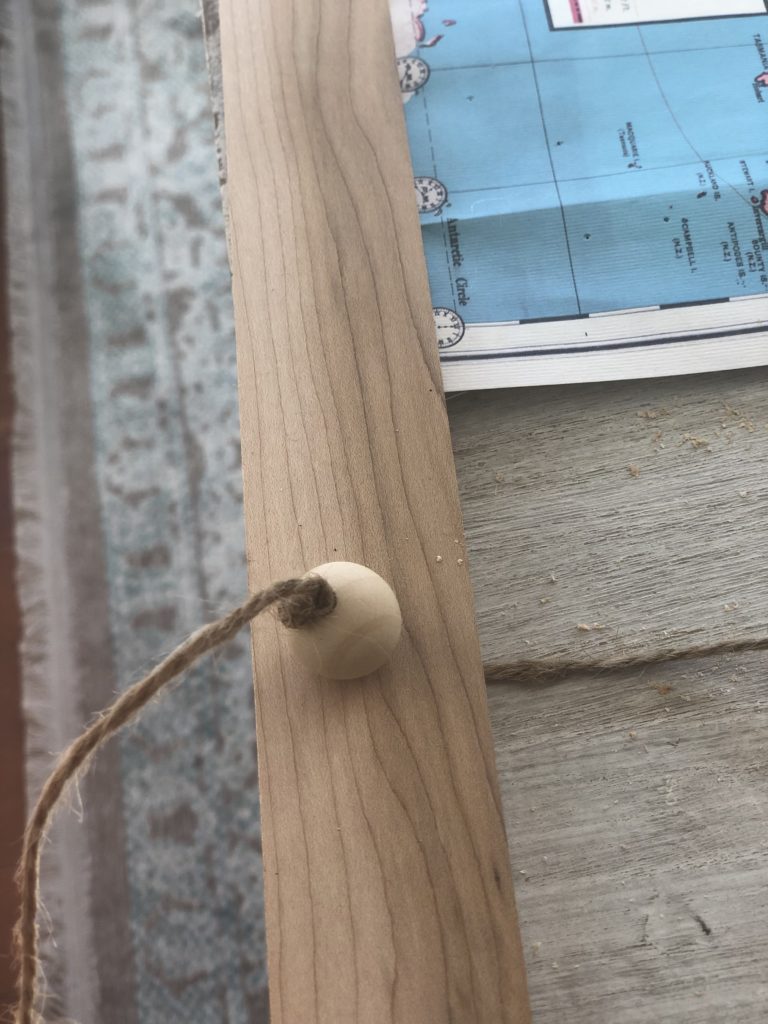
For the fancier map frame: You will add the long piece of string as one continuous length. Take one end of your string, and thread it up through the two holes you drilled in the bottom left corner of your frame. Add a wood bed and then tie a triple knot in your jute string so that it can’t slide back through the hole.
Now, take the free end of your long string, and thread it up through the top, left corner of your map frame the same way. Slide a wood bead all the way down your long string. Without cutting the string, tie a triple knot as close to the hole as possible.

Now, you’ll need to judge how much string you’ll need at the top of the map frame to hang it. With enough strong left for hanging the map, move on to the top, right corner. Starting at the back of the frame, thread the string up through holes, add a wood bead, and knot it as you did on the top, left side.
Finish off by placing the string up through the bottom, right corner of the map frame. Add a wood bead, and tie a triple knot in your string. Now trim your string.
Step 6
Voila, you can hang your pretty map wall decor on a nail or a hook!
Note: If you find that the weight of the wood is pulling your map forward at the top, there’s a simple fix. I added some hot glue to back of the top frame to hold the string it in its place. This allowed the map to stand a little straighter on the wall.
Need Supplies for Your MAP Wall Decor Project?
I’ve rounded up some of my favourite maps and supplies for this map wall decor tutorial. (Contains affiliate selections,)

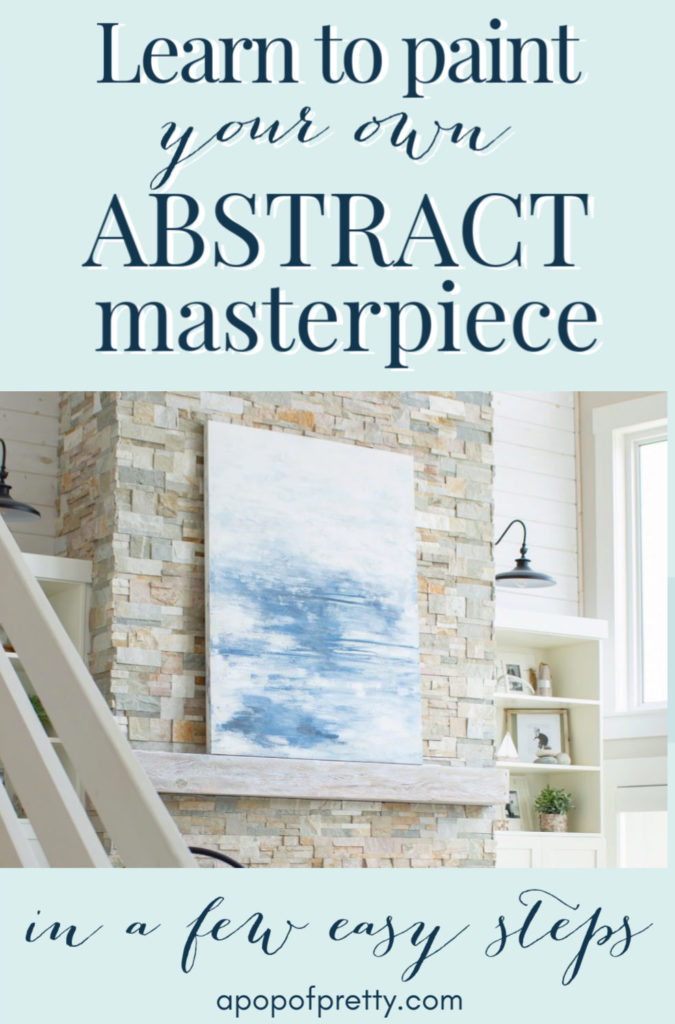
Want More DIY Wall Art Ideas?
If you love to make your own wall art, you might also love this recent post on how to paint your own abstract art tutorial!

Hope you enjoyed this tutorial! If so, be sure to pin it to Pinterest so others can find it too!
Until next time,
K.