This post was most recently updated on September 22nd, 2019
 |
| Click here |
I was looking back through some pictures the other day, and came across some that I took while assembling a piece of art for my twin boys’ nursery while I was pregnant.
 |
| My sweet boys! |
(They’re now 15 months old. This pic was taken when they were 6 months. Aren’t they sweeeeeeet?!? I know, I am biased!)
OK back to the project.
Must. Stay. On. Track. 😉
That was pre blog days, so I’m not even sure why I took these step by step pics; perhaps I was thinking I’d scrapbook them some day? (She says while rolling over in laughter!) I was an avid scrapbooker when my 6-year old daughter was younger, but this twins’ thing is a whole other ballgame!
I thought I’d share the little tutorial here, as I know how expensive it can be to buy large pieces for a child’s room. I know, because I searched high and low for a piece with ‘mod’ elephants (to match the room), but I found nothing large scale that was afforable. The space I was trying to fill was above a 6-foot wide dresser so it couldn’t be wimpy. Plus, I have to admit, there’s just something extra special about hanging “something mommy made” especially for them.

You can see more of the nursery decor at HGTV by clicking here.
Anyway, back to the project. Must.Stay.Focused. 🙂
I had some vinyl pieces leftover from this customized wall quote that I designed for their wall. (I designed it via thesimplestencil.com and vinylwallart.com, but if you have a Silhouette, even better).

At first, I thought about using the extra pieces in several smaller 8×10-ish frames, and creating a gallery wall over the dresser.
But then it dawned on me – why not piece scrapbooking paper together and create a larger piece?
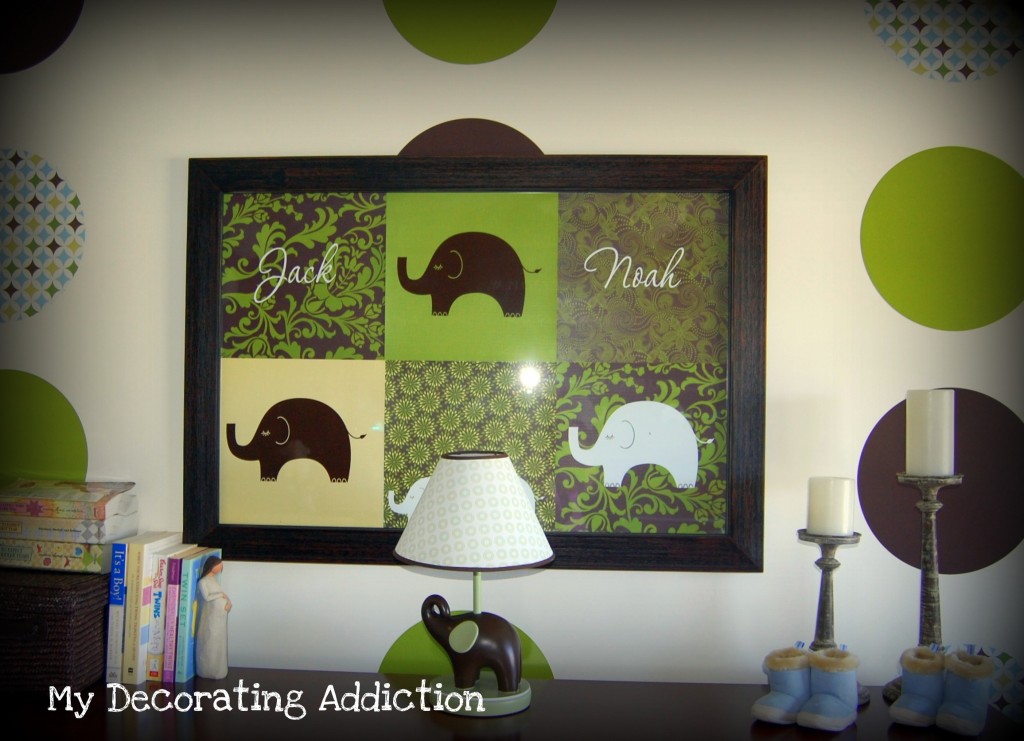
So off to Michael’s I trotted (yes I mentioned Michael’s again!), and I bought a large 36×24 glass frame. I think it was regularly priced at about $50-ish, but I got it half price for about $25. (They always have great coupons, so don’t buy anything there at regular price!). This size was perfect because six sheets of standard 12×12 scrapbooking paper would fit perfectly in the frame.
Next, I ‘shopped’ my rather large scrapbooking stash for six sheets of paper that would match the growing mod theme in the nursery. I found some awesome graphical papers in greens, blues and browns that had a 70s kinda feel; just what I was looking for.

I used doubled sided scrapbooking tape to adhere each piece of 12×12 paper to the 36×24 sheet that came inside the frame.
Final step? Simply to slide the sheet back into the frame.

And voila, an awesome custom piece for a fraction of what you’d pay a retailer.

My daughter tells her baby brothers that it’s special because “it’s something that mommy made you”.

Until next time, happy decorating.
![]()

Psst…I’m sharing this at


![]()