

This post was most recently updated on September 23rd, 2019
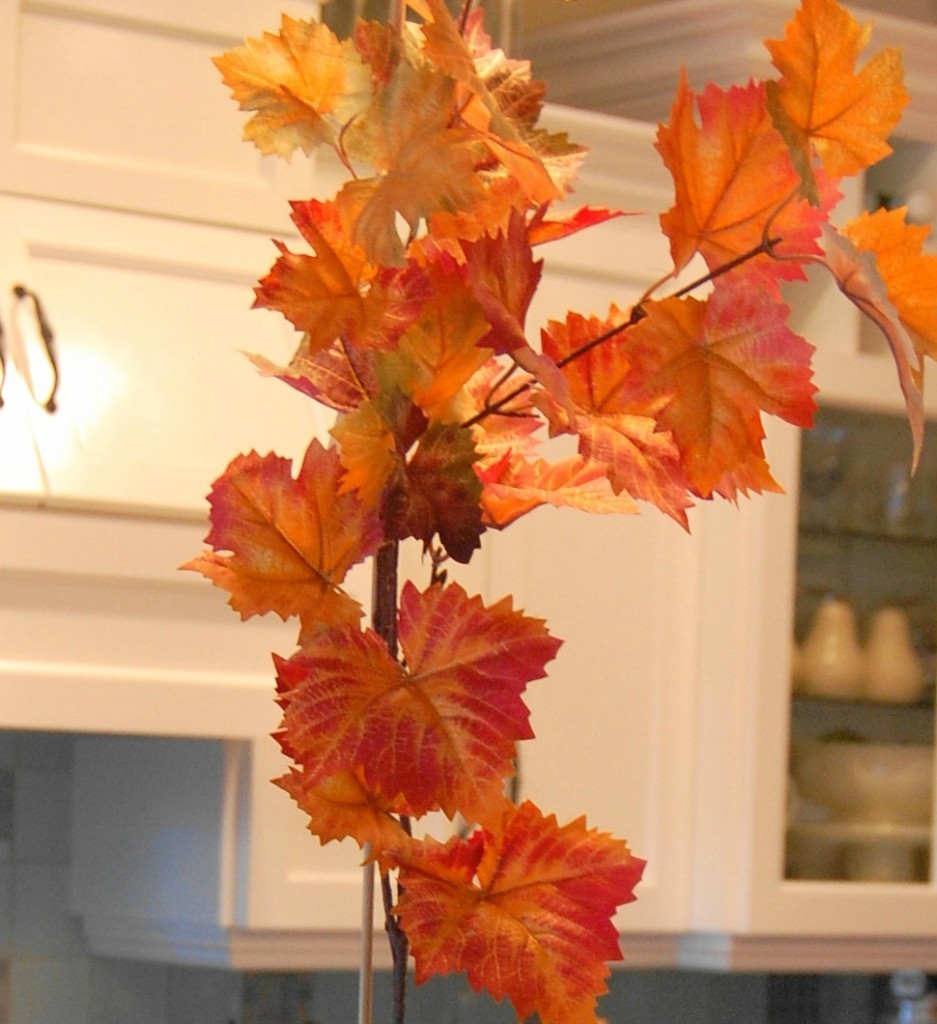
First day back to school around here, and I’ve got Fall on my brain! I thought I’d share a super-easy little tutorial today on how to make an authentic-looking potted maple seedling for your fall decor, just like this one. I made two seedlings, one for each end of my mantel, but one would also look great on a kitchen island or console table; just about anywhere you have some height to work with. 


Step 1: Fit your foam into your pot. If it’s too tight, just trim some of the foam.
Step 2: Gently twist your maple sprig into the foam being sure not to make the hole too big (or you’ll have a wobbly tree). 

Step 3: Now gently twist your dowel into the foam, about a 1/4 an inch from the sprig. You don’t want it too close, or you’ll end up with one large hole.


Step 4: Tie the maple sprig and dowel together tightly with some pretty ribbon or twine, about half-way up, in order to give it some support. You can also tie some near the top if you find it’s a little bendy.


Step 5: To hide the foam, and give it the look of soil, paint it with some brown craft paint. At this point, I also hot glued some moss on top of the foam to give it a more authentic look.


Step 6 (Optional):To give it the look of a nursery tree, you can also add a little descriptive tag. I used chalkboard tags that I had on hand, and simply wrote ‘maple’ in white chalk. But I also considered painting something directly on the pot, or painting the pots in chalkboard paint.


And, that’s it! Easy, right?
Here’s the finished product!

The pair that I made are on my ‘Fall’ mantel which I’ll do a post about later in the week.
Until next time, happy fall crafting!
KL
P.S. Hooray, this was selected as a ‘Top 10″ project at the “CSI Project: Orange Challenge”!


P.P. S., I shared this tutorial at: The Inspired Room’s Fall Nesting Party
and


and
![]()