
This post was most recently updated on November 11th, 2021
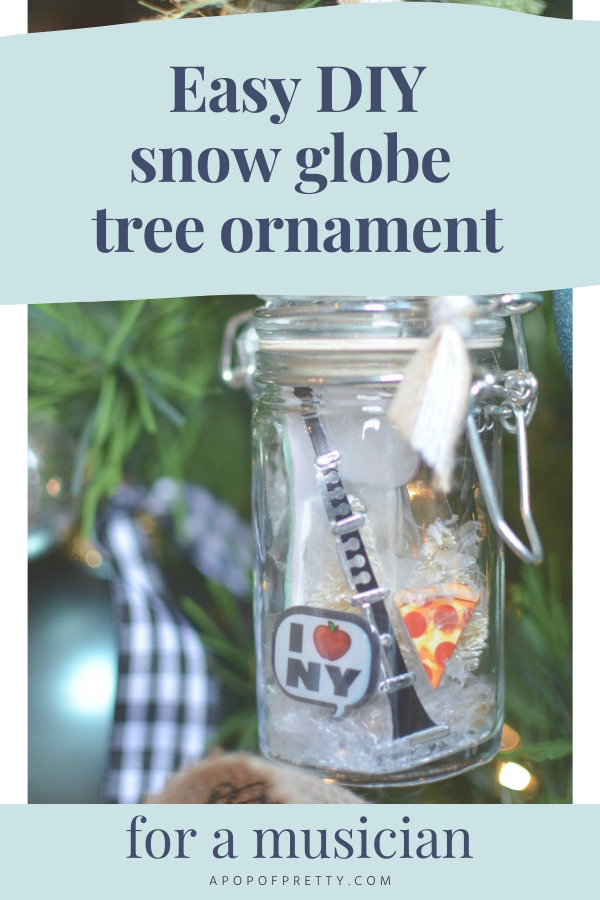
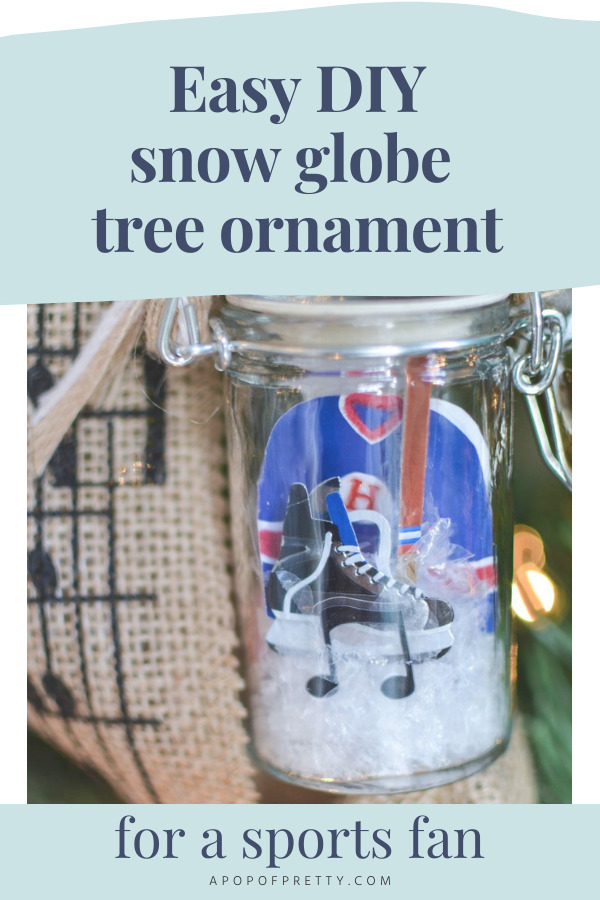
In this article: You’ll find a super easy, personalized diy Christmas ornament that you can give as a gift to friends or family . These small spice jar snow globes are personalized with all the things that make a special somebody truly unique, whether they’re an athlete who plays trumpet, or a musician who love pizza! Plus, these homemade tree decorations are super affordable. You can find the supplies for these holiday ornaments at just about any dollar store. And, the best thing is that this tutorial is easy enough for kids to make too! Read on to learn how to make them.
Do you want to make a diy Christmas ornament to give somebody to special? Handmade Christmas tree ornaments are my absolute favourite. Growing up, we had a very special aunt who attached a homemade tree decoration to our gift each and every year. (That was way back before Pinterest! She was a true crafty type with endless ideas.) And, 30 years later, I still have her homemade decorations on my tree! In fact, they’re my most cherished ornaments.

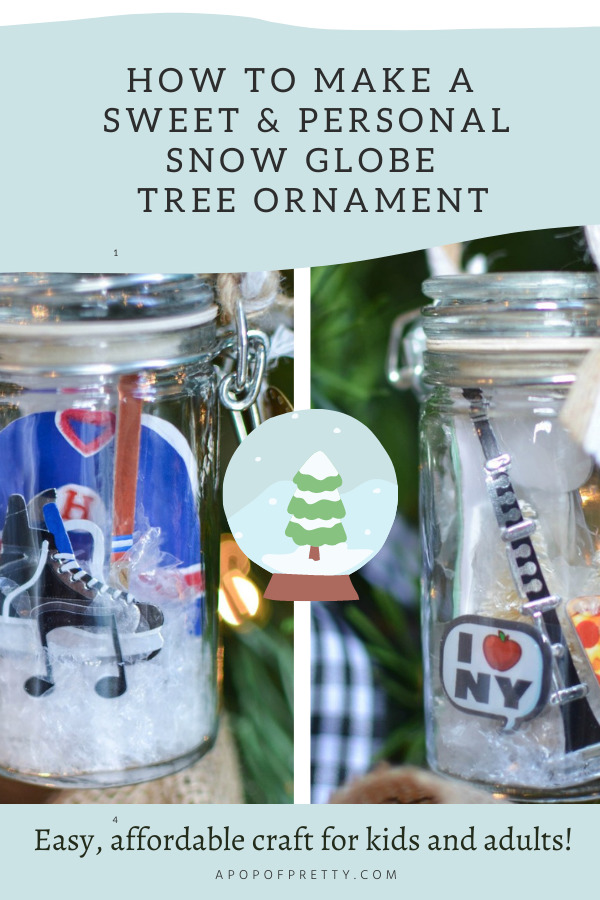
DIY Christmas Ornament: Personalized Spice Jar Snow Globes
So, I wanted to keep this sweet tradition alive by coming up with my own diy Christmas ornament idea for my daughter, niece and nephew. Whatever holiday craft I made, I knew I wanted it to be personal to each kid.
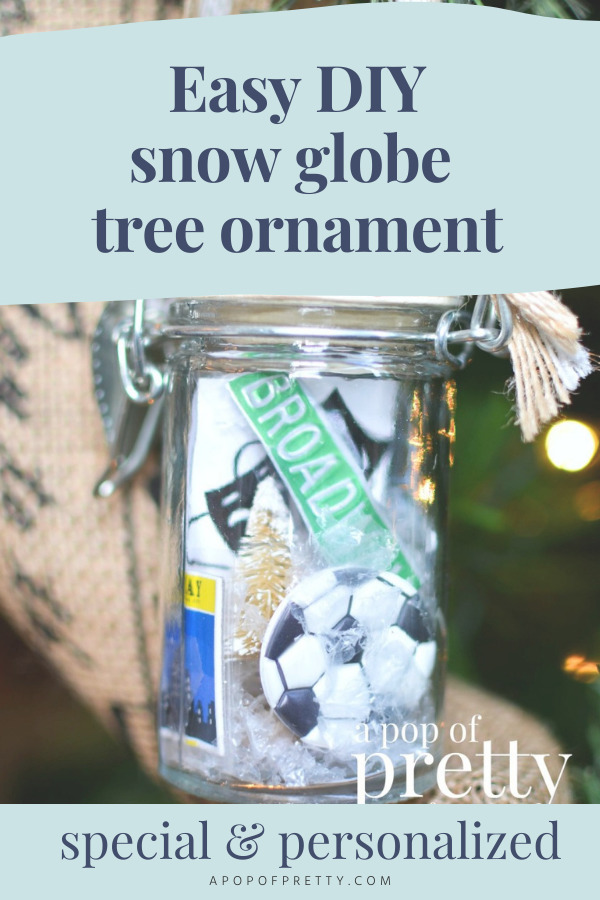
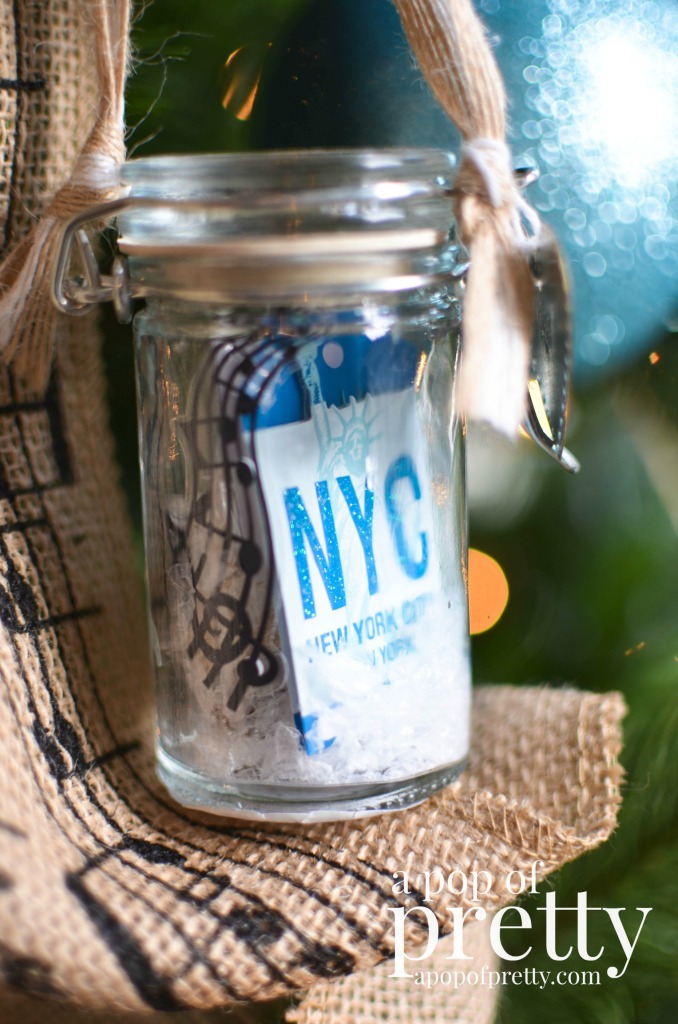
I brainstormed all kinds of diy christmas ornament ideas that could incorporate things they each loved – like music, sports, favourite foods, or travel destinations. I decided that mini snow globes made from clear jars would be perfect. Have you seen the mason jar snow globes that are all the rage these days? Well, I took that concept and I shrunk it down to a size that could be hung on a Christmas tree.

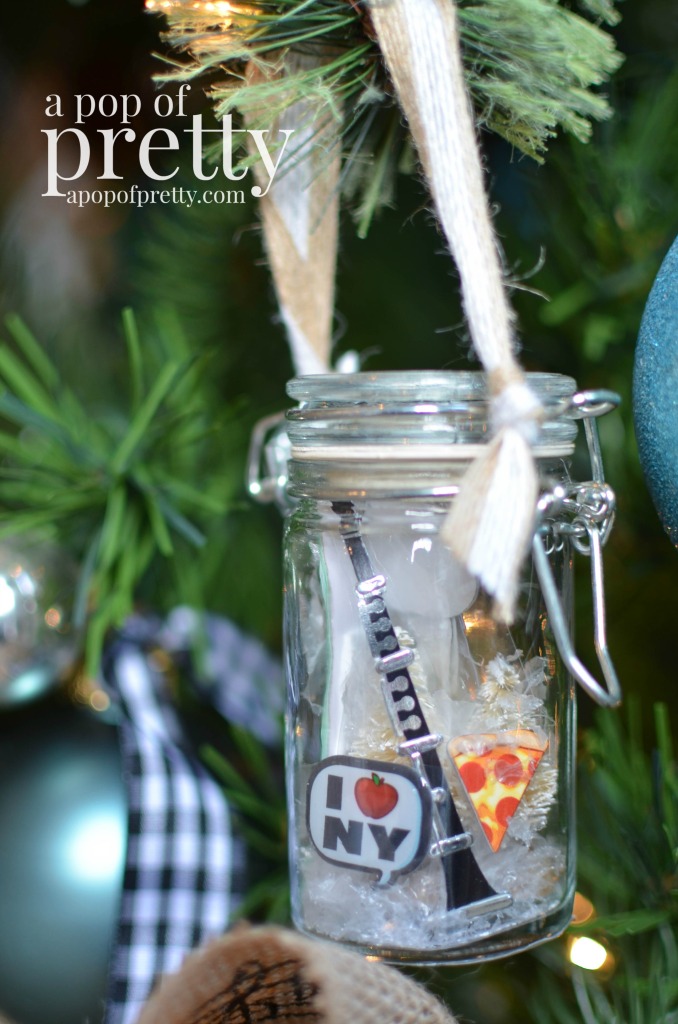
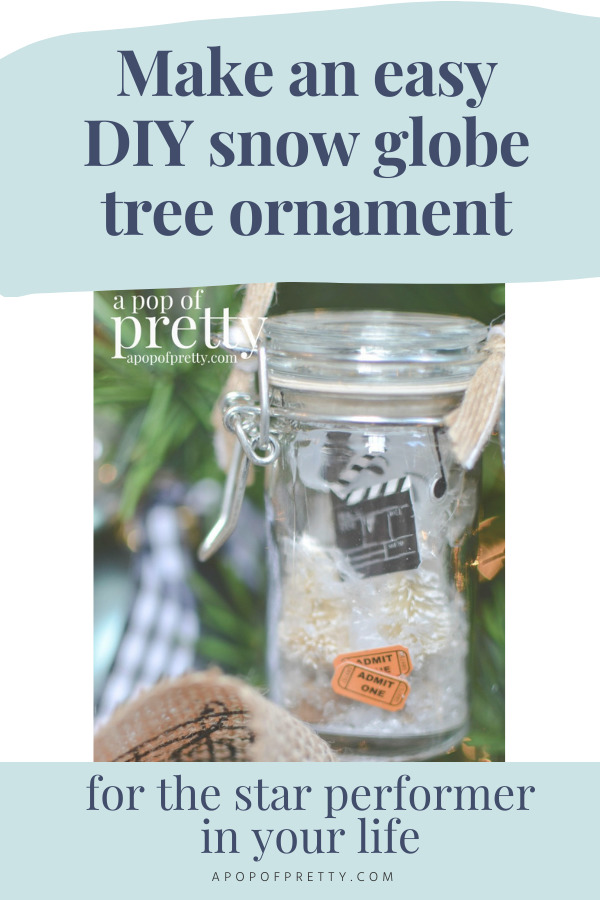
For the jars, I found the cutest, vintage style spice jars at my local dollar store that were the perfect size. And, bonus, they were only a couple of bucks each! You can see the type of jar I used in the photo above. They’re the ones with a hinged lid that you latch shut. Cute, right?
The challenge was figuring out what to use inside because these jars are so small. I decided to use scrapbook stickers! Scrapbook stickers are actually ideal for this diy Christmas ornament project because you can find them for any theme at all – sports, music, performing arts, travel, food, you name it. And, you can easily find affordable ones at craft and dollar stores.
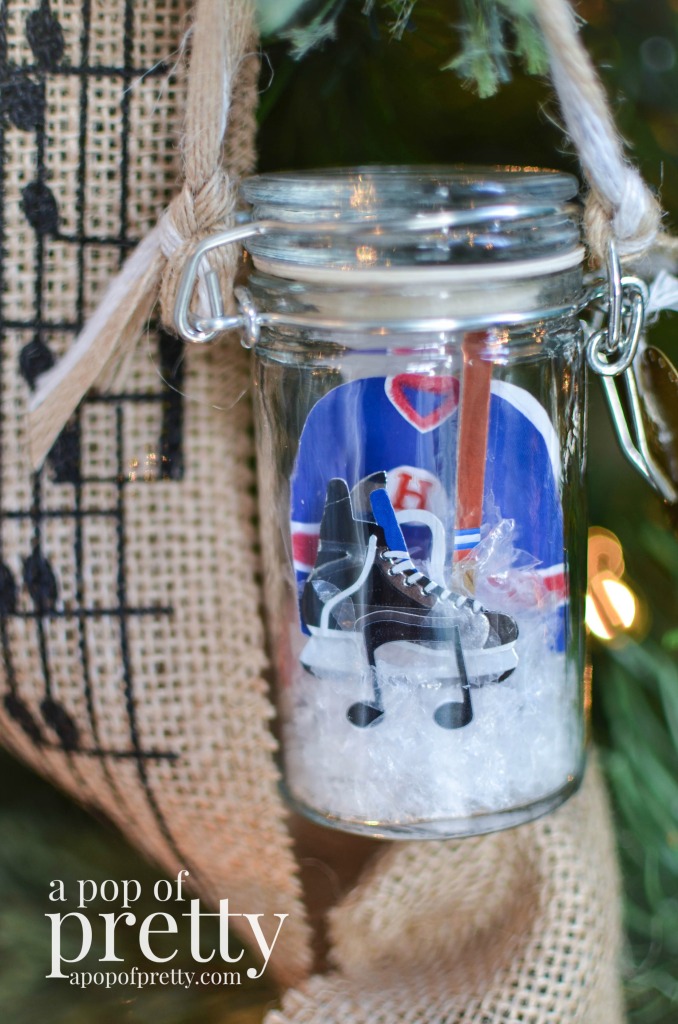
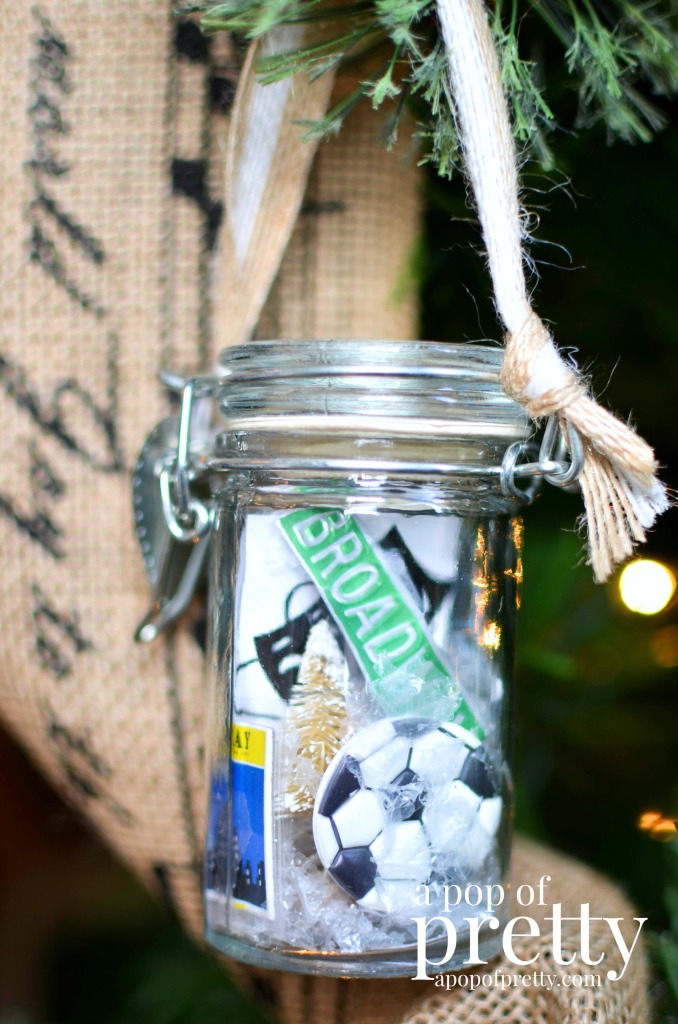
Because I was making these personalized Christmas ornaments for my daughter, and my niece and nephew, I selected stickers that matched their individual passions. I wanted the ornaments to be meaningful and tell their personal story.So, I filled the spice jars up with everything from sports to music to pizza ;-).
Step by Step Instructions
How to Make This DIY Christmas Ornament
Supply List
To make these personalized snow globe tree ornaments, all you need is:
- a glass spice jar (dollar store)
- 3D/embossed scrapbook stickers (dollar or craft store)
- ribbon of choice for hanging (less than an inch wide)
- faux snow (dollar or craft store)
- scissors
- tweezers
- mini bottle brush Christmas trees and glue gun (optional)
Instructions
Here’s the easy-peasey steps for making your own spice jar snow globe diy Christmas ornament for your friends and family.
Step 1: Prepare stickers
For this craft, you won’t want your scrapbook stickers to be sticky on the back . If they were, they’d stick together in the bottle, or worse, end up in a big ol’ mess of faux snow. Instead, we want the stickers to appear as if they float inside the jar. So, be sure to leave the backing on your stickers. Cut around each scrapbook sticker carefully with the backing still attached. If some of the backing comes off, or, if it’s difficult to remove them with the backing attached, just replace with some plain paper.
Step 2: Add mini bottle brush trees (optional).
Next, if you are using mini bottle brush trees in your spice jar snow globe, now is the time to add them to your jar. Secure your little trees them at the base of the bottle with hot glue, and wait a few minutes before moving on to the next step.

Step 3: Add faux snow.
Now it’s the time to sprinkle in some faux snow to your snow globe. Faux snow is a bit messy to work with, so hold your jar snow globe over the sink or trash while adding it. Just add enough snow to cover about a quarter of the base of the bottle.
Step 4: Place stickers inside spice jar snow globe.
To place the scrapbook stickers inside the snow globe, you’ll want to use tweezers. Carefully arrange them inside the spice jar in a way so that all the fronts are visible. You also want to place them so hat each angle of the bottle has something interesting to look at no matter how it hangs on the Christmas tree. This detailed work might take a little bit of patience, but it will be worth it!
Step 5: Add ribbon for hanging.
Now that your stickers are all arranged, close the spice jar latch tightly. Attach a cute ribbon for hanging it on a tree by knotting it on each side of the metal closing mechanism. It’s that easy! Now you know how to make a diy Christmas ornament that will be cherished by friends and families for years to come.
Yay, now you have a sweet DIY Christmas ornament to give to someone special!
The coolest thing about these personalized Christmas ornaments is that you can add new things to them each year. Just open the spice jar lid, and place anything in there that is meaningful and personal.
How to Decorate for Christmas
And, while you’re here, you might like these popular Christmas decorating posts on how to decorate for Christmas!
How to Put Ribbon on a Christmas Tree
What Goes on First? The Best Order to Decorate Your Tree
Share the DIY Christmas Love
If you like this Christmas craft and think others might too, I’d love for you to share it on Pinterest or your social media so others can find it too! Just pin any image on this page, or one of the three below. And, if you make one of these DIY Christmas ornaments, please come back and tell us all about it in the Comments!
Have the best holiday season!
I hope all your holiday preparations are in full swing, and that you take time to enjoy the things that make you smile during the coming weeks.
Until next time,
K.


Until next time,
K.