

This post was most recently updated on September 22nd, 2019
Hello friends! Today, I’m back with a diy Fall wreath after sharing some fun Fall decor idea earlier this week. I hope you caught my links to the Canadian Bloggers Fall Home Tour the other day. If not, no worries. You can find my post that shares all the details by clicking: Fall Decor Ideas – Canadian Bloggers Fall Home Tour 2016.

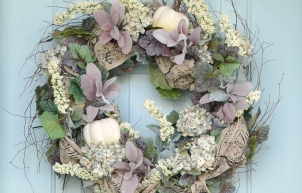
Then come on back over here to catch today’s post on how to make a neutral, floral diy Fall wreath. Personally, I’m not crazy about Fall reds and oranges, and most wreaths you find in stores use these traditional Fall colours. This diy Fall wreath uses a more neutral palette included berries, pumpkins, and hydrangeas in creamy shades. I also used some basic greenery, and a few hits of muted purple. For the ribbon, I used a basic burlap/linen type one with french script.

I dove into this project before my camera was charged. I know, right. Duh. Sometimes the excited crafter in me gets the better of the blogger. And then, when I’m nearly done, I’m all “Darn! This would have been a fun blog post!” So I’ll try my best to describe how to make a florally diy Fall wreath like this one.
DIY Fall Wreath – Materials
thin silver wire
wire cutters
glue gun
a wide, wired ribbon of your choice (at least 2-3 inches)
a standard grapevine wreath
a long strand of greenery (standard length – about 5 -6 feet)
3 ‘bunches’ of seasonal florals like hydrangeas
2 ‘bunches’ of seasonal berries
2 large sprigs of leaves (in whatever colour you love)
a few small adornments like mini-pumpkins
DIY Fall Wreath – Instructions
Step 1:
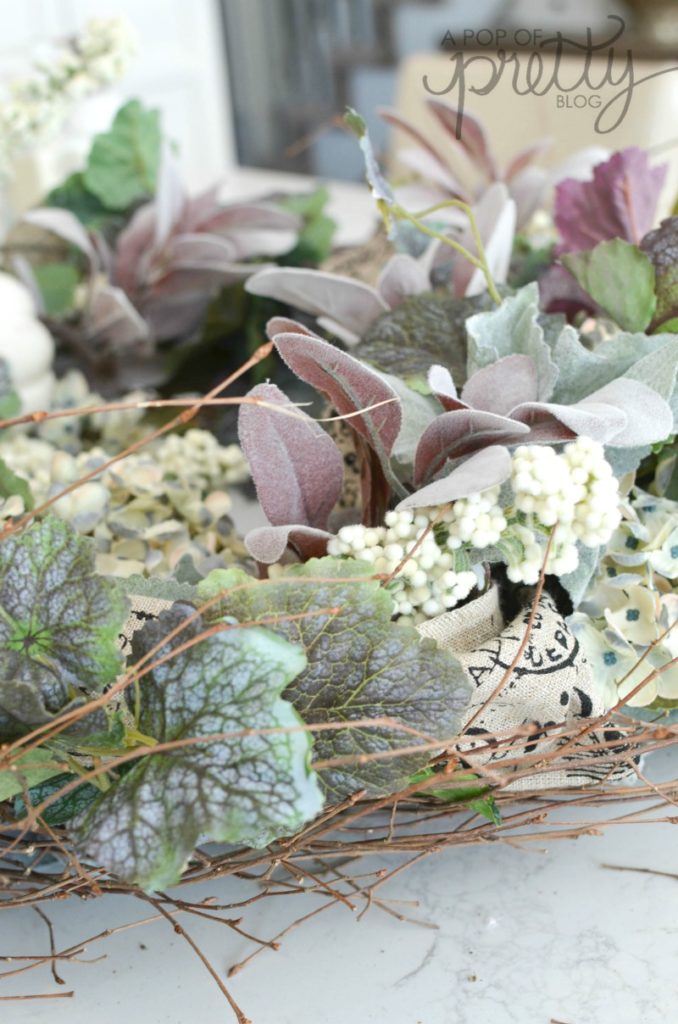
Start by wrapping your strand of greenery around the grapevine wreath. Tuck it in here and there to secure it.
Step 2:
Next, add your ribbon (without cutting it) by loosely placing it around the circumference of the wreath. Next, use wire to secure it in place about every 3-4 inches. If you want your ribbon to look loose and full, just tug it toward you a bit before securing it with the wire. 

Step 3:
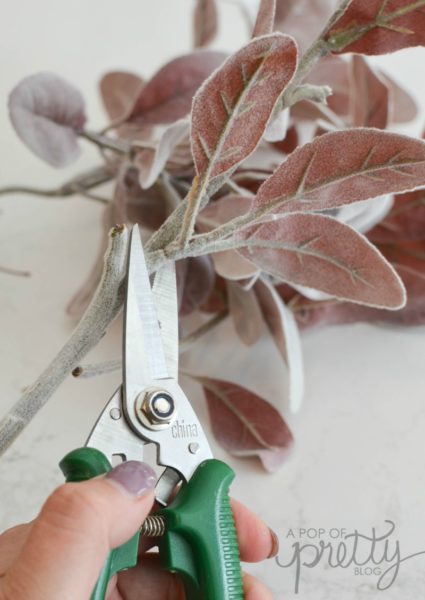
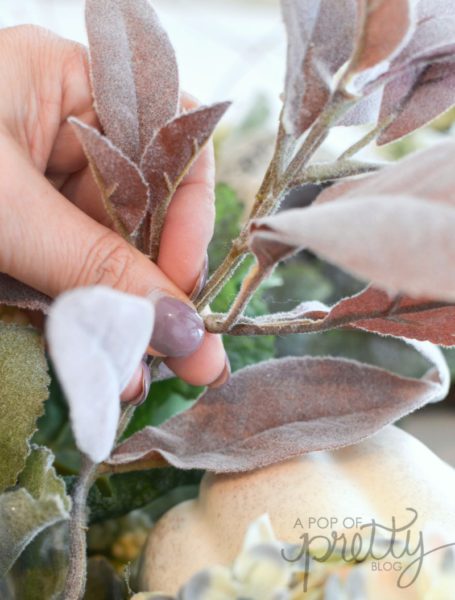
Next cut, your ‘bunches’ of florals, berries and sprigs into smaller pieces using your wire cutters.
Sometimes you can simply crack them off at the nodules on the stem by bending back and forth a few times.

Step 4:
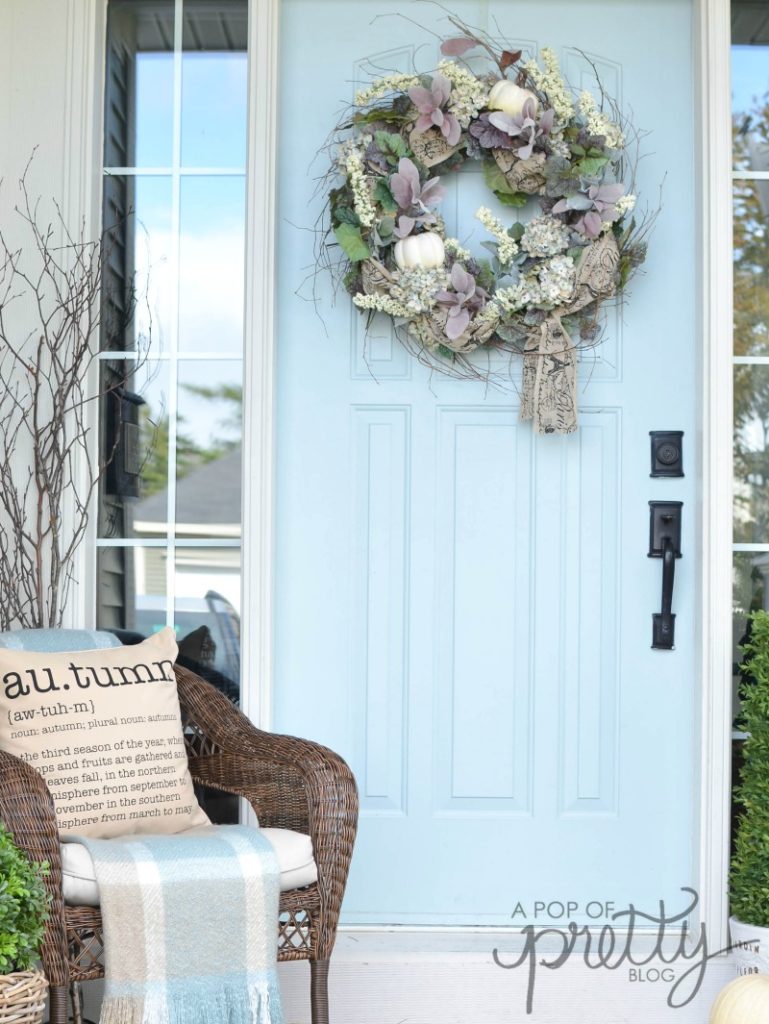
Now, poke each smaller bunch into your wreath, ensuring each different type of floral is evenly dispersed. Often, just poking them into the grapevine wreath is enough to secure them. But, if they feel loose, just use some wire to secure them more tightly. I always try to do this step with my wreath hanging vertically (like on a door), rather than horizontally. It helps to create a more full, symmetrical wreath.

Step 5:
If you want to add adornments that can’t be easily wired on, heat up your glue gun. For example, the pumpkins on my diy Fall wreath had to be glued on. As a general rule, I try not to glue things on my wreathes. This is so that I can more easily dissemble them later. I have taken entire wreathes apart and used the materials to create a new one!

So there it is. Do you have any tips on how to make a floral wreath? I know that most crafters have their own methods. I love to learn new ways of doing things, so please feel free to share in the comments!
Have a fab Fall day. It’s raining and cold here, but I’m going to light a scented candle and pretend the weather is glorious!
Until next time,
Kerri xo