This post was most recently updated on January 23rd, 2020
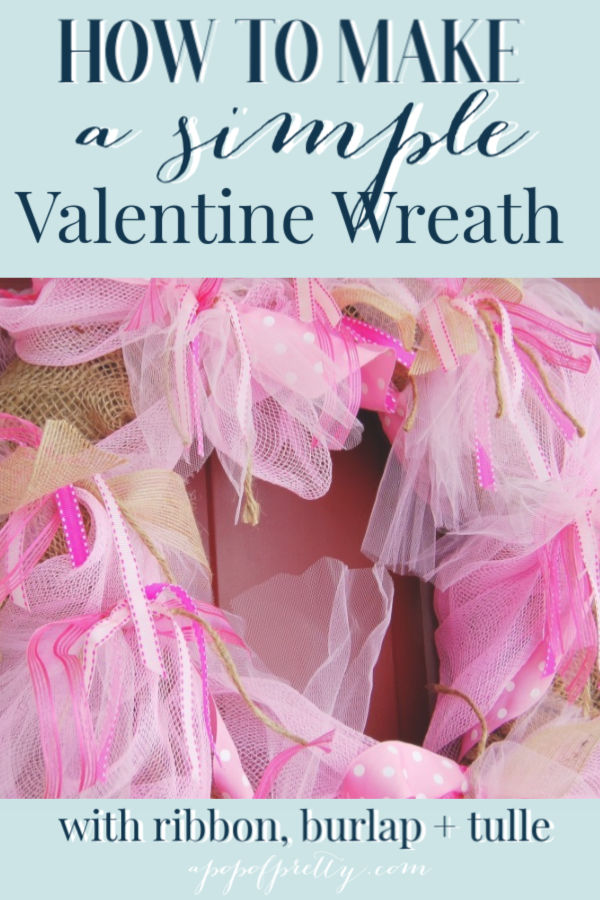
In this article: You’ll learn how to make a Valentine Wreath easily (in just 30 minutes or less), using ribbon, tulle, and burlap. This Valentine wreath is easy to make and is durable enough to put inside or outside. It will make a bright and happy statement on your front door this winter!
Are you searching for an east-to-make Valentine Wreath for your front door? Our winter season is pretty harsh here, with lots of wind, snow and freezing rain. It’s not exactly the ideal weather for a Valentine wreath! Still, I was determined to make a Valentine wreath to brighten up our dreary snow-covered front porch for Valentines Day. Plus, I can’t resist a chance to decorate with pink!

Please note that this article includes affiliate shopping links for your shopping convenience. As an Amazon affiliate, I may earn from shopping links in blog posts like this one.
The Best Valentine Wreath for Winter Weather
I was stuck for awhile on what kind of material to use for my Valentine Wreath, as well as how to fasten any accessories. This was because the wreath would have to be ‘weatherproof’ enough to withstand an early February snow storm.
I ruled out lots of pretty ideas (for example, a felted rose wreath) because I knew they’d either end up soaked or blown to smithereens, lol. I ended up making a ribbon wreath because it seemed hardy enough to take a beating from the North Atlantic winds. No gluing. No wiring. Everything is tied down to the wreath with knots!


What You’ll Need
Want to know how to make a Valentine wreath like this for your door? It was super easy! You can complete this project in less than 30 minutes, and you might even be able to make it with some things you are saving in your craft storage! Yay!
The thing I love most about this particular Valentine wreath is that there is really no right or wrong way to make it. And, you can use up things you might be saving, like remnants of burlap, deco mesh and ribbon. As your wreath form, you can even re-use an old one because you’ll be covering it up anyway.

Required Materials
Here is what you’ll need for your Valentine wreath:
- Any wreath form. You could use any kind of wreath form as it’ll end up completely covered in burlap. For example, a grapevine wreath or a foam wreath. (I used a grapevine wreath.)
- Twine
- Burlap (any width)
- Tulle (any width)
- Deco Mesh / Sinemay (any width)
- Ribbon: a combination of widths (2.5 inch, 1.5 inch and 1/2 inch work best.)
- Scissors
- Glue gun/glue sick and or pins (for a foam wreath.)


How to Make It
Just like the materials needed for this Valentines Wreath, there is precise way to make this wreath. Just use these step by step instructions as guidance, but feel free to put your own twist on it. Honestly, it is SO easy. There is no precise length or width to cut the burlap, deco mesh tulle, ribbon and twine.
Step by Step Instructions
- FIRST: I started by covering a grapevine wreath entirely with burlap. To do this, take your burlap and wrap it tightly and continuously around the wreath until the wreath form is no longer showing. There is no right or wrong way to do this part! If your burlap is wide, you may may wish to cut it into narrower lengths to make this process easier. Once the entire Valentine wreath form is wrapped, secure the burlap at the back of your wreath with some hot glue. If you are using a foam wreath form, use a few straight pins to secure it.
- SECOND: I repeated this process with the pink deco mesh. However, I wrapped it much more loosely so that there were only about 7 wraps of deco mesh around the burlap-covered Valentine wreath form. This was intentional so that there was still lots of burlap showing.
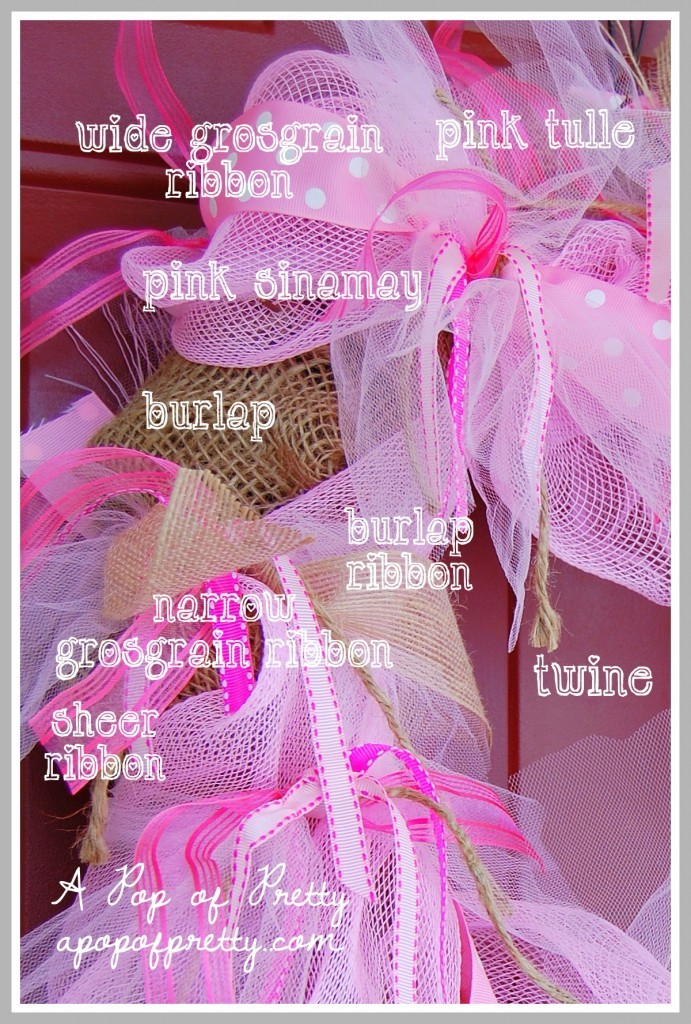
- THIRD: At each of the 7 ‘wraps’ of deco mesh, I pinched it and tied it with several strands of ribbon, tulle and twine. I kept layering on more strands until it looked nice and full at the ‘pinched’ area. Again, there is no ‘right’ or wrong way to do this! In the photo below, you can see how I started with the wide polka dot ribbon, then the tulle. You can use any style of ribbon you like, but mine included two types of narrow grosgrain ribbon, a wide polka dot grosgrain ribbon, a medium sheer ribbon, a medium burlap ribbon, twine, and pink tulle.
- FOURTH: Go around the wreath and repeat the process of tying bunches of ribbon at each wrap of the deco mesh, until your wreath has nice volume and looks balanced.


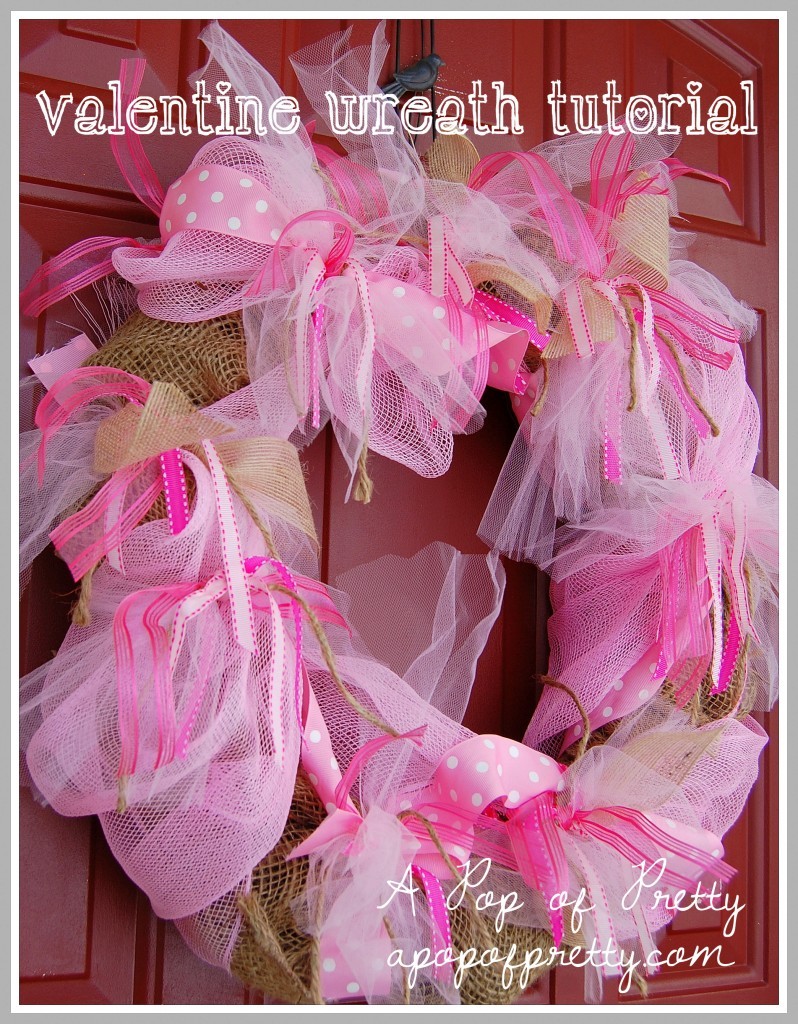
Here’s How Your Valentine Wreath Should Look
Easy peasey, right? Just a few easy steps, and your Valentine wreath will be looking like this in no time at all. If it doesn’t look quite as full, just go back and add more to your ribbon bunches.


Now, go ahead and add it to your front door to create some festive Valentine Day spirit to your home this winter! This wreath is a great way to add a little pop of pretty to a couple of otherwise routine winter weeks!
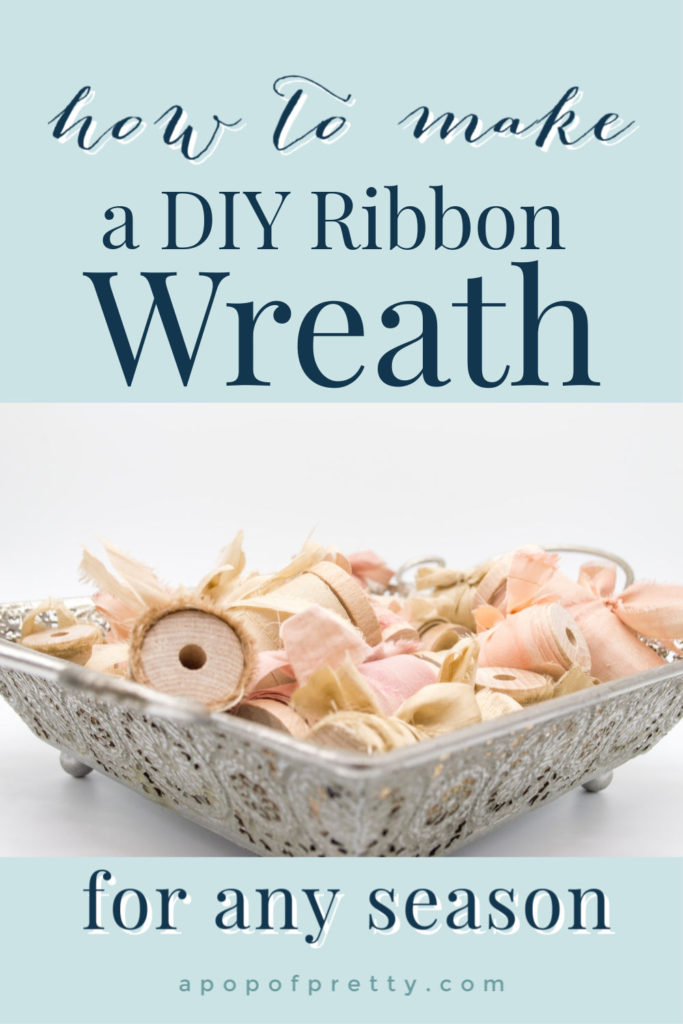
Another Way to Make a Ribbon Wreath
If you are looking for another way to make a tied ribbon wreath, check out this other popular tutorial on my blog:

Share the Love
Did you like this tutorial on how to make a Valentine Wreath? If so, let me know in the comments section. Also, could I ask you to please share it to Pinterest so that others can find it too? Thank you!
Shop the Post: Valentine Wreath Supplies
Wondering where to find the supplies for a Valentine wreath? I’ve rounded some up over on my Amazon Storefront! Check it out!
Enjoy your wreath and Valentine’s Day, friends!
Until next time,
K.
You Might Also Like: