
This post was most recently updated on January 1st, 2020
Well, hello there friends! It’s been a few weeks since I’ve been around! I’ve been busy with a big makeover project in the boys’ bedroom. But before getting started, I had to remove vinyl wall decals, so I thought I’d share a couple of tips on what I learned.

It seems like just months ago that I shared their toddler room makeover, but low and behold, it was nearly two years ago! Time flies. We realized it was time to get them out of toddler beds when we found them sleeping consistently in the downward dog, lol. If you’re new here, or you can’t remember their room, you can click on this photo to check out how their toddler room evolved from their nursery (without changing everything).
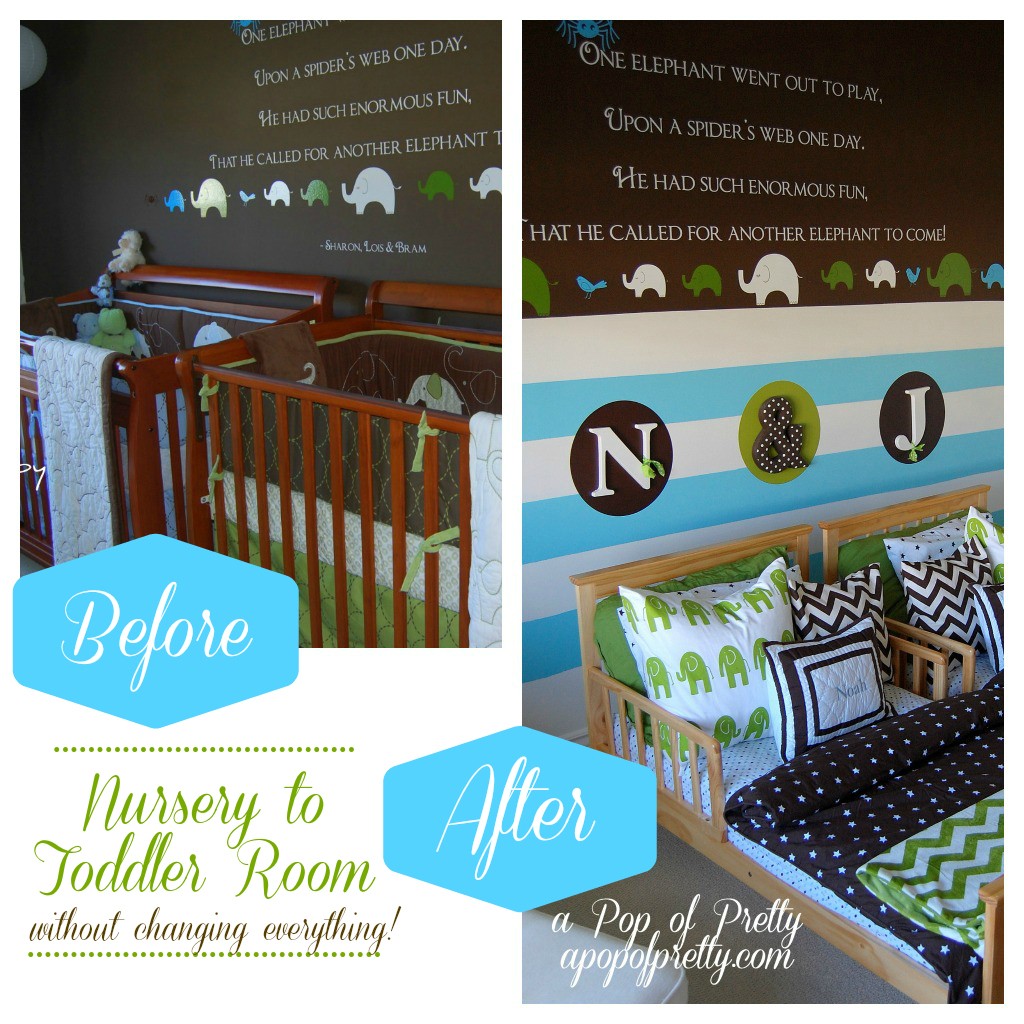

Now that it was time to get their ‘big boy beds’, it was a good opportunity to give the room a entire makeover. We decided to paint it and remove the carpet to have hardwood floors installed. But before we could tackle any of that, I first had to bring myself to remove that wall vinyl you see in the above photo. It was a little emotional, I’m not gonna lie. Boohoo, I loved those elephants. And, the custom vinyl wall quote is from a beloved Canadian children’s song (Sharon, Lois and Bram). Here’s a little background on how this custom vinyl quote came to be, if you’re interested: Elephants, spiders and the ’80s: DIY Wall Idea #19!
Oh right, I did promise to share something more useful than a trip down memory lane, didn’t I?!?
How to Remove Vinyl Wall Decals
If you are wondering how to remove vinyl wall decals, it’s not that hard at all. It just takes a little time and patience. But, much less time and patience than was required to put it up in the first place, so that’s a good thing!
On this wall, I actually had to remove vinyl wall decals that came from two different suppliers, so they differed in adhesion.
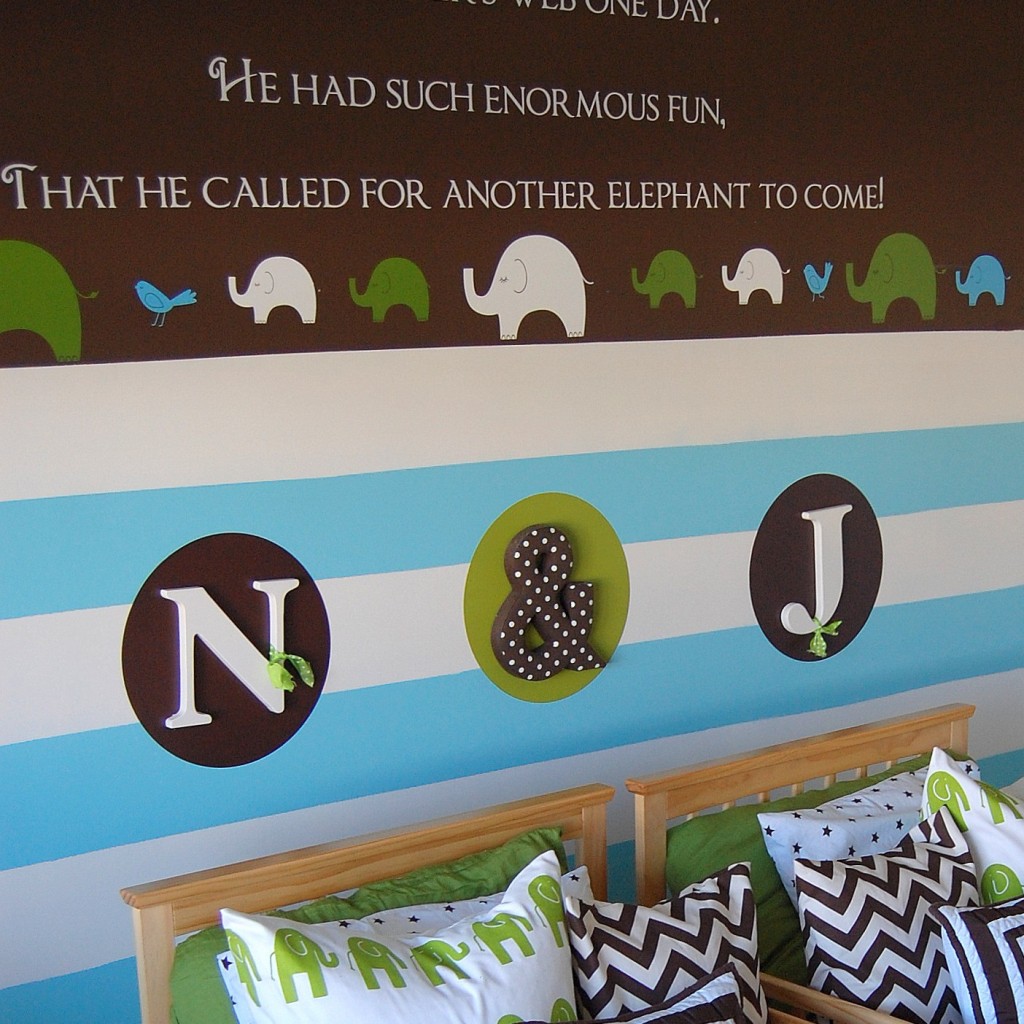

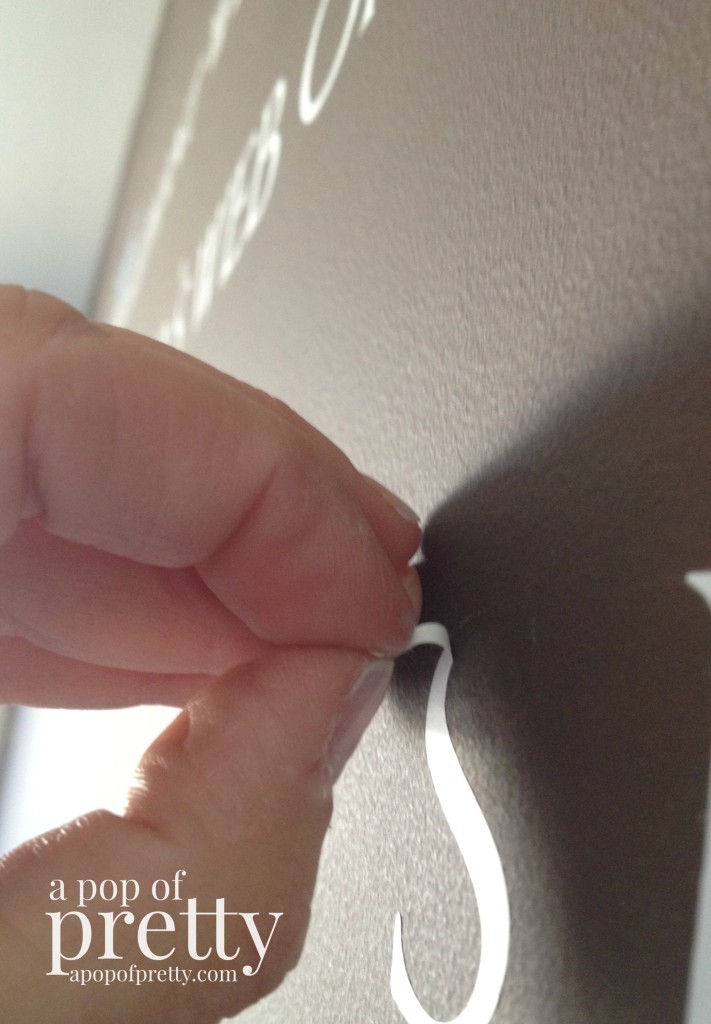
The song quote was less adhesive and easier to remove than the elephant parade.
For this kind of vinyl, all it took was a little scraping with an object like a credit card or a fingernail. If you have a manicure, you might want to stick with a credit card. But you can clearly see from this photo that my nails were not a concern that day. (Or ever.)

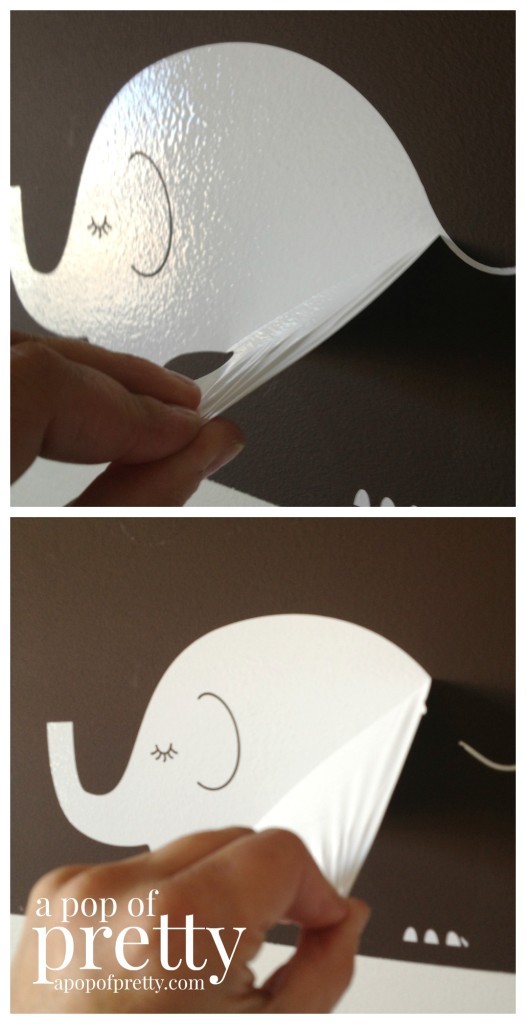
The elephant parade was made from wall vinyl with a much stronger adhesion. This kind of wall vinyl almost has a ‘painted’ appearance, and I’ve actually seen it marketed that way. It’s a little more expensive, and looks fantabulous when applied. But it’s a little harder to remove vinyl wall decals like these. I discovered that a hairdryer works perfectly to loosen up the adhesive. Just hold the hair dryer and inch or two from the vinyl until it starts to get a crinkly or bubbled appearance. Then it should come off easily by grabbing an edge and pulling it off.


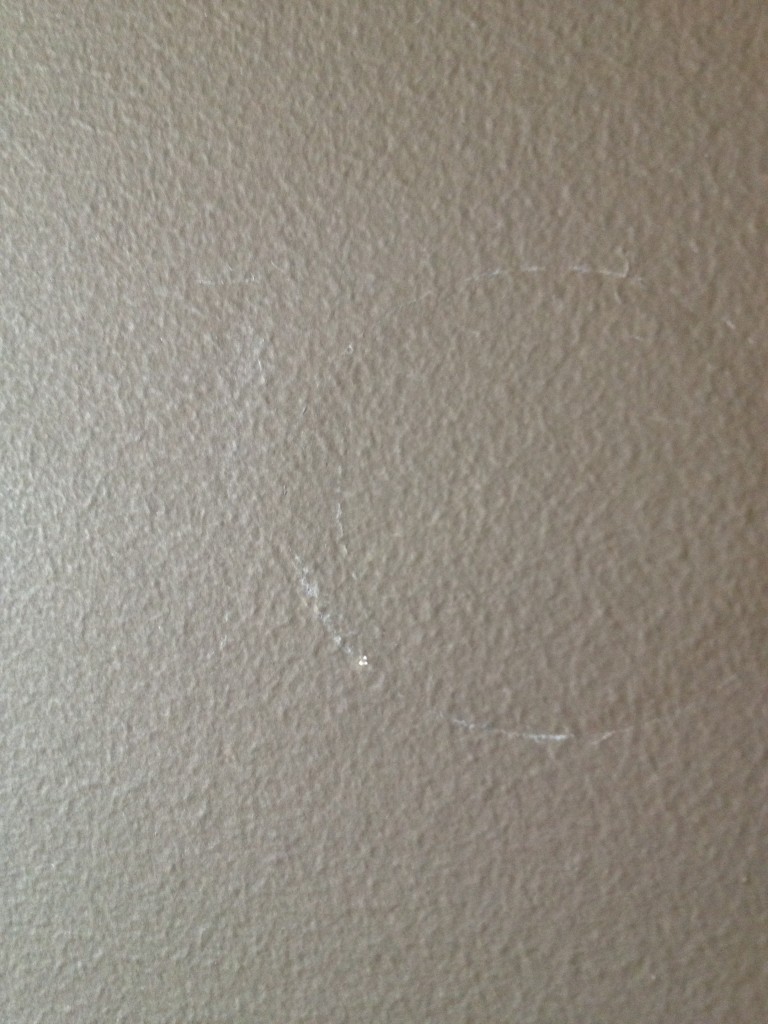
Regardless of the type, when you remove vinyl wall decals, a thin residue is usually left behind which necessitates re-painting. But it’s nothing that a good coat of primer can’t handle before painting the wall surface.

Once the vinyl decals were gone, I got to work on painting new horizontal wall stripes on that wall.
I’m looking forward to showing you how the room turned out in the coming days!
Until then,
Kerri