This post was most recently updated on January 18th, 2022
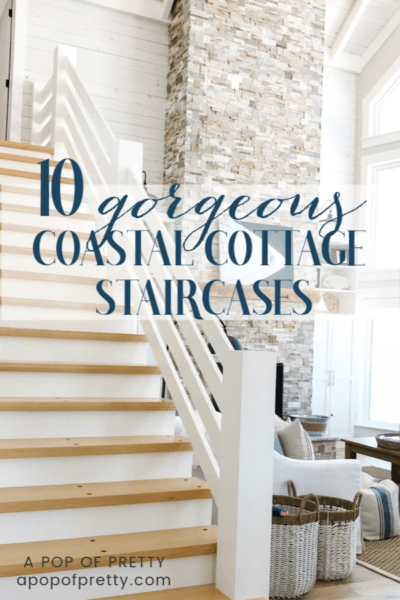
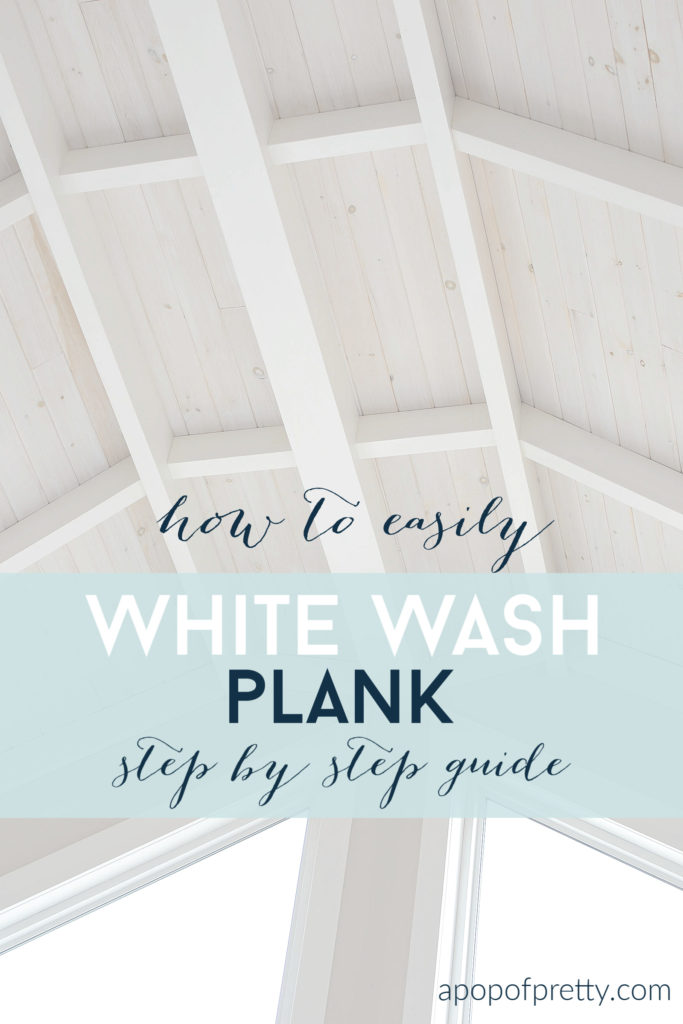
In this article: You’ll find a tutorial on how to white wash wood in just a few easy steps. Specifically, it focuses on how to white wash shiplap, but, you can use it for any project, including learning how to white wash wood furniture! White washed wood is one of my favourite effects! The look is so soft, warm and inviting! And, the best part? It’s super easy to achieve! You don’t need to be a professional to use this step-by-step tutorial!
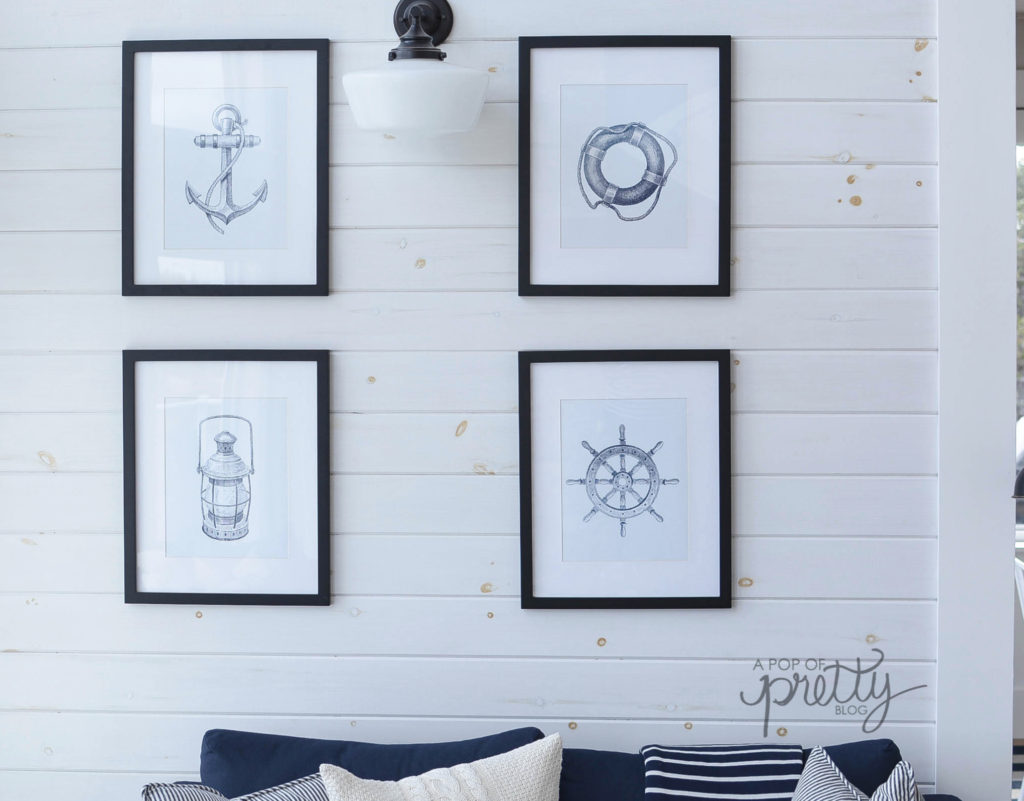
How to white wash shiplap is definitely one of the top 5 questions I get asked the most over on Instagram. Similarly, I get asked a bunch about how to white wash wood furniture. (Oh, and, in case you missed it, in my last blog post, I answered the most popular question of all: The Blue Striped Poufs Everyone Asks Me About: Where to Buy Them!)

Well, just like the blue striped poufs in our coastal style living room, whenever I post a photo of our white wash shiplap walls or ceilings, I get a bunch of DMs and comments on how exactly we did it. Not only do these readers want to know how to white wash shiplap, they also wonder if they can use the same technique to white wash wood furniture.
How to White Wash Wood Shiplap: Two Effects
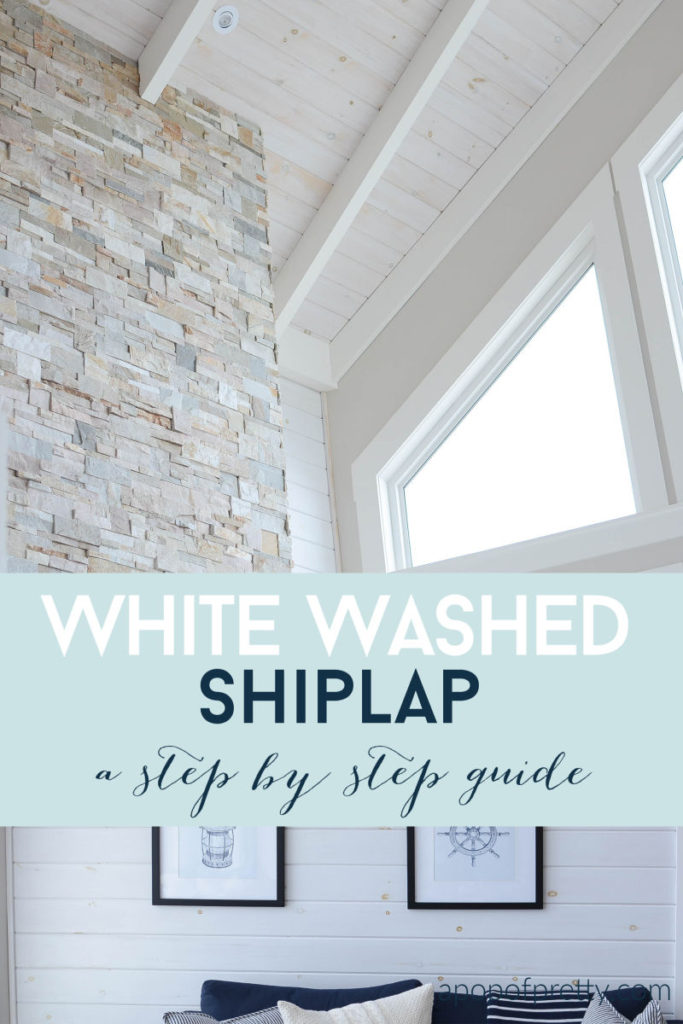
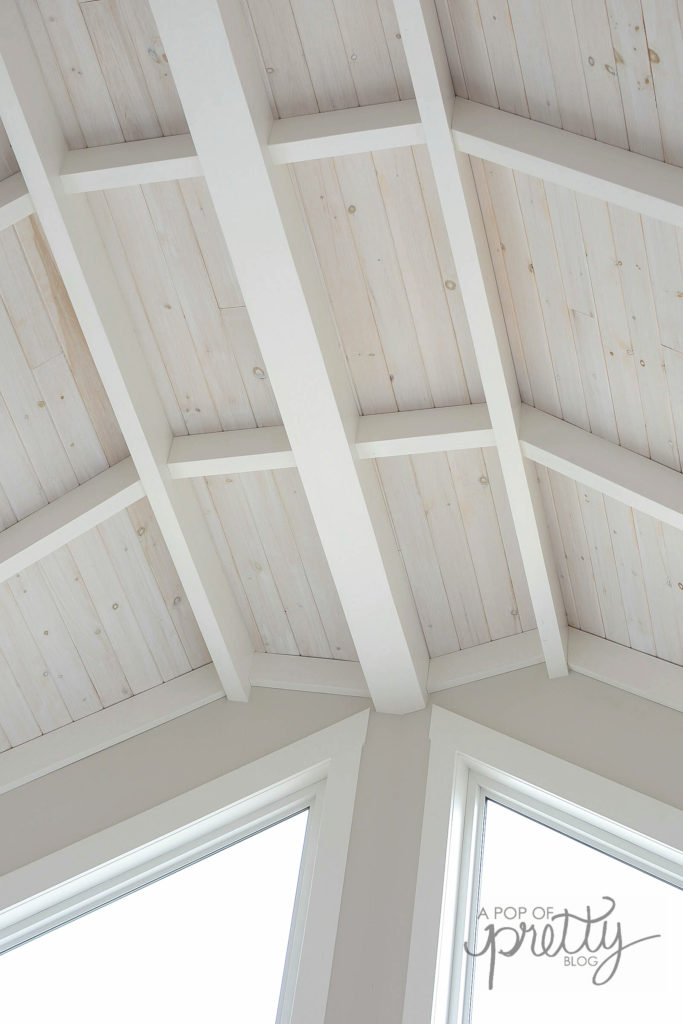
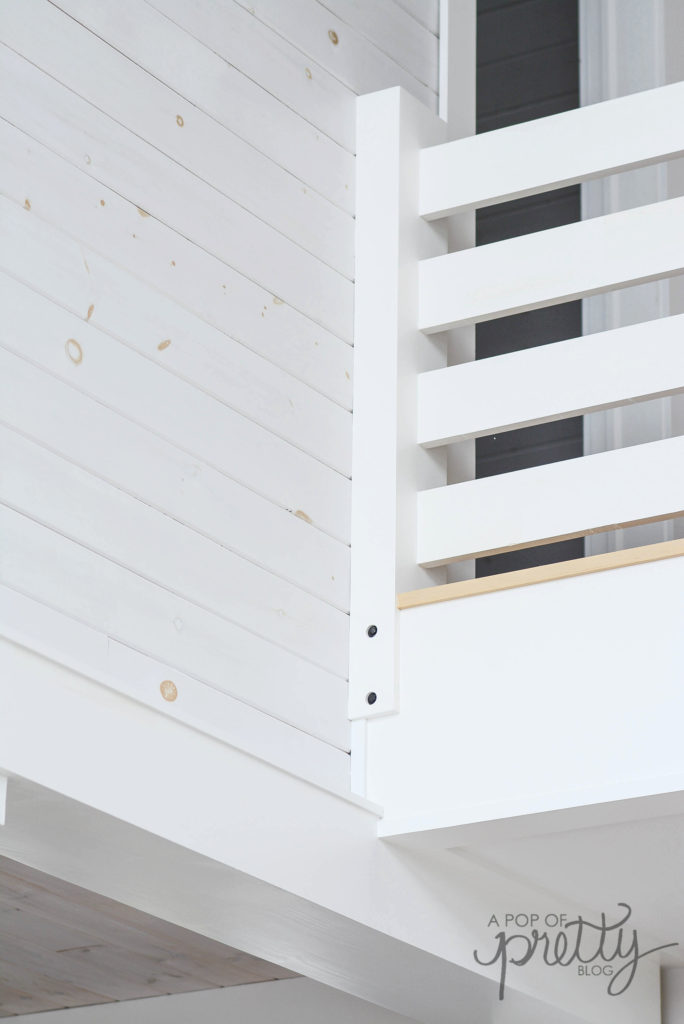
So today, I am going to share a step-by-step tutorial on how to white wash shiplap (aka how to white wash plank), and how to achieve the two different effects you might have seen in photos of our cottage. These two different white wash looks, include (1) a whiter, more opaque look and (2) a warmer-toned, more transparent look. You can see both white wash effects in the photo below.

Why We Chose White Wash Shiplap vs Painted
But, first, you might be wondering why we chose the whole ‘white wash shiplap look’, instead of just buying pre primed or painted mdf shiplap.
Let’s start at the beginning.
This home is our cottage/summer home, which means that we weren’t going for the polished look that most manufactured shiplap on the market gives. White wash wood shiplap was a way to achieve more warmth and authenticity in the space. To reflect the surroundings (lake and forest), we wanted the walls planked with real wood. And, GASP, we actually wanted to see some wood grain.

Personally, I’m not a fan of stained pine plank. (But, no judgement, if you are. Keep rocking it if it makes you happy.) The thing I don’t love about it is the yellow tone it takes on eventually. But I DO love the personality of real wood, i.e., seeing the knots and grain. Once you paint it, though, that authenticity gets lost behind the layers. Well, except for the knots which will eventually show through no mater how many times you prime those suckers!

White washing it was the perfect solution. Once you white wash shiplap pine, it takes on a gorgeous, soft, grey-ish tone. And, what I love best is that you can still see the personality of the wood showing through. The effect is just very soft and welcoming, and a little more visually interesting than paint.
Further, depending on the amount of water you add to your white wash mixture (I’ll discuss below), you can achieve several different looks that all work together harmoniously .
Start with (Real) Wood
OK, so if you haven’t figured it out by now, to create this white wash shiplap look, you need to start with real wood. It goes without saying, but if you are using pre-primed mdf, you won’t get authentic wood grain or knots to show through, no matter how hard you try. (Um, that’s because there are none, LOL!.)
In our home, we used pine plank. I’m sure you could achieve a similar look with other soft woods, but I can’t speak for those. If you are considering white washing another type of wood, I’d suggest consulting an expert. Or simply create some sample boards with the step-by-step tutorial below.
We also started with raw wood. In other words, it wasn’t previously stained. Everything I’ve read seems to indicate that you can still create a white wash shiplap look using previously stained plank. BUT, as I haven’t gone through that process, I would definitely recommend talking to your local paint expert first. Or, just like I mentioned above, practice with some sample plank first.
I also recommend that you check out the tutorial over at Maison de Pax. Rachel’s tutorial starts with a dark stain on cedar plank. It also shows that the end result, while still beautiful, will look a little more dramatic if you are starting with a wood stain.
White Wash Shiplap: Your Project Supplies List
OK, so now that we have that out of the way, here is the step-by-step tutorial. (Full disclosure, our builder actually did the white washing for us. In other words, it was not a DIY project. HOWEVER, the process is so easy that you can take this on yourself.)
Here what you will need for your white wash shiplap project:
- Flat white paint (ceiling paint or a primer) Note: It has to be a flat paint, not satin, eggshell, or semi-gloss. We used primer since we were starting with raw wood.
- Water
- Can or container (for mixing) and paint stick
- Wide paint brush
- Lint-free rag
- Workhorse (if your plank is not already on the wall)
- Ladder (if your plank is already installed)
- Protective floor coverings
It’s All About the Mix
You can achieve several different looks when you white wash shiplap. Your white wash mixture will simply be a combination of your flat paint and water. The look you achieve all depends on the proportion of water you add to the mix
Lighter White Wash (More Wood Tone)
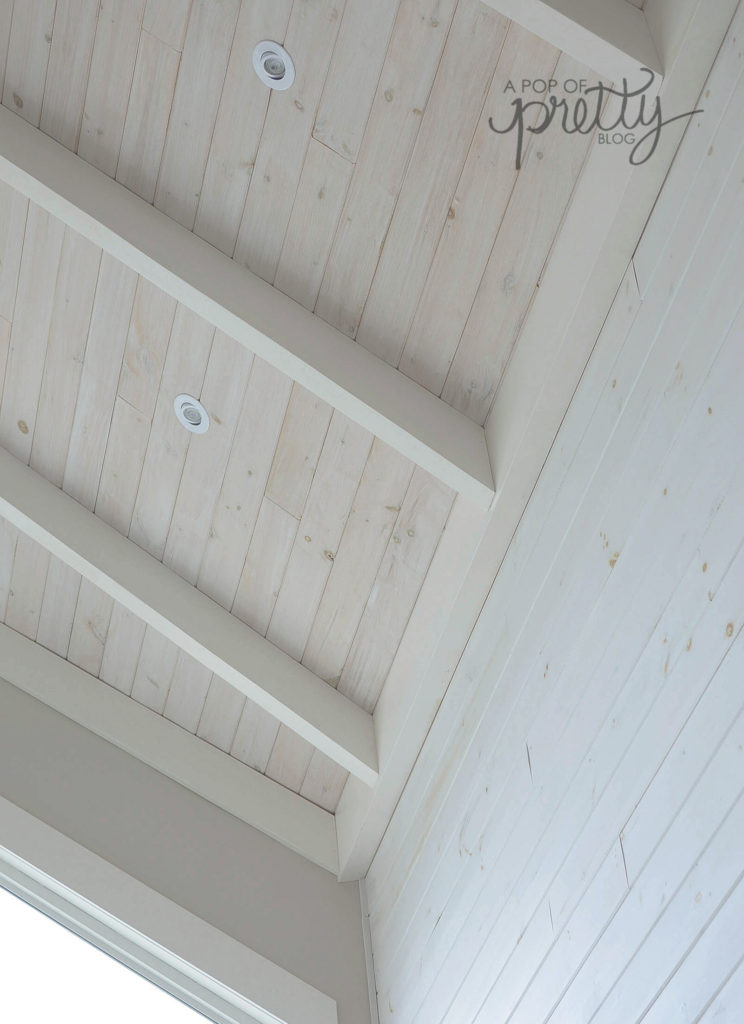
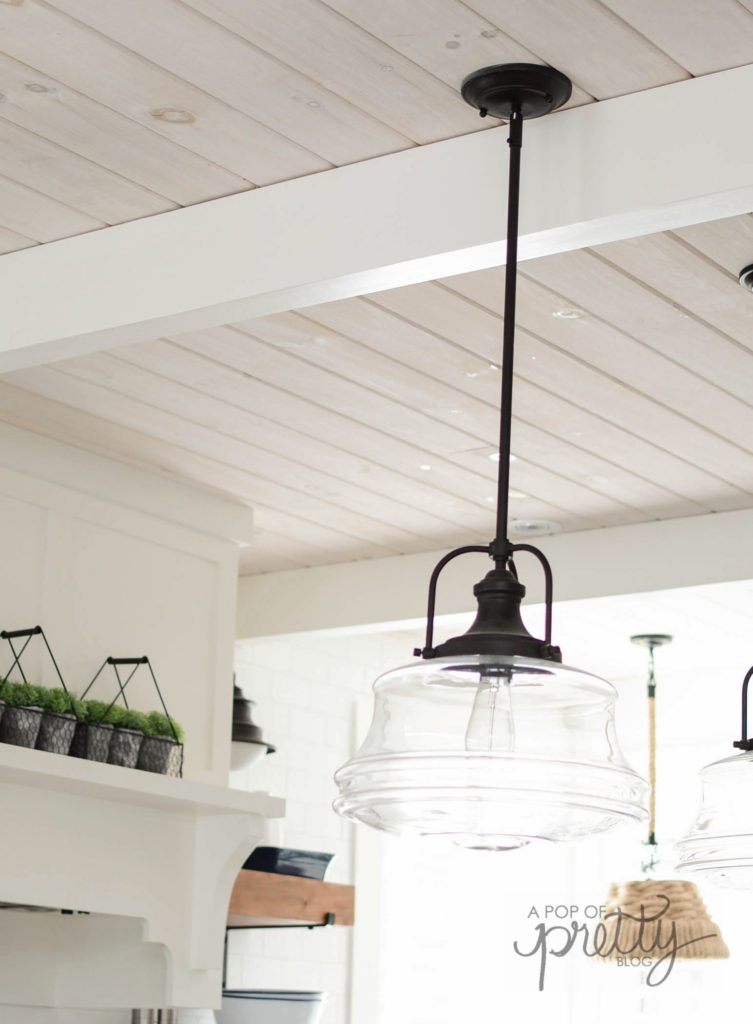
You might notice that our shiplap ceilings have a lighter white wash effect than our walls do. In other words, they are closer to a wood tone than to white paint.
That’s because we wanted our ceilings to have a warm tone and to contrast with our white ceiling beams. To get this effect, we added more water than paint to the mixture. Our water-paint mixture was 75% water and 25% paint.
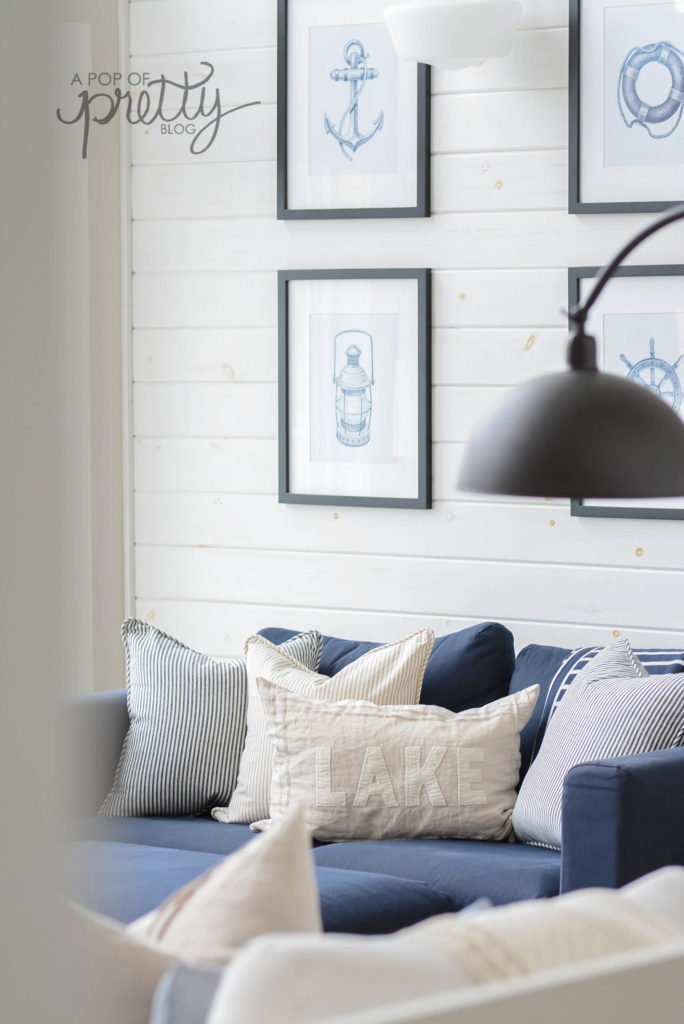
Heavier White Wash (Less Wood Tone)
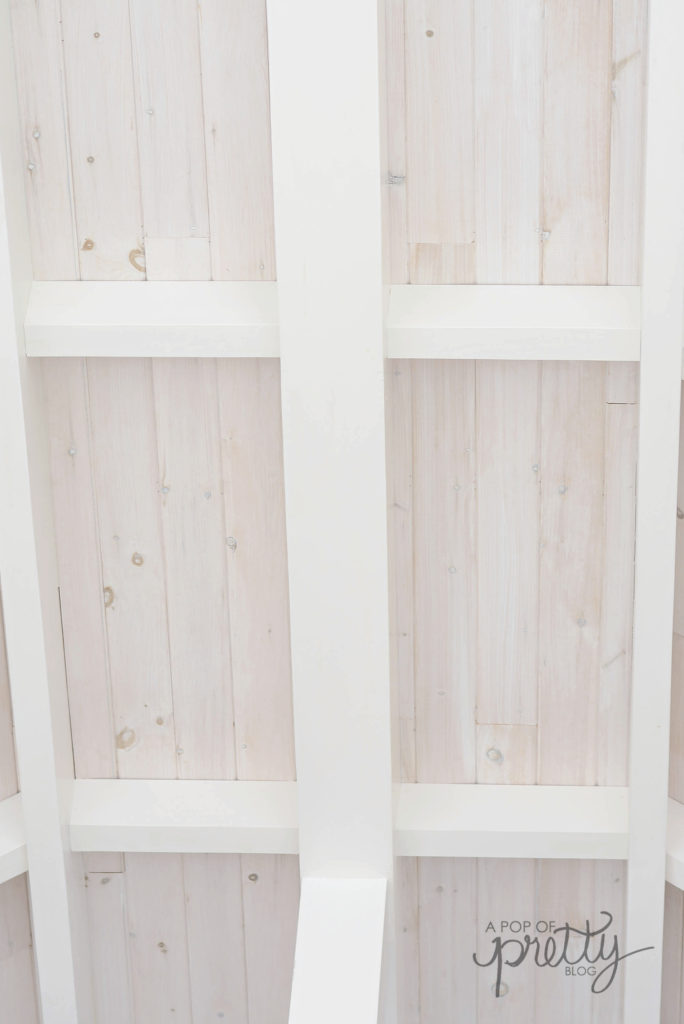
I knew I wanted our cottage to feel light and airy. So, for our walls, I wanted the shiplap to be much whiter than the ceilings. My goals was to have them be as close to white as possible, without completely covering the wood grain. We first tried a 50/50 water-paint mixture, but I felt it wasn’t as white as I had imagined. Therefore, we ended up using a mixture that was 25% water and 75% paint.
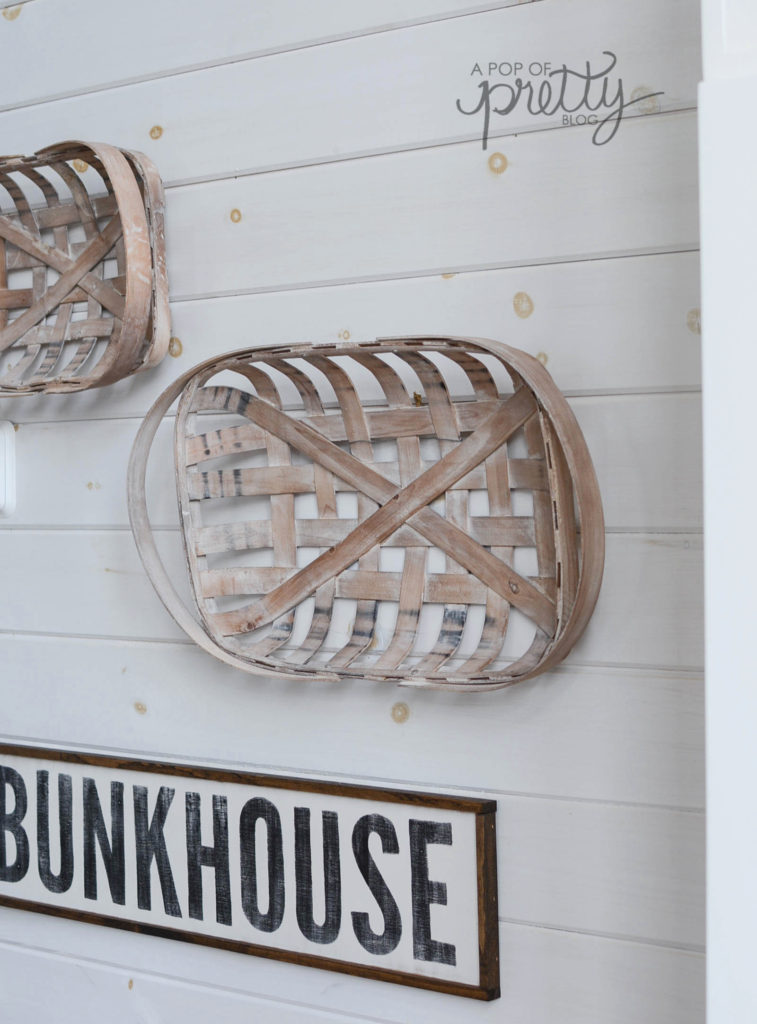
From a distance, the shiplap looks white. But, closer up, you can see the knots and grain pushing through, which is the look I was going for.

The Process
Once you’ve decided on the right mixture for your project, you are ready to start. This process assumes you are starting with plank that hasn’t been installed yet. It’s always easiest to white wash shiplap before it is installed. The watery consistency of the mixture makes it harder and messier to work with when gravity is involved.

However, if you have plank that is already on the wall, this tutorial is still perfectly relevant. But, you obviously won’t need the workhorse – just a good solid ladder instead. You will also need extra floor coverings to catch the drips!
Step-by-Step Instructions
- Mix up your water-paint mixture thoroughly in a can or bucket that is sufficiently sized to hold enough for your project.
- Set up a workhorse, and lay your shiplap planks close by.
- Starting with your first plank on the workhorse, brush on your mixture in the direction of the grain.
- Once the plank is fully covered, work quickly with your damp, lint-free rag to wipe off any excess mixture, while still working in the direction of the grain. Don’t wipe too hard or you will need to re-apply the brush coast. (Try not to ‘overwork’ the mixture with the rag or it will lend up looking blotchy. Just apply light pressure as you wipe off. )
- Lay the completed plank aside to dry while you work on the rest of the planks. Try to use the same amount of mixture on your brush each time, and apply the same amount of pressure with the rag. This will help create some uniformity between the planks.
- Don’t get too caught up in making all the planks look exactly the same. The beauty of real wood is that every piece will have its own personality. As long as each piece generally has the same tone as the others, that’s all you need to worry about.
The Results
The final step is to stand back and admire your gorgeous white wash shiplap. Or, install it on the walls and ceiling. Whatever works, lol.
If you use this tutorial, I’d love to know how it goes. Don’t be shy. I LOVE feedback. Also, feel free to save some photos in this tutorial to Pinterest for future reference, or so others can find it too.
Until next time,
Kerri
Do you love coastal style as much as me? If so, be sure to follow me over on Instagram where I post a lot more inspiration: @kerripopofprettyblog. And, also, check out my recently launched coastal-inspired shop Janie Jute. Finally, for a limited time, if you sign up to receive blog post updates by e-mail, you will receive this gorgeous, downloadable print for free. You can find all the details in the righthand sidebar.

Here are a few other recent blog posts you might love: