This post was most recently updated on September 23rd, 2019
It’s Friday (insert happy dance) and I need a change of pace. So, I’m interrupting my regularly scheduled 31 Days of Do-It-Yourself Wall Art programming to bring you… drumroll…
Halloween on our front porch…
Because two of our kids are still teeny-weenies, I went with kid-friendly whimsical Halloween decor outside just like I did with my Halloween mantel, which I talked a bit about last week.
{Oh, and here’s a handy tip: In order to prevent them from blowing all over the place (they’re styrofoam and very lightweight), and glued strong magnets to the back each letter. Since I have a steel door, the magnets help them stay in place!}
I created ghosts our of my spruce tree urns by layering cheesecloth and ripped white fabric on top of stiff bright purple mesh (the kind of fabric used to make dress crinolines) which helped to give them some fullness. To create the head, I simply wrapped a piece of string tightly around the top of the tree. They turned out a little creepier looking than I was expecting, so I glue-gunned on some big googly eyes to cute-ify them. (Apparently, I have a thing for googly eyes – last year, I created a bat-wreath with big googly eyes too!)
The fabric just kinda blows all over the place with every gust of wind, but it just makes them a little more ghostly!
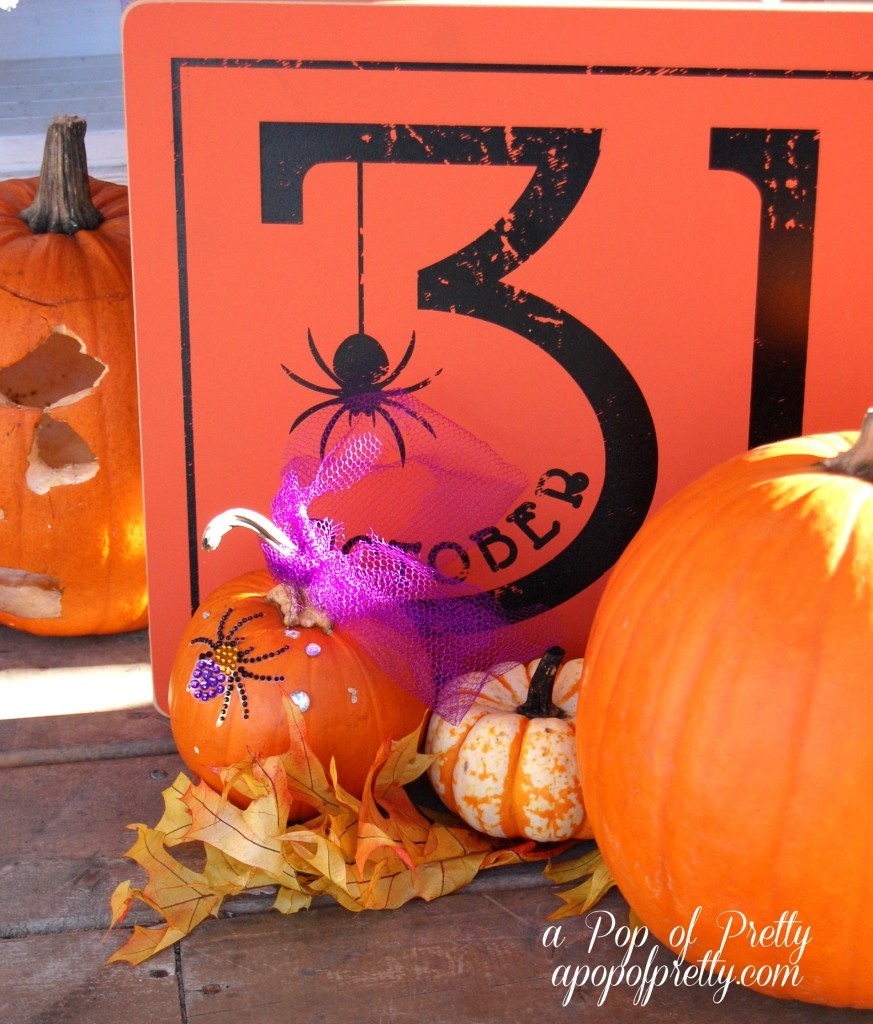
I decided to get in on the trend of embellished pumpkins, and added a little rhinestone spider and a purple bow to a couple of mini-pumpkins.
Our neighbourhood is starting to look a lot like Halloween.
How about you?
Are things getting “Scary-Spooky” in your neck of the woods?
Here’s some other Halloween decorating posts that might get you in the spirit…
The Embellished Pumpkin: 10 Inspiring Ideas
Kid-Friendly Halloween Mantel Decor
Halloween on the Front Porch 2011: No Carve Pumpkin Ideas
Catch you tomorrow for some more great wall art ideas!
Have a fab weekend,
Until next time,
I’m sharing this post with Beth at
