This post was most recently updated on October 25th, 2020
Welcome to Part Two of my easy tutorial on how to put ribbon on a Christmas tree!
If you’re only joining us now, you can find Part One (Steps 1-5) by clicking below:
Hooray, friends, in Steps 1-5, you did all the prep work with your ribbon. Only a few more easy steps, then you can sit back and enjoy your pretty Christmas tree! So, gather up all those pretty ribbon bundles and lay them on the floor at the base of your Christmas.
Step 6: Add Your Ribbon Bundles to the Christmas Tree
In Step 6, you will add each ribbon bundle to your Christmas tree. This is where the magic starts to happen!
Secure first ribbon bundle.
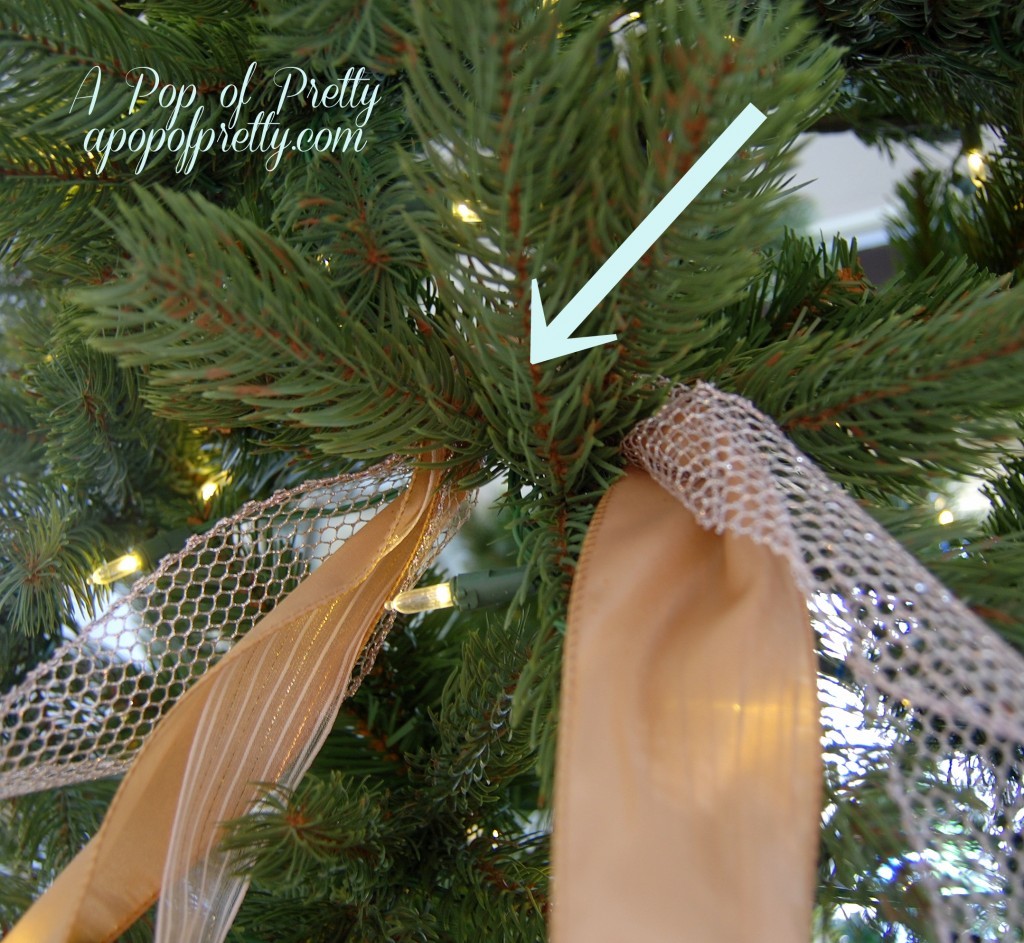
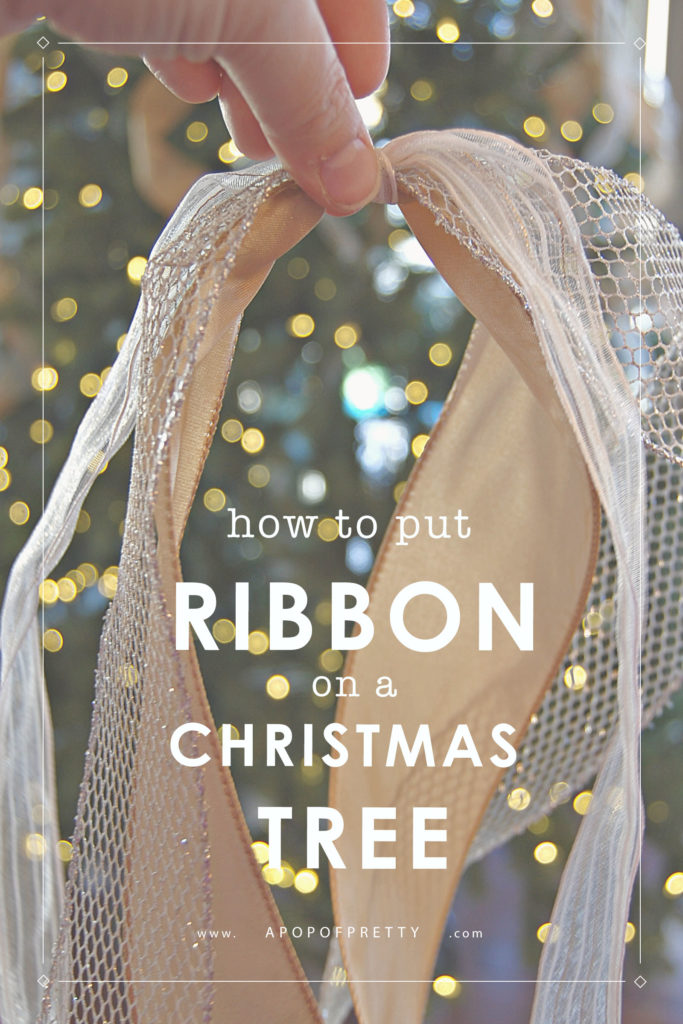
Starting near the top of the tree, take your first ribbon bundle and secure it. Let it hang from a branch from the ‘pinched’/knotted area of the bundle. This means that half of your ribbon length will hang from each side of the branch. To keep the bundle secure, wrap one of the more flexible wire branches around it. If you have a real tree, just use some wire to secure it.
The Best Placement
Place your ribbon bundle as far down into the branch as you can. This will help create the illusion of continuous, flowing ribbon throughout the tree. The further down into the tree you place the bundles, the better you will disguise the fact that you have cut the ribbon into shorter pieces. This helps create the loose, natural look that I described as the goal earlier in the tutorial.
Spread the Ribbon Out
Now, take each piece of ribbon in your bundle, and spread them out by tucking the end of each piece into another area of the tree. Don’t be too picky or too fussy about where each piece is being tucked. The idea is for the ribbon to look as if it’s just falling naturally into place.
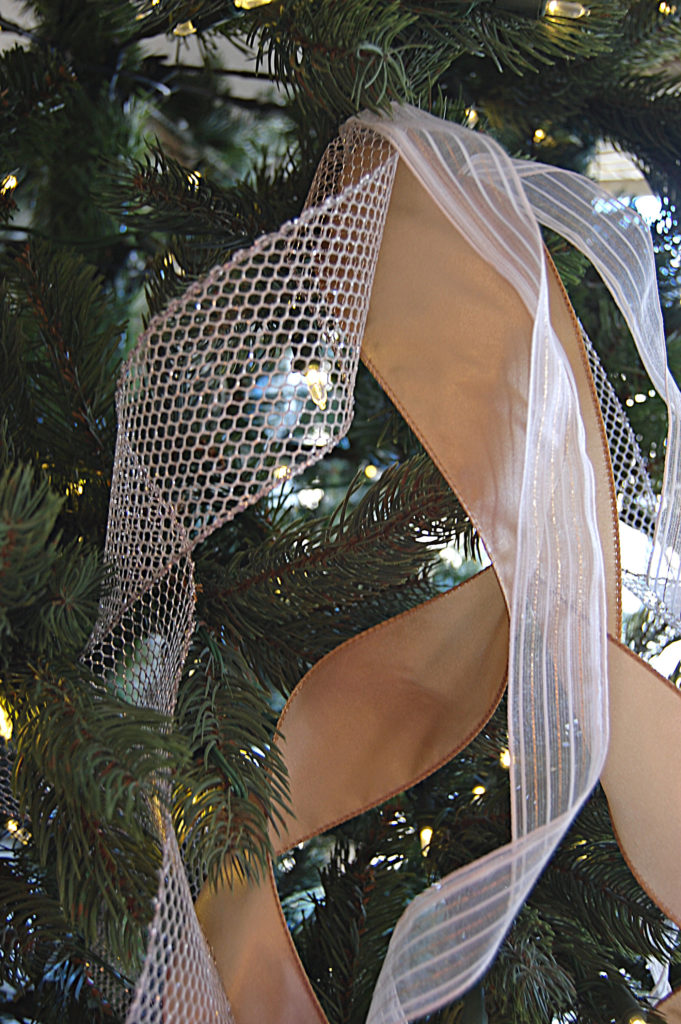
A couple of quick tips to create this look:
First, don’t pull the ribbon tight on the ends. Just let it fall naturally, as it did when you cut the ribbon from the roll, and then gently tuck it into the tree.
Second, let the ribbon fall vertically. Don’t spread it out too far horizontally or you won’t achieve the downward, cascading effect you are aiming for.
Step 7: Repeat
Working down from the top, repeat this process until you’ve covered that one whole vertical area of the Christmas tree relatively evenly, from top to bottom. It will probably require 4 ribbon bundles from top to bottom. With the ribbon bundles that end near the bottom of the tree, don’t tuck the ends in. Instead, let them hang naturally. Now, repeat this process, going around the tree clockwise.
Step 8: Add Your Decorations
Now, you’re ready to add your tree decorations! Once you finish positioning the ribbon bundles, step back and decide if you are happy with how the ribbon looks. Because the ribbon has been placed in pieces/bundles, it’s simple to move a few around if need be.
Next add the tree ornaments, placing some behind and some in front of the ribbon. If you are wondering the best order for placing your all your decorations and ornaments, my tutorial below provides my step-by-step method to create the look of a professionally decorated tree :
Now, sit back and enjoy your gorgeous Christmas tree!
I hope this Christmas tree decorating tutorial on how to put ribbon on a Christmas tree comes in handy this season! Let me know in the comments how it goes.
Looking for Christmas Tree Decorating Ideas?
In the meantime, if you are looking for more fabulous Christmas decorating ideas, here are my all time favourite Christmas trees:
Red Plaid Cottage Christmas Tree
Navy Blue and Silver Christmas Tree
Winter Wonderland Tree (Silver and Red Berries)
Nutcracker Tree (Sugar Plum Fairy Tree)
Oh, and don’t forget to read:
My #1 Christmas Decorating Tip
Happy holiday decorating!
K.
