This post was most recently updated on September 22nd, 2019
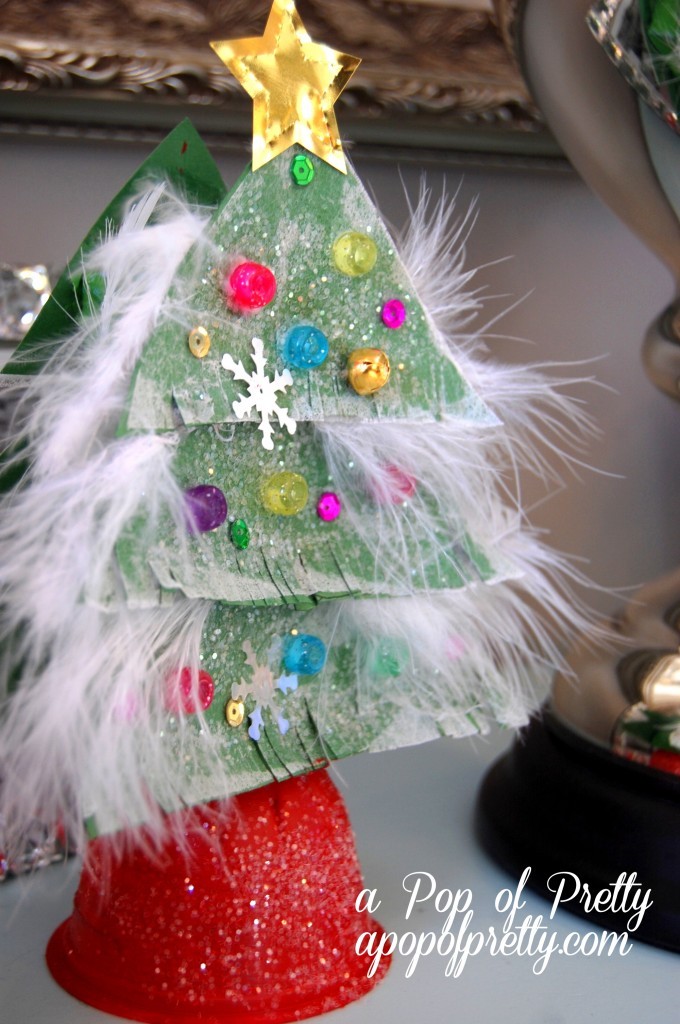
If you’re looking for easy Christmas crafts ideas for kids in the coming days or weeks, you might want to try this sparky little tree made with recycled materials. My 8-year old daughter LOVES doing crafts, especially this time of year. So when Weldbond Adhesive asked me if I’d create a Christmas craft for kids using their product, I was excited. It gave me the chance to come up with something easy and fun that I could make with Miss G and her friends.
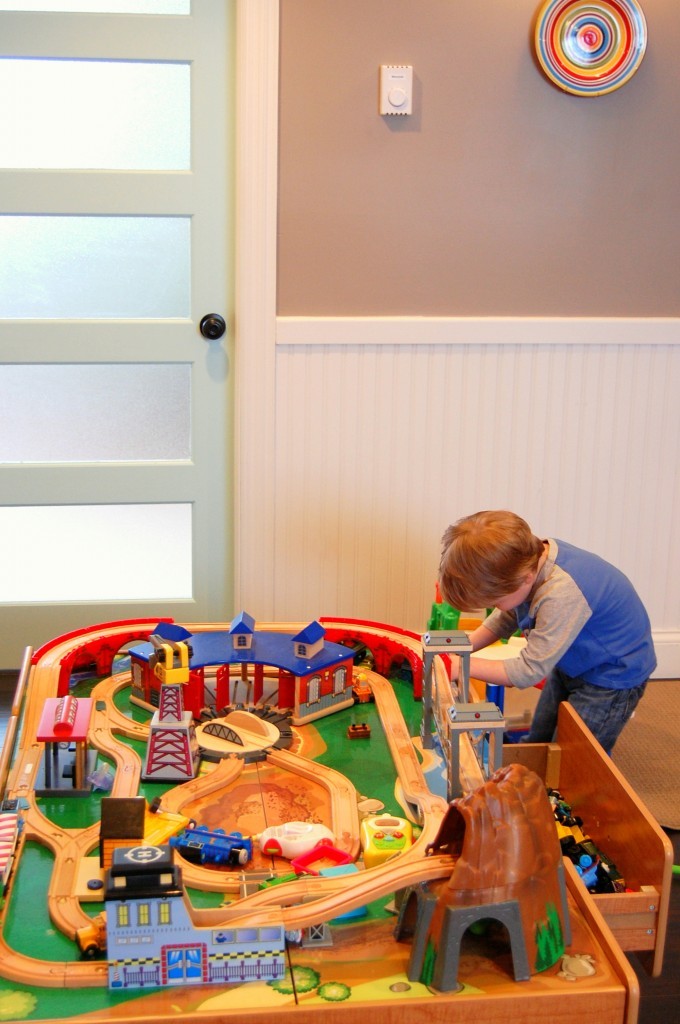
Coincidentally, I had already tried Weldbond earlier this year to glue our twin boys’ wooden train track together. (A tip: If Santa brings one of these train tables to your child this year, save yourself the future agony, and glue the track pieces to the table right away! Take it from me, it’s a nightmare piecing the mismatched pieces back together after your child plays with it once!) I chose Weldbond back then because (a) it’s non-toxic and (b) I needed strong adhesion that could withstand the rambunctiousness of two 3-year old boys. It says right on the tube that it can “bond most anything” including “wood, tile, glass, Styrofaom, fabrics, ceramics and more”.

This bonding power also makes it a great adhesive for Christmas crafts. One of the things I find frustrating about using school glue for kids’ crafts is when the heavier or dimensional pieces fall off after the project is dry. Nothing ruins the experience of a fun craft project more for a child than a disappointing result. So, for this Christmas craft, I’d recommend using Weldbond because there are lots of little embellishments to adhere.
What you’ll need:
The following recycled materials:
- 3-4 used dryer sheets
- 1 clean, empty juice box: this will form the center of the tree and give it a 3D effect.
- 1 clean, empty plastic fruit cup: this will become the tree stand.
The following craft supplies:
- Weldbond universal adhesive.
- 2 pieces, forest green scrapbook paper or construction paper
- White or silver glitter (a couple of tablespoons will be enough)
- Green and red craft paint
- Embellishments of your choice: beads, sequins, gems, mini bells, feathers, etc.
The following tools: pencil, craft scissors, paint brush, popsicle stick / glue spreader
Instructions:
STEP 1: Paint it! Paint your juice box with green craft paint, and paint your plastic fruit cup with red craft paint. While the red craft paint is wet, sprinkle a little glitter on it. Set both aside to dry.
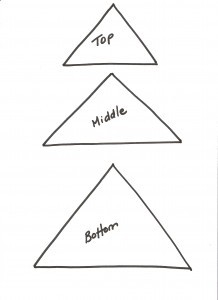 STEP 2: Trace & cut it! Trace and cut two sets of 3 triangles from your dryer sheets – 2 small, 2 medium and 2 large triangles. To use my template, just right-click on the image of the triangles, save it, and print it. (Note: It will print at 100%. The image here is smaller than actuals). Do the exact same thing using your green paper. Set aside all 12 triangles. (Note: To save time when doing this craft with younger kids – or a group – you might choose to complete Step 2 in advance.)
STEP 3: Glue it! By now, the paint on your juice box should be dry! Glue the first set of 3 paper triangles to one side of the juice box to form the shape of a tree. Start with the largest triangle on bottom, then overlap slightly with the medium one, and finish by overlapping slightly with the small one. Repeat on the back of the juice box.
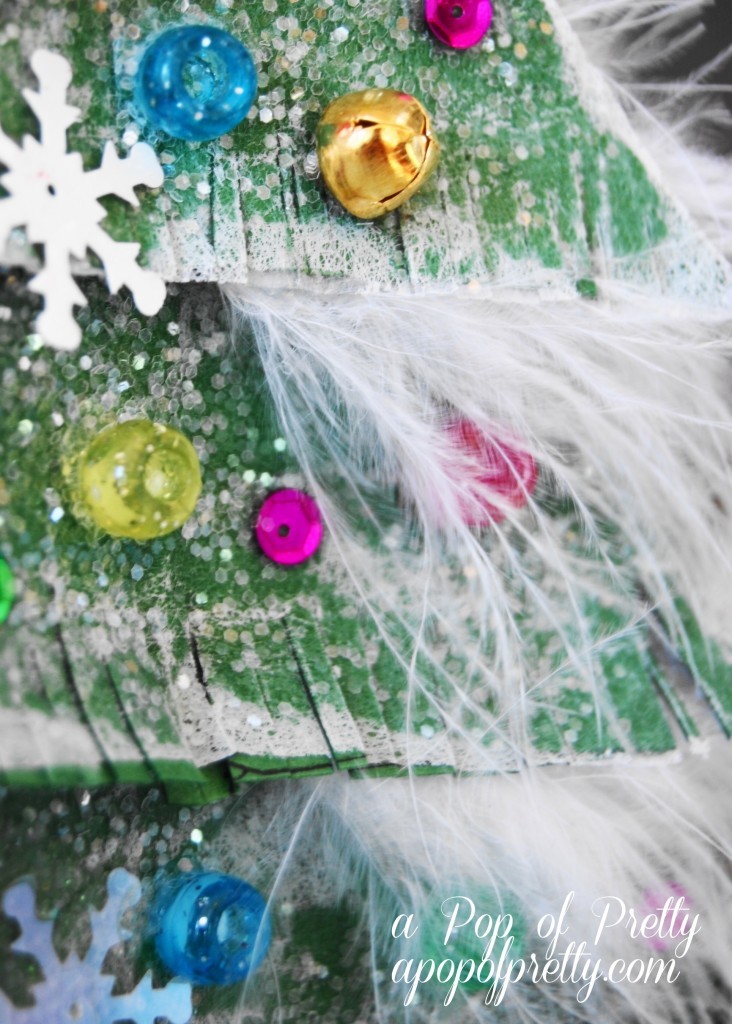
STEP 4: Glitter it! In this step, you will create the pretty frost on the tree! On one side of your juice box, apply a generous amount of Weldbond glue over the top of the paper triangles, and spread it with a Popsicle stick so it almost completely covers the surface of the triangles, except the edge. Immediately press your first set of 3 dryer sheet triangles over the top of the glue, matching them up against the paper ones. The glue will come through the dryer sheets, but that’s what needs to happen. Now, take your glitter and sprinkle it generously over the top of the dryer sheet triangles. Repeat on the other side! Once dry, use your scissors to snip the edge into a ‘fringe’ effect on the bottom of each triangle.
STEP 5: Embellish it! Now it’s time to decorate your tree! Lay your tree flat, and using Weldbond, adhere pretty embellishments of your choice – like beads, sequins, gems and even mini bells! Set aside to dry.
STEP 6: Finish it! When your tree is dry, finish it off by attaching the tree to the stand (the painted fruit cup) with a generous amount of Weldbond. Set aside to dry. Drying time is about an hour; but the longer you let it dry, the stronger the bond will be!
That’s it! Enjoy!
And, to all my American readers / visitors, I hope you are having a lovely Thanksgiving weekend!
(Please note: This craft post was sponsored by Weldbond Universal Adhesive. I developed the craft idea but was provided with complementary Weldbond product to use. All opinions expressed here are 100% mine. For more information, please refer to my ‘Policies’ section re sponsored posts.)
Until next time,
