This post was most recently updated on November 11th, 2020
In this article: You’ll learn a super-simple, no sew curtain hack for turning basic, store-bought grommet curtains into the look of polished, pleated drapes. This is the easiest, peasiest tutorial EVER for amping up the look of your grommet curtains with crisp folds! With just a few basic supplies and a half-hour of your time, you’ll achieve the look of custom-made pleated drapery without the big price tag.
Well hello! I promised this simple, no sew curtain hack tutorial last week on making pleated drapes from grommet panels. Honestly, this tutorial is so easy that you’ll be wondering why you never knew about it before.
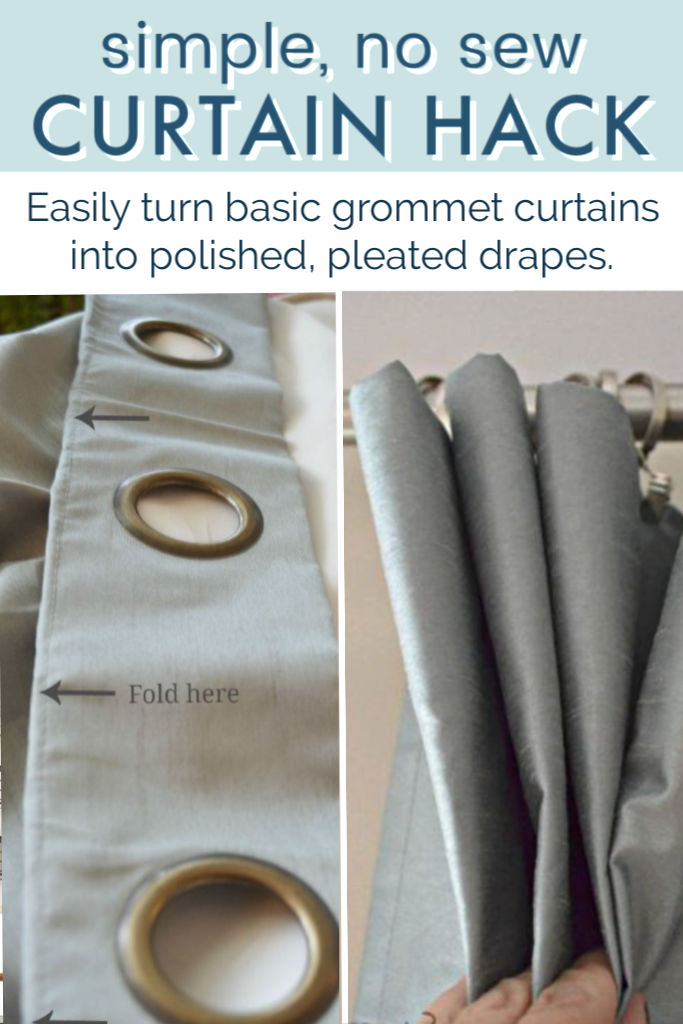
My Simple Grommet Curtain Hack: Who’s It For?
So who is this easy, no-sew curtain hack for? Well, I should probably start by saying who it ISN’T for. If you are a drapery snob, this curtain hack tutorial is probably not for you. At the very least, you might wish to cover your eyes and peek ever so cautiously through your fingers, as I am about to commit drapery blasphemy, LOL!
On the other hand, if you like easy, affordable ways to make things look more polished and stylish (um, who doesn’t?), then hop aboard my curtain hack train! This grommet curtain hack is for you!
Why You Need This Curtain Hack
So, at this point you might be wondering: why would I want to make pleated drapes from grommet panels anyway? Isn’t the point of grommet curtains that I can just slip them onto the curtain rod and be done with it?
Well, true. But here’s the thing: pleated drapes just look more polished and custom-made than grommet curtains. It’s in the Book of Drapery Laws. OK, there is no such book. But it’s true. Pleated drapes hang more crisply and take a window from simply ‘meh’ to magnificent.
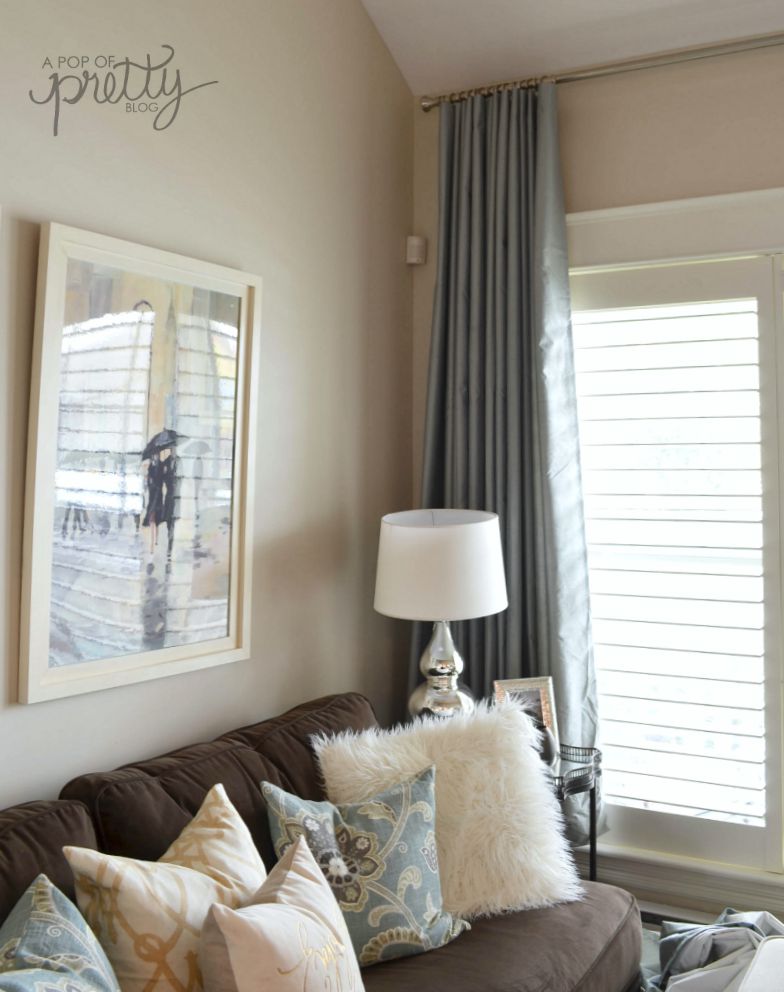
And, let be clear, I’m not hating on grommet drapes. I have them in some rooms, and they look great. But if you’re going for a more polished look, there’s nothing quite like the look of a pleated drape.
The fact is that these days, you can find gorgeous, affordable drapes at many home retailers. But most of them have grommets, which is not helpful if you’re aiming for a crisp, pleated look.
The good news is that with this simple curtain hack, you can make pleated drapes from grommet curtains easily!
My Easy, No-Sew Curtain Hack: Pleated Drapes from Grommet Curtains
OK, so in case you didn’t hear me earlier, this grommet curtain hack is NO SEW. Like, as in, you do not need ANY sewing skills, and definitely not a sewing machine, to transform your basic, store-bought grommet panels into the look of custom-made pleated drapery. What? I know! It’s mind-blowing, isn’t it? All you need are a few basic supplies and a half hour of your time.
What You’ll Need
- Grommet curtains – preferably 2-3 panels per side of window for fullness.
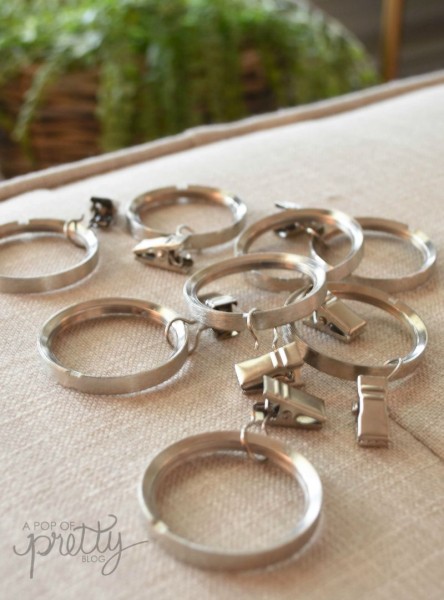
- Curtain clip rings – 8 per grommet panel, with ring size to match your curtain rod size.
- Curtain rod – well, obviously.
- Fabric steamer – optional.
Step-by-Step Instructions: Grommet Curtains to Pleated Drapes
So, here are the easy-peasy step-by-step instructions!
___
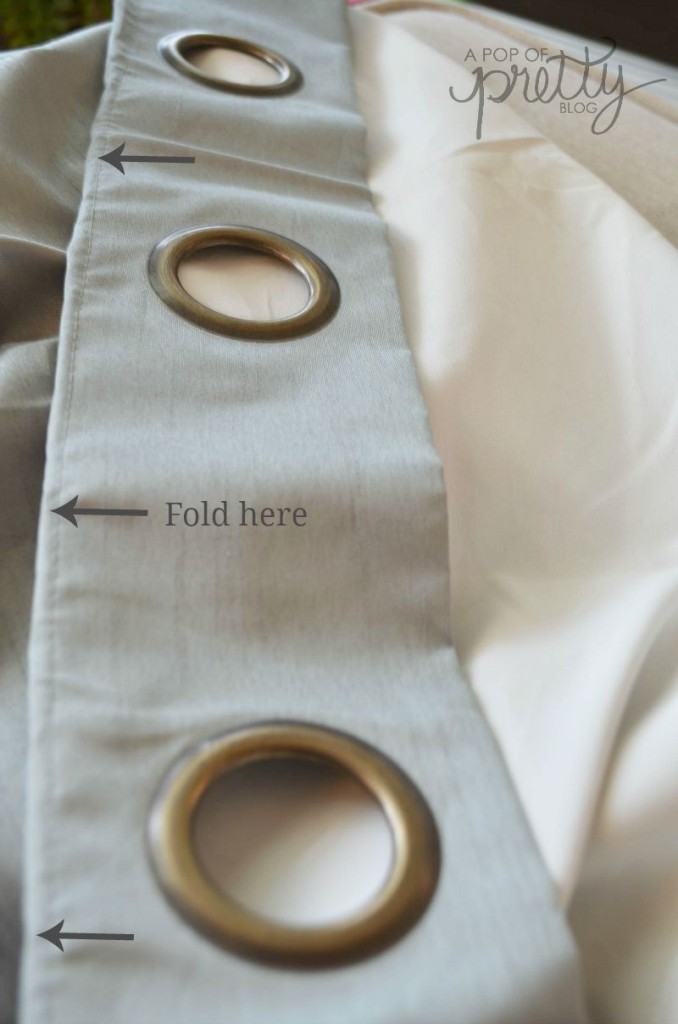
Step 1: Fold grommets down at top seam.
First, lay your grommet curtain out, and fold the top panel (with the grommets) down at the seam.
Step Two: Attach curtain clip rings.
Second, attach curtain clip rings to your grommet panels.
Clip rings usually come in packs of 8, and you’ll need 8 clip rings per grommet panel. To achieve the fullness in the room photo above, I used six grommet panels – three on each side of my window. So I needed to buy six packs of clip rings. You can buy clip rings at fabric stores, and most home retailers that sell drapery.
With your grommet panel laid out, attach the clip rings above each grommet. With the exception of each end (which I’ll show you next), centre each clip ring in the middle of each circle. Spacing your clip rings evenly will ensure even folds when you hang your drapes.
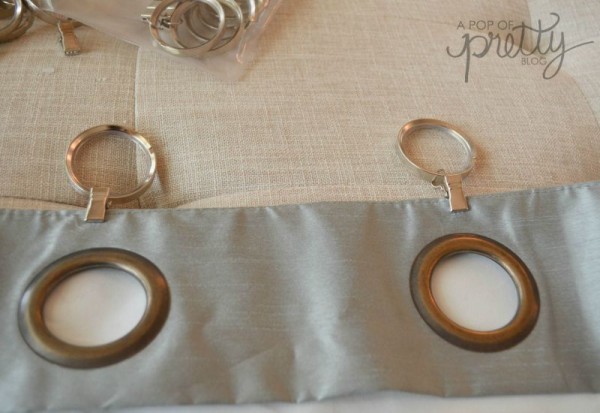
On each end, attach your clip ring at the corner so that it helps to close the open gap from your fold. You might also want to sew a little stitch or two at the bottom corner, but it’s not necessary. I didn’t sew anything, and they still look great.
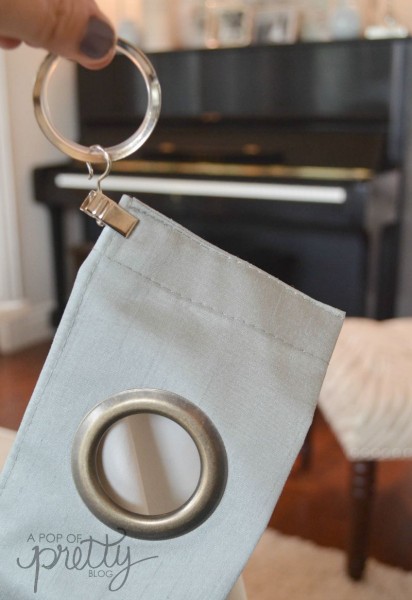
Repeat this step for all your panels.
Step Three: Hang drapes on curtain rod.
Third, slip each drapery panel onto your curtain rod.
Once you have them on there, you’ll want to shape them into folds which will form the basis for crisp pleats.
Starting at one end of the panel, pull the fabric between the first two clip rings toward you to create an ‘out fold’. Now, between the second and third clip rings, press the fabric inward to form an ‘in fold’. The metal grommets (which are now at the back of the panel) actually help create a stiffness to the top of the drape which prevents the folds from sagging, and gives a nice crisp look.
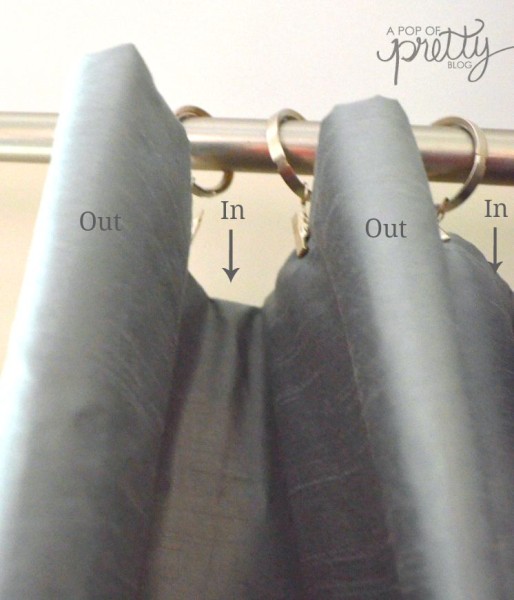
Continue this process until you get to the end of you panel. You should end up with four ‘out folds’ and three ‘in folds’ per panel.
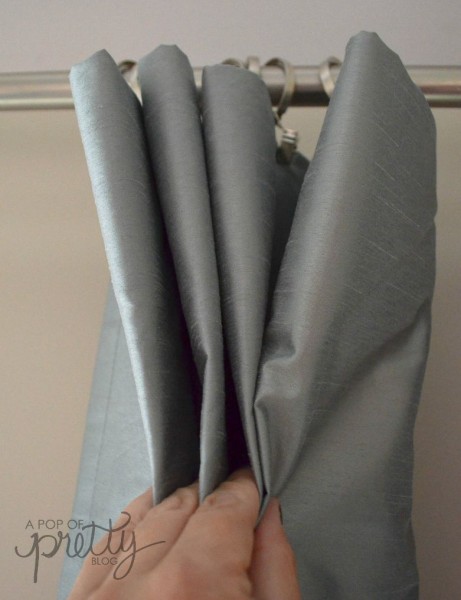
Repeat this folding process for all your drapery panels.
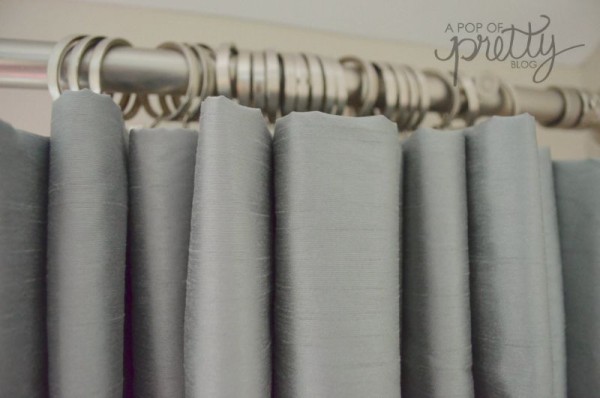
Step Four: Create crisp pleats from the folds.
Your work is almost done! (I know, soooo easy, right?) Now, all you need to do is make those folds a little crisper all the way to the bottom of the panels.
To do this, I placed the folds between my fingers, and pulled the pleats tight down to the bottom of each panel, almost like a comb.
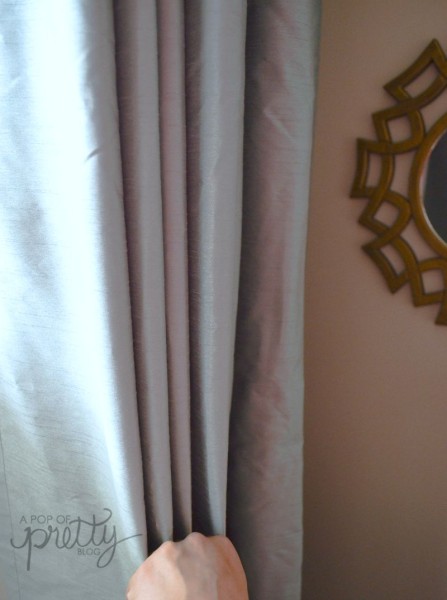
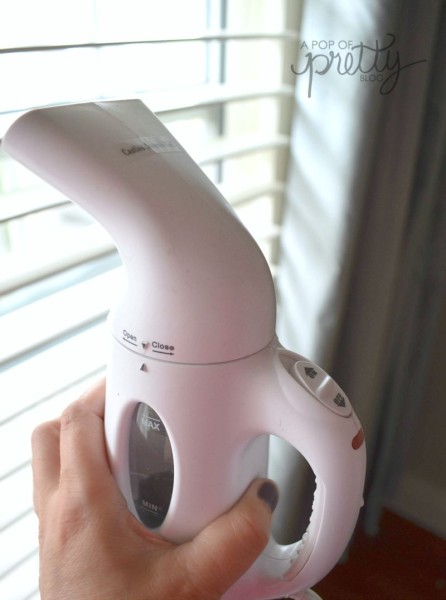
Next, to firm up the pleats, I used my steamer. If you don’t have one like this, don’t worry about it. You can just tie a little string around all the panels (per end) for a week or so to get them to take shape.
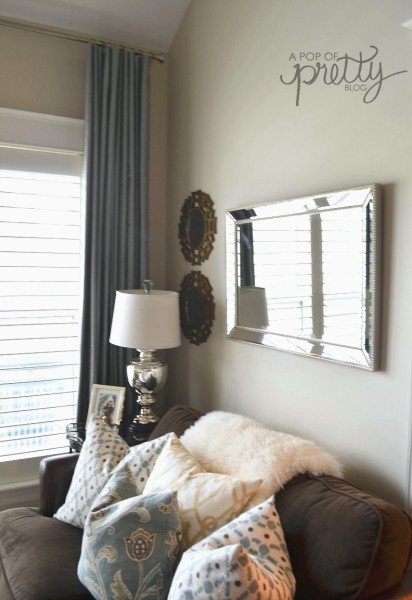
A few things to note:
- This curtain hack is a perfect option for decorative side panels. But it’s probably not the best option if you need to open and close your panels constantly for privacy. If so, you’ll lose the crispness of the pleats over time.
- You’ll lose a few inches of drape length (when you fold the top seam down), so in order to prevent your drapes from looking too short, you can : (a) move your curtain rod down or (b) buy longer drapes (e.g., 96 inches instead of 83 inches) which will then ‘puddle’ at the floor which is a really stylish look.
Share the Love
If you think somebody else might find this useful, pin this to Pinterest:
Hope you found this simple curtain hack useful. Next time you find the perfect-off-the-shelf-but-darn-it-all-they-have-grommets drapes, you’ll have a simple fix. Oh, and if you’re looking for other easy curtain hacks, I love this post by Erin at DIY on the Cheap and this one at Just a Girl.
Later gators.
Until next time,
K.
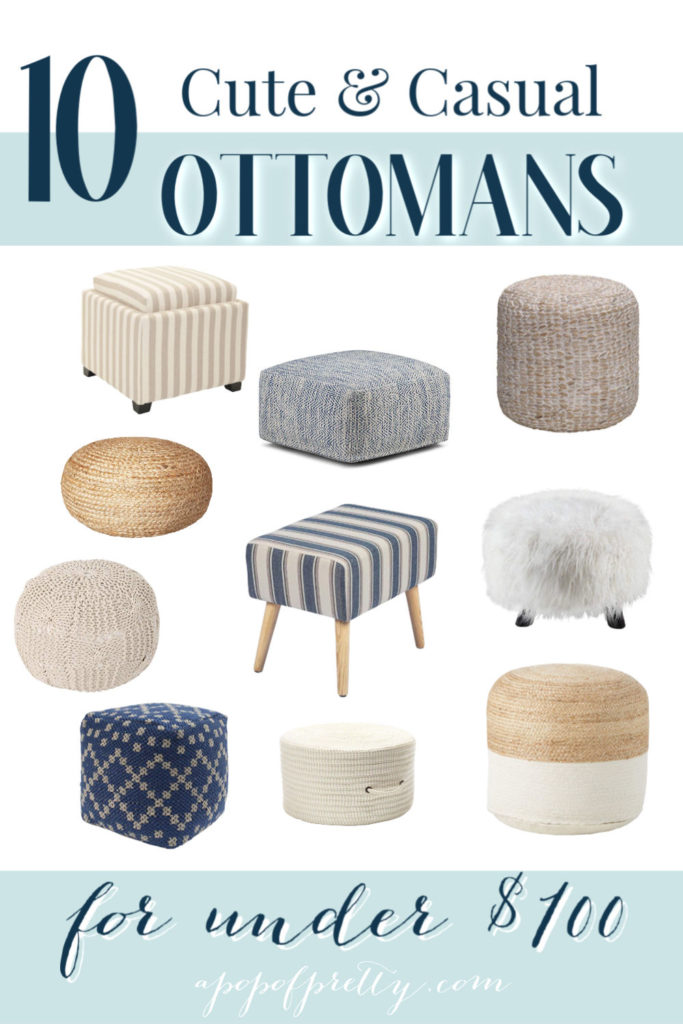
Are you a home decor accessories fan? You might also like these recent posts:
Pssst…, If you use this tutorial, let me know how it goes for you!


Thanks for the tips. I love the color of your walls as well as the curtain that you have featured in this article. It gives a very warm and accommodating look to the room. Black out blinds would look great well with those curtains. Black out blinds can be ideal to areas in the house that are favorite hangout places for the family. You’ll enjoy the privacy of bonding without prying eyes looking inside.