This post was most recently updated on November 4th, 2020
In this article: You’ll learn how to make a wood sign easily, either as DIY Christmas decor, or for any time of year. Making a diy wood sign is actually a lot easier than you might think. You don’t need a vinyl cutting machine. All you need are some simple, old fashioned supplies, including carbon paper! I can’t wait to show you how I made my own. Please note: This post was sponsored by Behr.
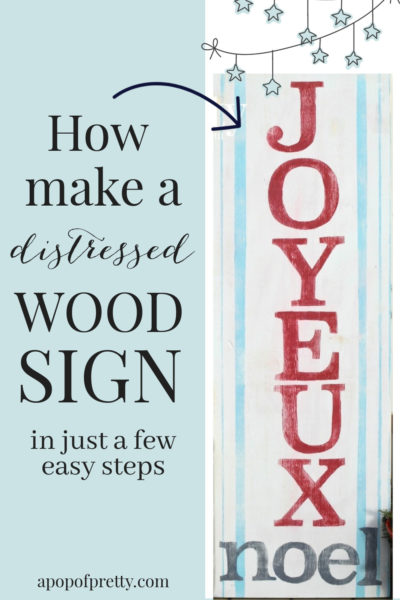
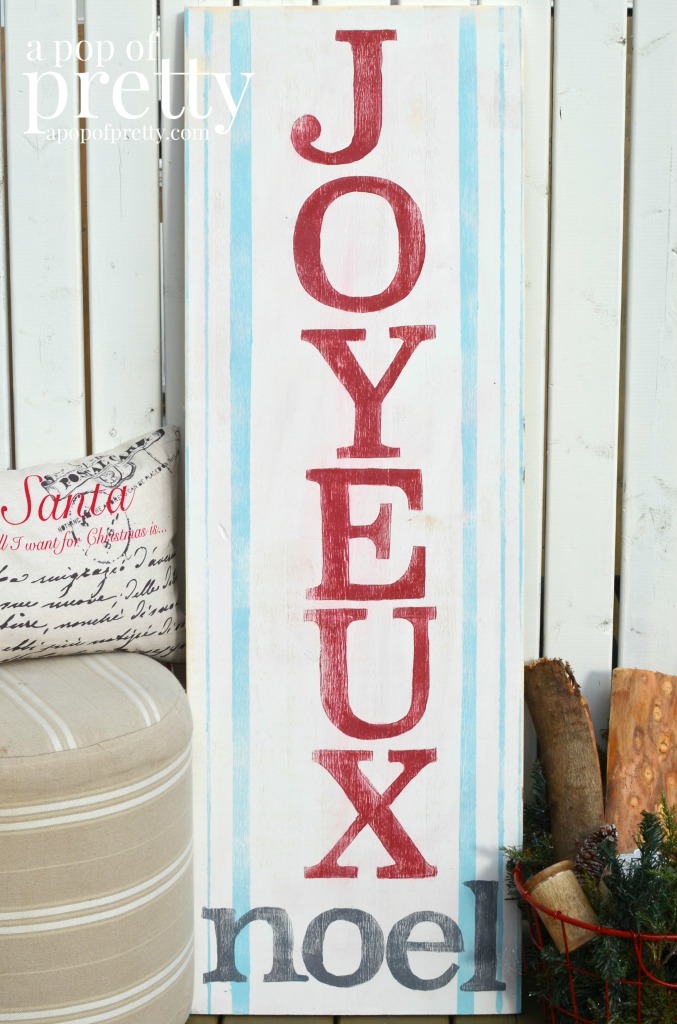
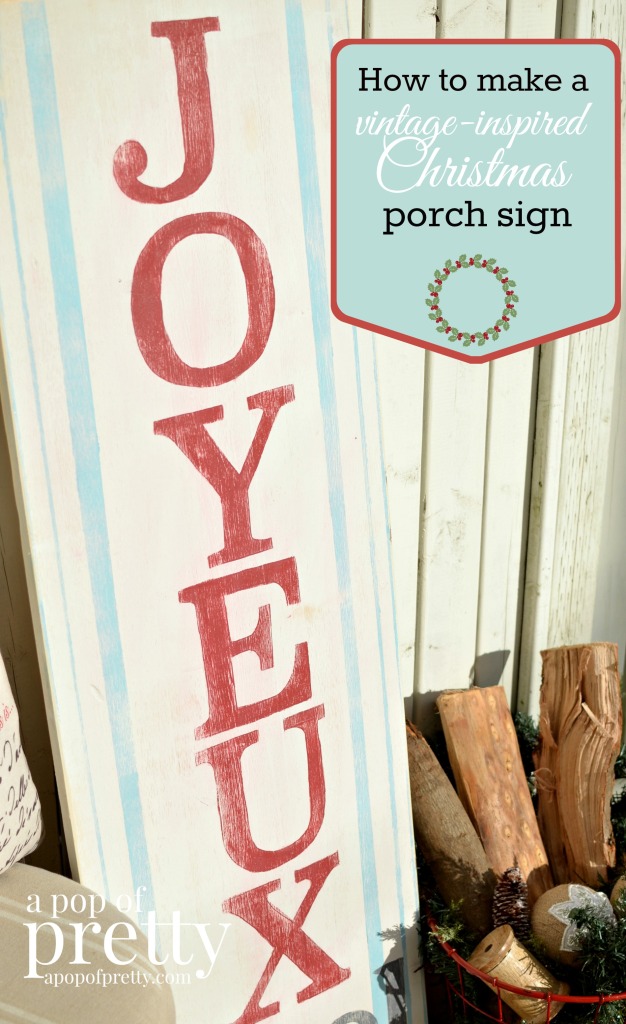
For the Behr Holiday Hues Project Challenge, our task was to create any kind of festive project using Behr paint, to which my response was, twist my rubber arm! Since I’m keeping my Christmas decorating a little French-inspired this year, this challenge was a great chance to learn how to make a wood sign with the saying, “Joyeux Noel”. So, I decided to create a large, vintage-inspired wood sign for out front porch.
I’m excited about how it turned out…
DIY WOOD SIGN: SUPPLIES
To make this vintage-inspired Joyeux Noel porch sign, my supplies included:
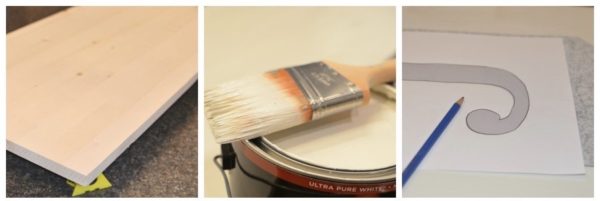
- a 48″ tall pine board (found in shelving section of hardware store)
- printed letters from my printer (in font of choice)
- carbon paper
- pencil
- painter’s tape
- paint brushes
- sanding paper and palm sander (optional)
- the following Behr paint colours: Behr Marquee Linen (Exterior Flat), Behr Marquee Haute Couture, Behr Marquee Aquifer, Behr Marquee Dove Gray.
HOW TO MAKE A WOOD SIGN IN A FEW SIMPLE STEPS
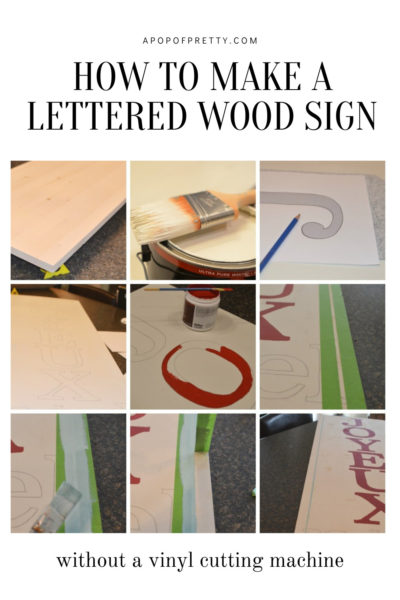
Step 1 – How to Make a Wood Sign: Print your letters.
First, I printed out the letters required for the words “Joyeux Noel” from my word processor. After doing some quick math, I figured out that each letter should be about 4 inches tall to create equal spacing on the sign. I printed each letter on a separate sheet of letter-sized paper.
Step 2: Paint your wood sign surface.
Second, I painted the entire wood surface in the paint colour of choice. In this case, I used Behr Marquee Linen. I then waited for the surface to dry completely.
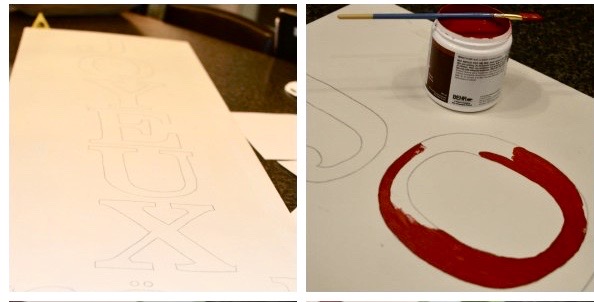
Step 3: Trace the letters on your diy wood sign using carbon paper.
Third, I placed carbon paper between each letter and the wood sign (with the messy carbon side face down on the wood). I then traced each letter on the paper with a pencil. Ta-da! The carbon left the outline of the words on the wood sign.
Step 4: Paint the letters (and design work).
Fourth, I carefully painted inside each letter using a small angled paint brush and Behr Marquee Haute Couture (the red). If you’ve ever used craft paint for making signs, then you’ll know how hard it can be to create a nice steady line; but the Behr paint glided effortlessly, and had a great consistency for doing detail work like this.
At this point, you’ll also want to paint any other design work on your wood sign. For example, to make the grain sack stripe on my wood sign, I used painter’s tape to mask off the lines. I then carefully painted in between the tape (and along the edges) with Behr Aquifer (the blue). To reduce paint bleed, I pulled the tape of before it dried – a trick I learned while painting wall stripes in my boys’ bedroom – see How to paint wall stripes (the second time around!.
Step 5: Sand your diy wood sign.
Once all the painting was done and was completely dry, I used my electronic palm sander to sand the entire surface of my wood sign. I used a fine grit finishing sand paper so that I didn’t take off too much paint. This just gave the Joyeux Noel sign a distressed feel. If you don’t have a palm sander, using sand paper and elbow grease will do the trick!
Step 6: Protect your diy wood sign.
You’re almost done! Now, to protect your gorgeous wood sign, cover it with a clear protectant varnish. This is especially important if you plan to use your diy wood sign on your front porch.
Yay, now you know how to make a wood sign!
Now that you’ve seen what I cooked up for the holidays using Behr paint, be sure to visit the other Behr DIY Experts, to find more festive paint inspiration below.
Need Christmas Decorating Inspiration?
In the meantime, if you’d like to some more Christmas decor inspiration, you might like these posts:
My #1 Christmas Decorating Tip
What Goes on a Christmas Tree First? (How to Decorate in the Right Order)
How to Put Ribbon on a Christmas Tree (Easy Tutorial)
Behr Holiday Hues Projects
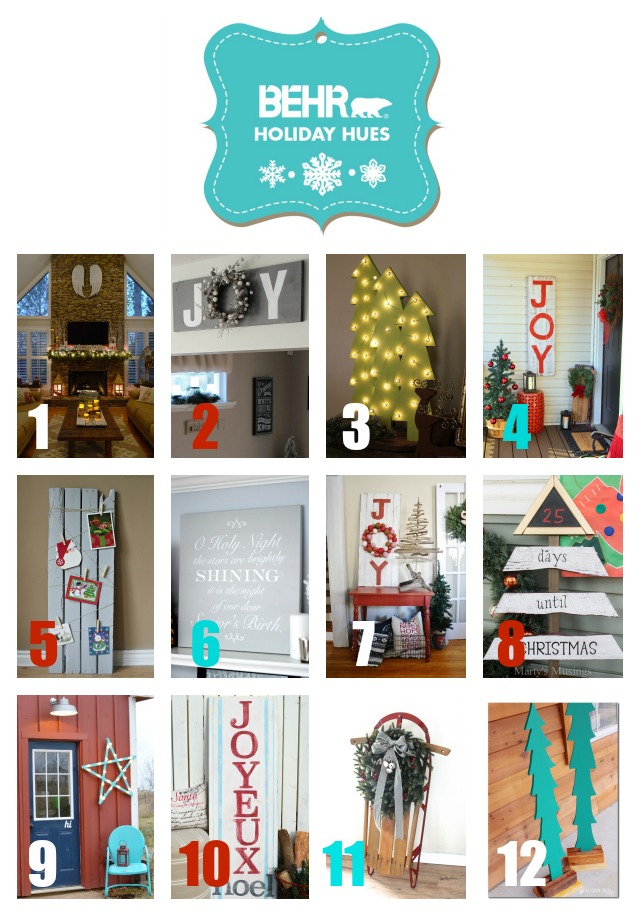
10. A Pop of Pretty
12. Sugar Bee Crafts
Until next time, happy holiday prepping!
K.

I love the silvery greys you chose and am going to look into the Marquee line.
Hi, Kerri. You did a great job on your project and your lettering is fabulous! Such a steady hand. Thanks for joining us on the blog hop.
Thanks so much, Marty! Such a fun project challenge!
Love the site! I’d likely choose a soft white/linen, a barn red and a pine green!
Thanks Cheryl! Sounds lovely!
This sign is awesome & I think my favorite part is the stripes!! They REALLY make the whole sign!!
I LOVE all the colors in the Opulence line!!!
Thanks so much Chelle!
I love this idea Kerri! Was looking at something very similar last month to do but with the red background, will be on my list of projects for sure! 🙂
Thanks Miss Karen! If you make something similar, be sure to post it to FB so I can see it! ~KL
Awesome job Kerri and always inspirational!
Thanks girly!
This is a great project. I had to come over from Newly Woodwards and tell you how much I liked it. I love the color combo of blue and red and the use of Joyeux. I will be pinning it for Christmas inspiration for our front porch.
Thanks so much, Kristi! So nice of you to pop by and tell me!
This is just stunning! I love the linen by Marquee and you’ve convinced me that I really need a stash of carbon paper! Great project my friend ox
Thanks, Robin! The Behr Marquee linen is absolutely gorgeous – a lot of paints have linen in their name but they don’t always live up to expectations. This is definitely a true linen with a nice gray undertone. And, yes, this was first time using carbon paper for lettering, and it was so easy that I wondered why I hadn’t done it this way before! Absolutely loved your angel wings too, by the way! Hugs, Kerri
Great Project, love the word choice and color choice.
Thanks, Linda!
I love the rustic look and the colours you chose!
Thanks, Amanda! Fun project challenge!
This is a beautiful project – I love the colors and he stripes on the side that make it look like French linens.
Thanks so much, Kim! Loved your rustic star, too! And thanks so much for organizing the challenge!
I would probably pick a gray and maybe green.
Thanks Shirley, good luck with the giveaway!