This post was most recently updated on January 1st, 2020
Yesterday, I was over on the Etsy.com blog, sharing a tutorial for an easy, diy hostess gift. As a huge Etsy fan myself, I was thrilled to be asked to be a part of their Etsy International DIY Advent Calendar Project! From December 1st to the 25th, Etsy is sharing festive new DIY projects on their International Blogs (UK, France, Germany and Australia). Contributed by guest bloggers from around the world as part of their DIY Advent Calendar series, each day a different project will be featured.
I was excited to use the opportunity to create a project that I’ve had in my head for awhile, a magnetic lampshade flower, as it would make an easy diy hostess gift during the holidays. Giving a handmade hostess gift is such a nice gesture during the holiday season. Many of us, however, are intimated by the idea of making something to give others. If that sounds like you, don’t worry. I promise that you will be able to make this!
DIY Hostess Gift: Lampshade Flower
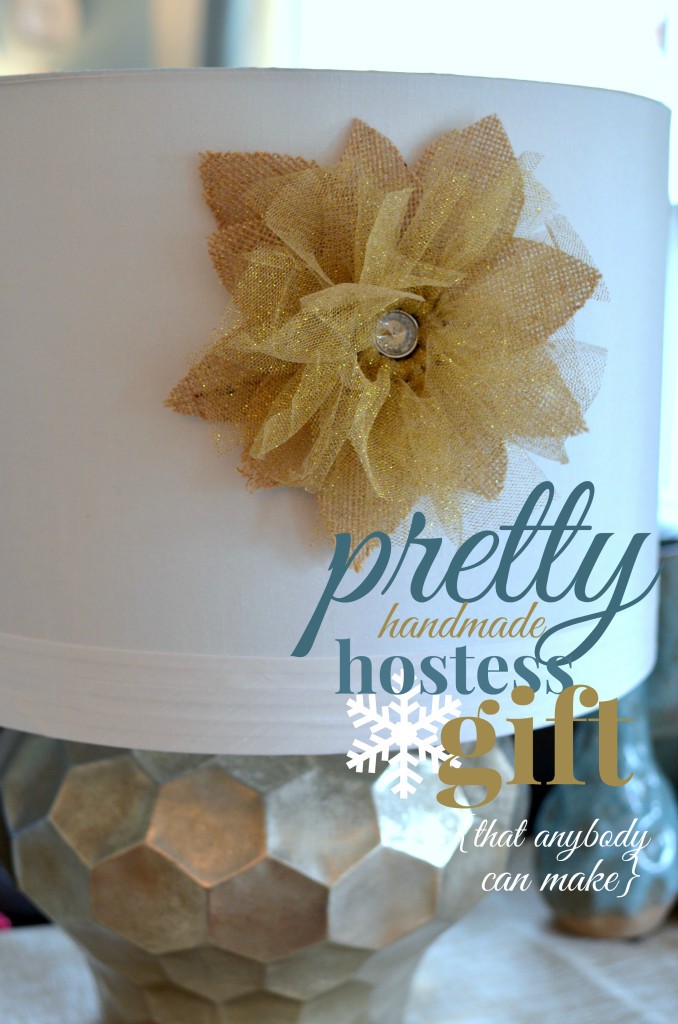
I’ve been admiring this kind of ‘lampshade jewellery’ at a favorite decor retailer for awhile. Adhered with a magnet, these pieces allow you to easily turn any plain lamp into something truly special. I decided that I could make these easily and affordably. While this piece could be used on a lampshade throughout the year, I chose to make it sparkly and gold to complement our holiday decor.
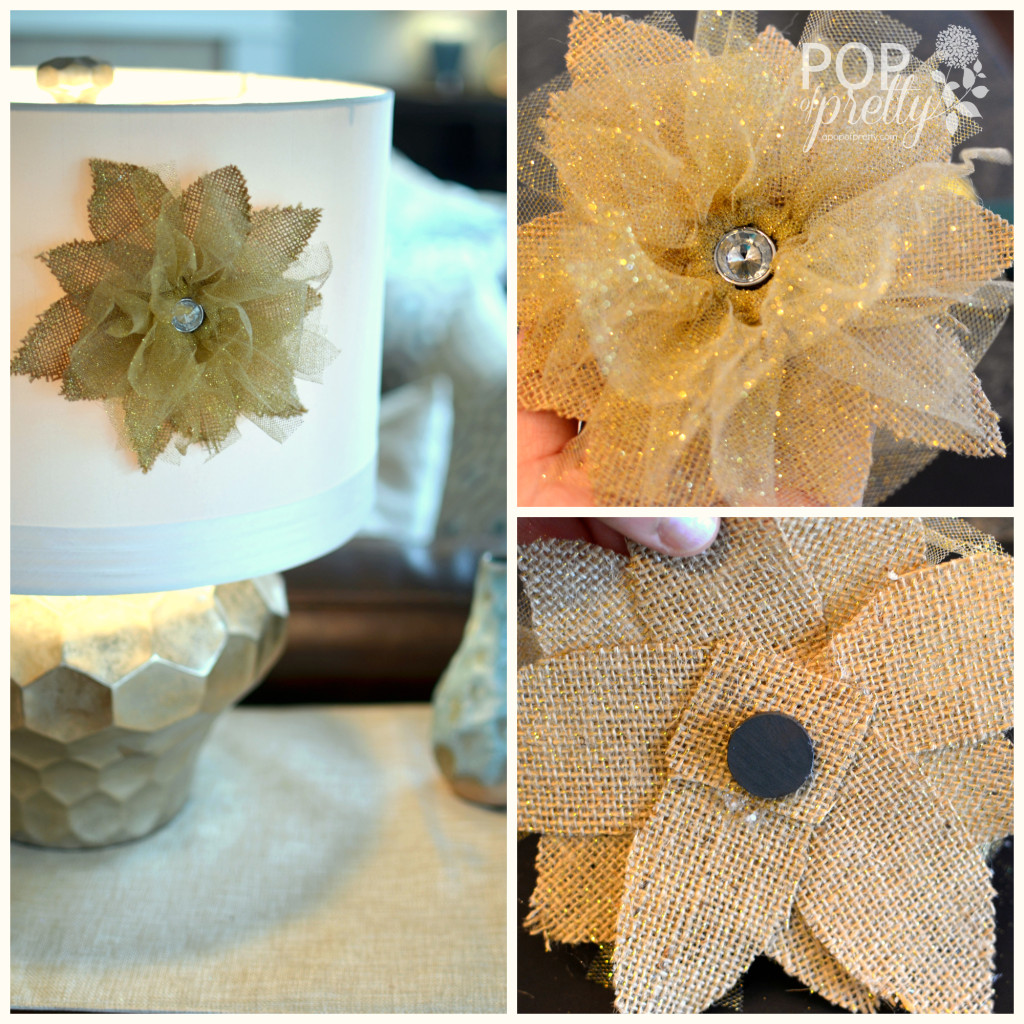
To make one of these lamp shade flowers you will need:
- a 12×12 piece of burlap (or larger)
- a 12×12 piece of gold sparkly tulle (or larger)
- a small plastic ring (found in the sewing section of most craft stores)
- a small circular magnet set (found in most office supplies stores)
- a rhinestone or piece of jewellery of your choice for the center
- glue gun / glue sticks
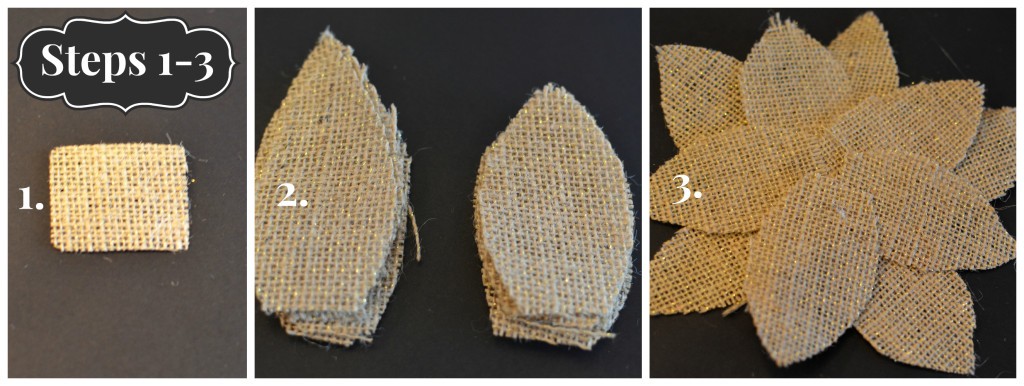
Steps 1-3.
Starting with the burlap, cut one small rectangle (to be used as the base of the flower), five large petals, and five medium petals. The medium petals should be about three-quarters the size of the large ones. (Double over your fabric to cut two at a time.) Once everything is cut, layer the five large petals on top of the rectangle, and secure with your glue gun. Next, layer the medium petals as shown in the photo below, and adhere with more glue. Put your burlap flower aside. Your diy hostess gift is taking shape!
Steps 4-7.
Now it’s time to make the pretty, sparkly part of the flower! Cut about 20-30 strips of tulle, and lay them aside. Each strip of tulle should be about 1″ wide and 5″ long. Take your first strip, and loop it around the ring, pulling it tight, as shown in Step 5, below. Repeat. Continue around the entire loop, pushing the looped tulle strips close together before adding the next. Once you are happy with the fullness of the tulle flower, set aside. (See photo below.)

Steps 8-10.
We’re almost done! Now it’s time to put it all together. Place glue around the back of the ring on the tulle flower, and layer it on top of the burlap flower, and press to secure it. Next, glue your rhinestone in the center of the flower. Turn the whole flower over, and glue one of the magnets on the burlap rectangle. (See photo below.) To make the flower even more sparkly, you can also paint the edges of the petal with some gold craft paint.

To adhere the flower to any lampshade, all you need to do is place the second magnet on the inside of the shade directly behind the flower. It will stay perfectly in place!
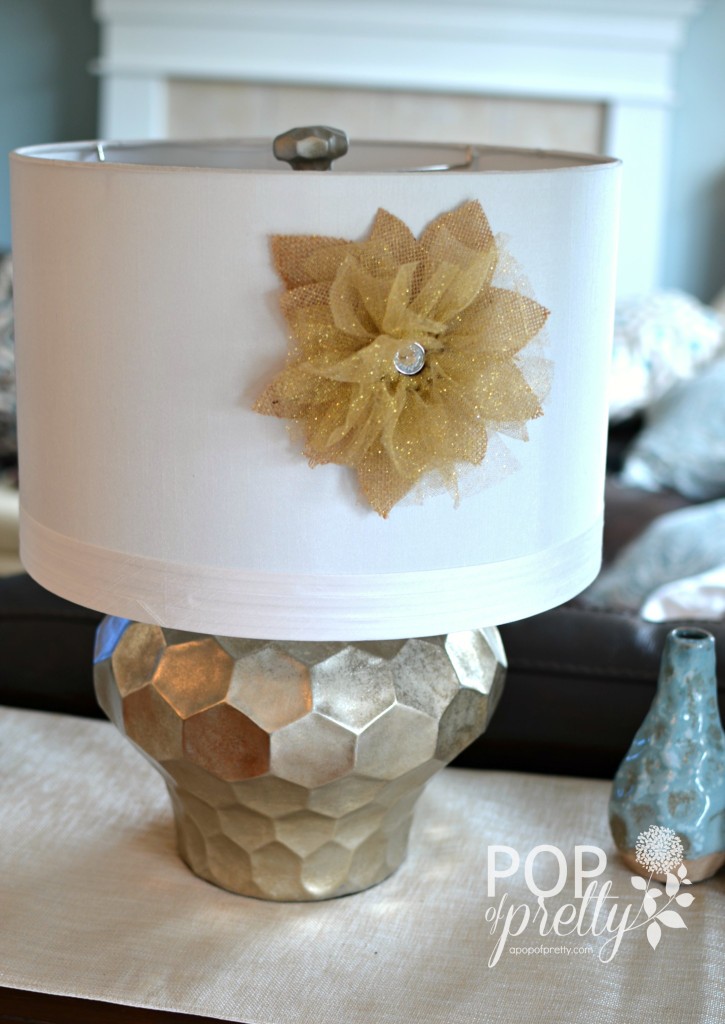
There are so many different variations you can create with this flower for a diy hostess gift. If gold is not your thing, you can easily create a white version, using white felt and tulle, and following the same instructions above. For example, in the photo below, I created a white felt lampshade flower, and embellished it with white feathers and a snowflake at the center for a very ‘Winter Wonderland’ look.
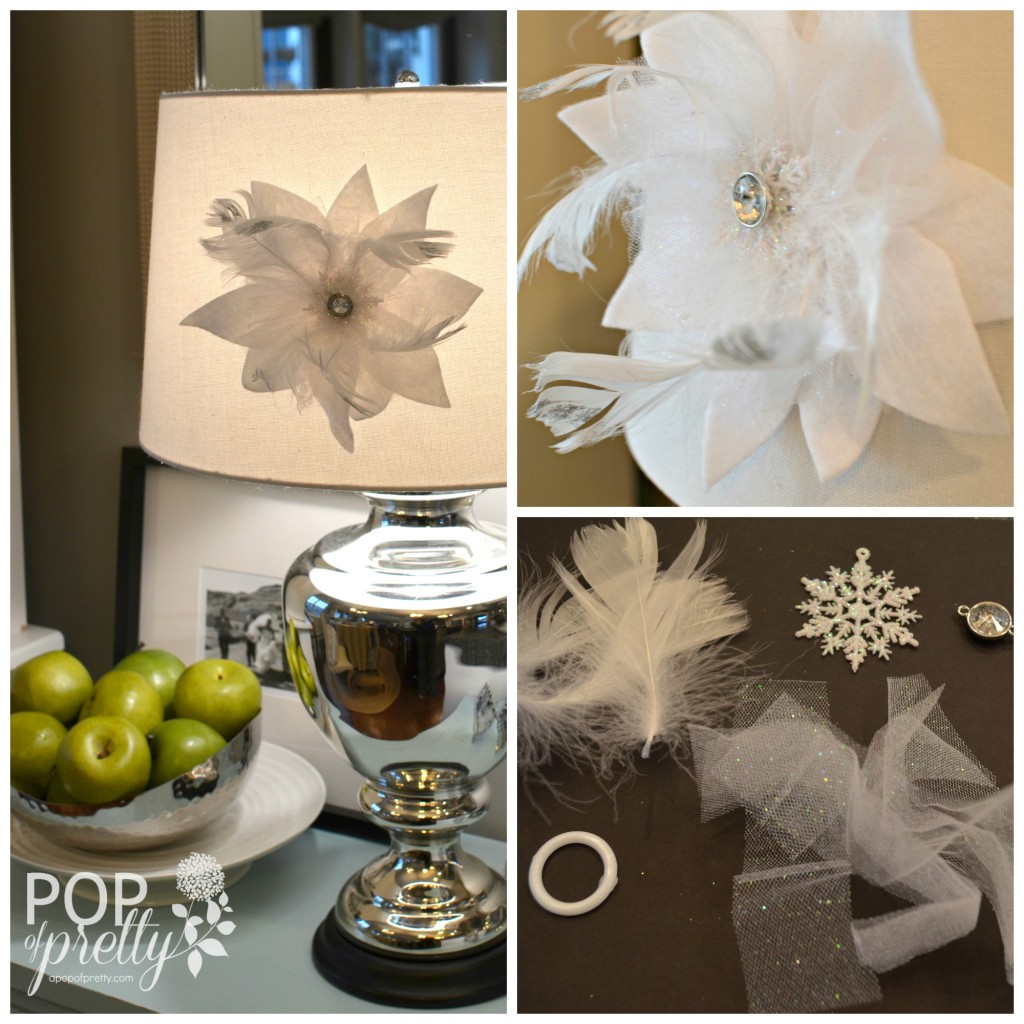
See? Easy peasy, and oh so pretty. And, now that you know how to create this flower, a diy hostess gift is only the beginning! You could make some to use as tree decorations, in a garland, or as a pretty gift wrap embellishment. The possibilities are endless!
I hope you have fun creating this easy little craft! For ideas from other international crafters, pop over to the Etsy Advent event.
K.

You are a total rock star!
I am soooooooo gonna do this, thank you for sharing!!
You go girl!
Marie