This post was most recently updated on September 22nd, 2019
Remember how I said I enjoy the creative process of Christmas decorating? Well, really ‘the creative process’ is just a fancy word for ‘fly by the seat of my pants’. I usually have a broad vision, but rarely a well thought-out plan, before I start my Christmas decorating.
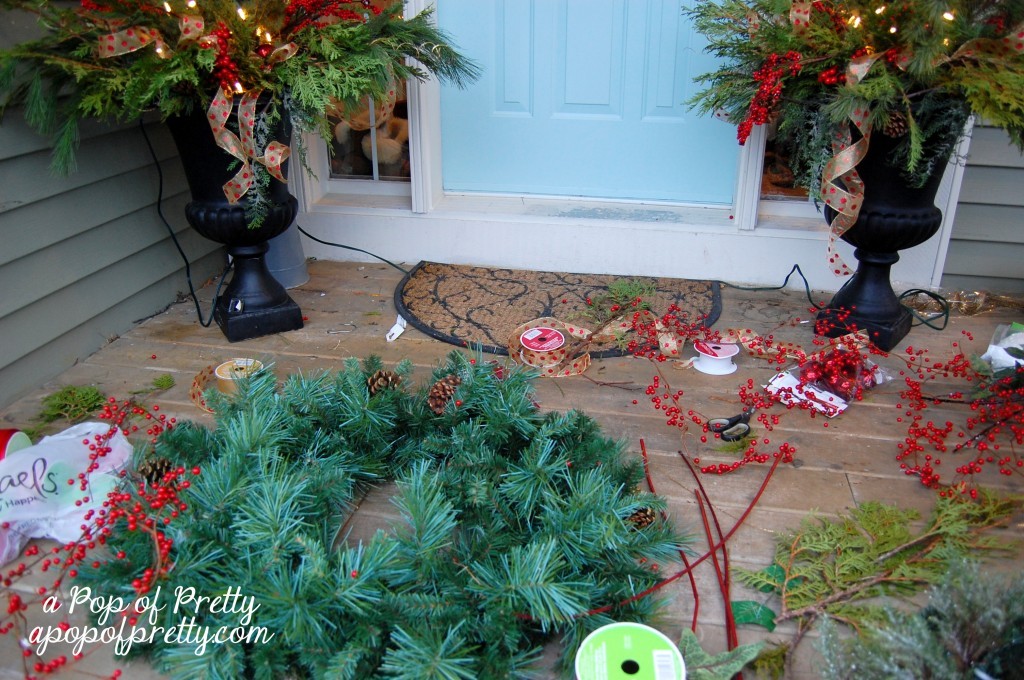
In case you were under any illusions that I have some kind of magic formula when it comes to pulling it all together, I present to you Exhibit A. This is what my step looked on Saturday afternoon. When it comes to seasonal decorating, this is how I roll ;-).
And, do you see that plain Jane, oh-so-artificial, wreath on the step? Well, it’s been kicking around for about 13 years. (That’s like a lot of my wreaths. I’ve learned to never throw away a good wreath form!) It’s about as artificial as it gets. This wreath comes from an era before fake (or “ever-lasting” 😉 ) greenery began to mimic the look of the real stuff. But the one thing I like about it, which has kept it around all these years, is that it’s big. It would cost a lot to replace it with a newer one.
It’s gone through many updates over the years. Whenever I get tired of it, or it begins to feel outdated, I just take off the embellishments and start all over again. I’ve learned the hard way not to glue gun anything to this wreath – wiring or tying on the embellishments makes it so much easier to disassemble!
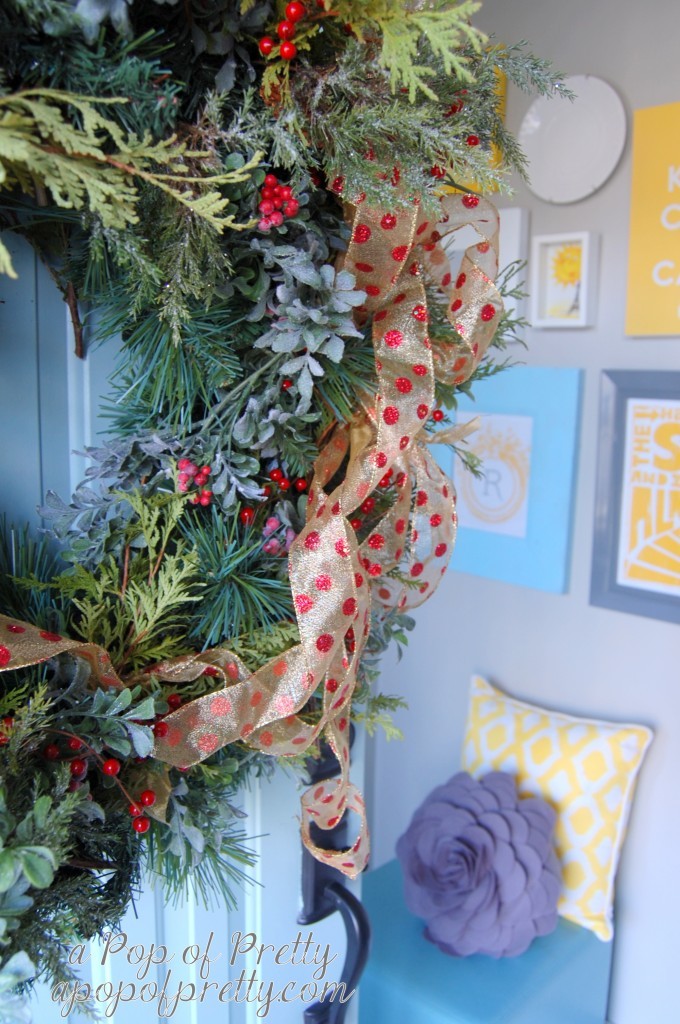
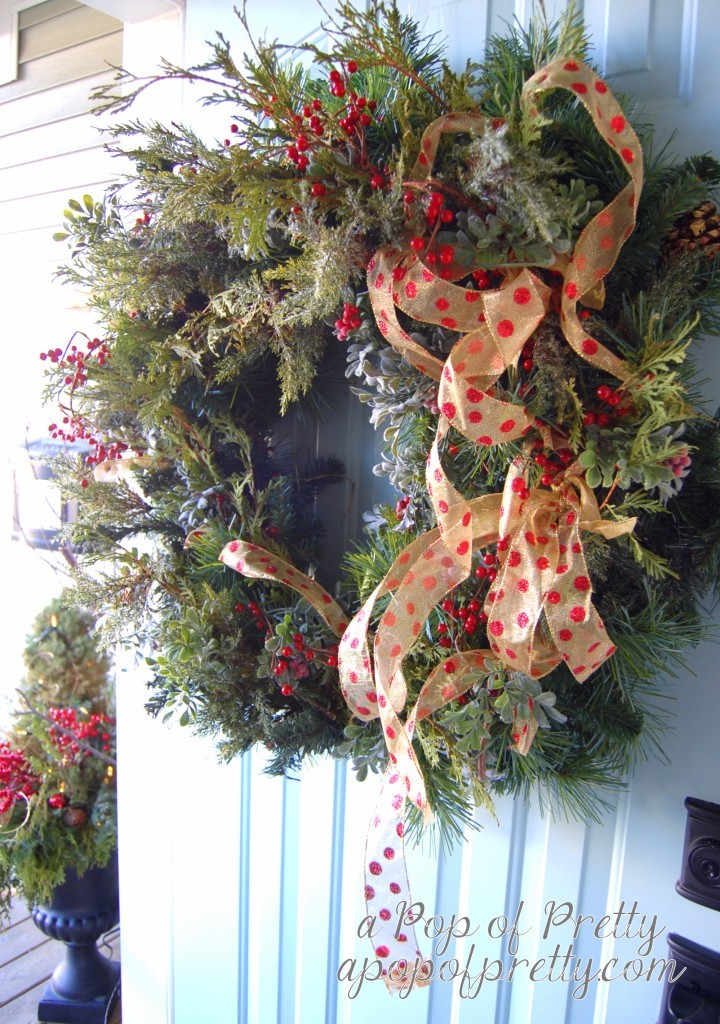
This year, I knew I wanted to have a big, full traditional Christmas wreath with the look of real greenery; which is a far cry from this old wreath. But I pulled it out of storage anyway, wondering if I could somehow revive it. After the dust settled (one of those popular time-lapse videos would be cool here but I’m just not that technical!), here’s where I ended up:
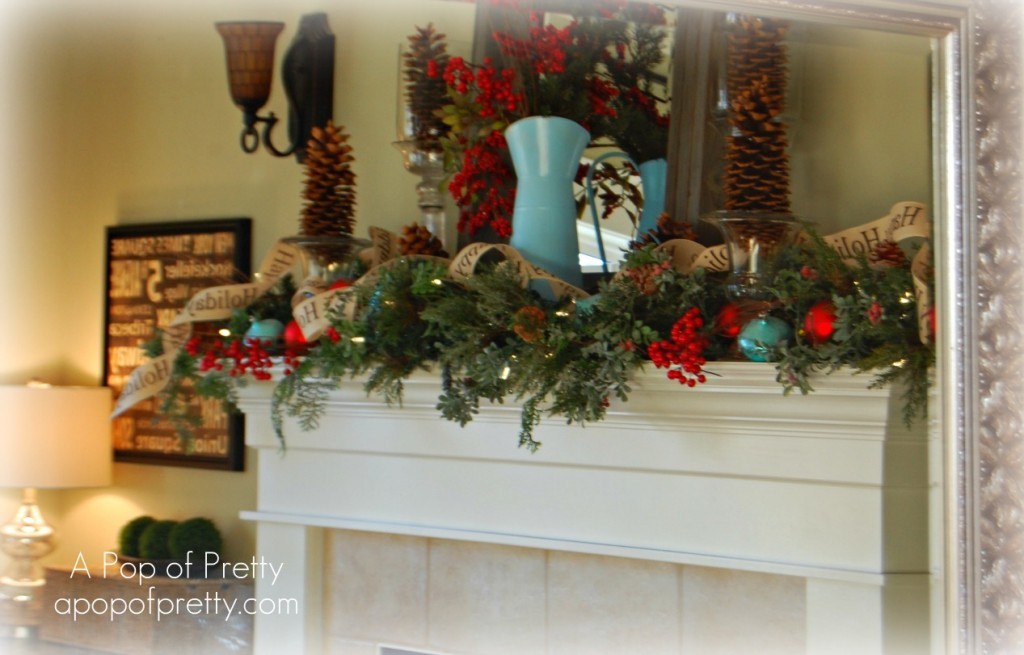
Want to know how I did it? It was super easy. I used a method very similar to the one used to decorate my Christmas mantel last year. (In case you are interested, you can find the tutorial on how to decorate a traditional Christmas mantel here.) I simply layered premium artificial greenery and fresh cedar over the top of the old artificial wreath. When I was finished with it, you could barely even see the original layer.
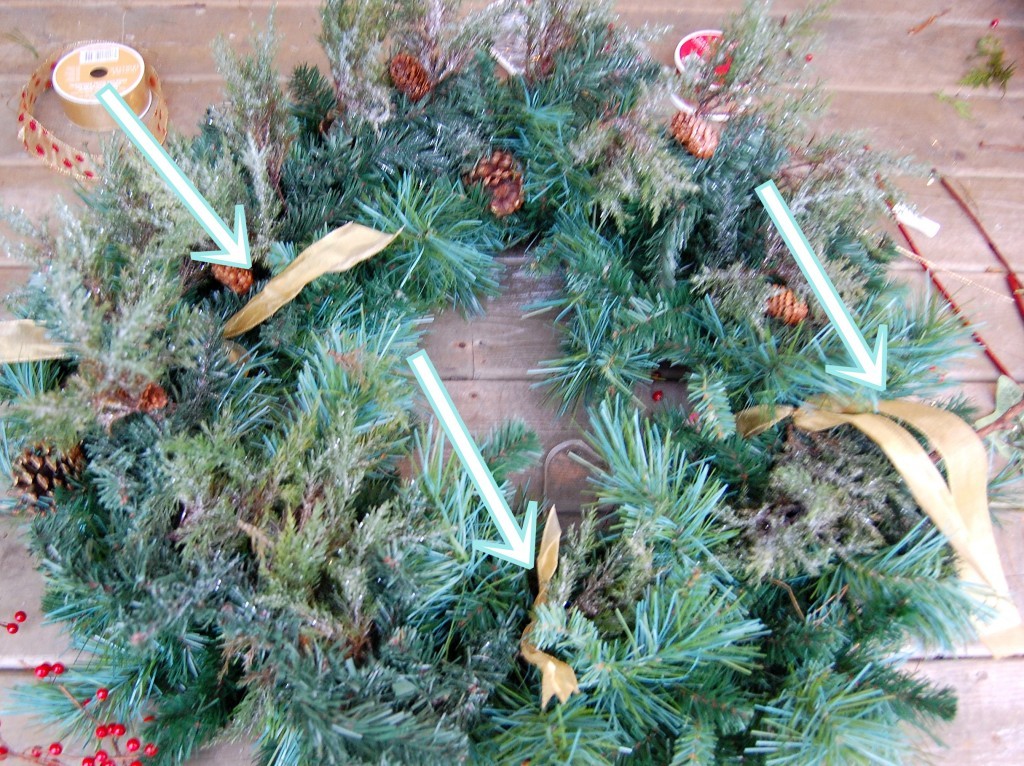
I started by tying a piece of ribbon with a simple knot in 3 spots on the wreath. Everything that I added to the wreath from there was held by these 3 ties. In this photo, you can see that I first added a 5-ft strand of premium greenery. I just layered it on top and tied it really tightly in those 3 places.
In the same way, I also layered on a strand with red berries, and then real cedar here and there, which you can buy at a local grocery store this time of year. You can really see in the next photo how a few springs of real cedar make all the difference.
For a traditional Christmas look, I finished the wreath off with gold and red ribbon. Yes…gold! I haven’t used gold in my Christmas decorating since about 1999. But it just goes to show, never say never! This year, I am loving metallics – even gold – again. Gold is a regal color, but I think the red polka dots help keep it fun rather than formal.
Have you created a new Christmas wreath this year? Is it traditional or modern? I’d love to hear about it!
Until next time,
As usual, I’m sharing this with Beth at…




Wow! I can’t believe how different you made it look. Those polka dots are to DIE for! I’ve seen a lot of wine cork wreaths around on Etsy – that’s the kind I’m going to try to make, but your use of embellishments is SO inspiring. Thanks!
I hereby declare you to be the queen of Christmas layering! Well done.
Haha! Too funny! Thanks Ashley! ~Kerri
That’s so pretty! And the polka dots really do keep it fun.
Thanks so much Mel! ~Kerri